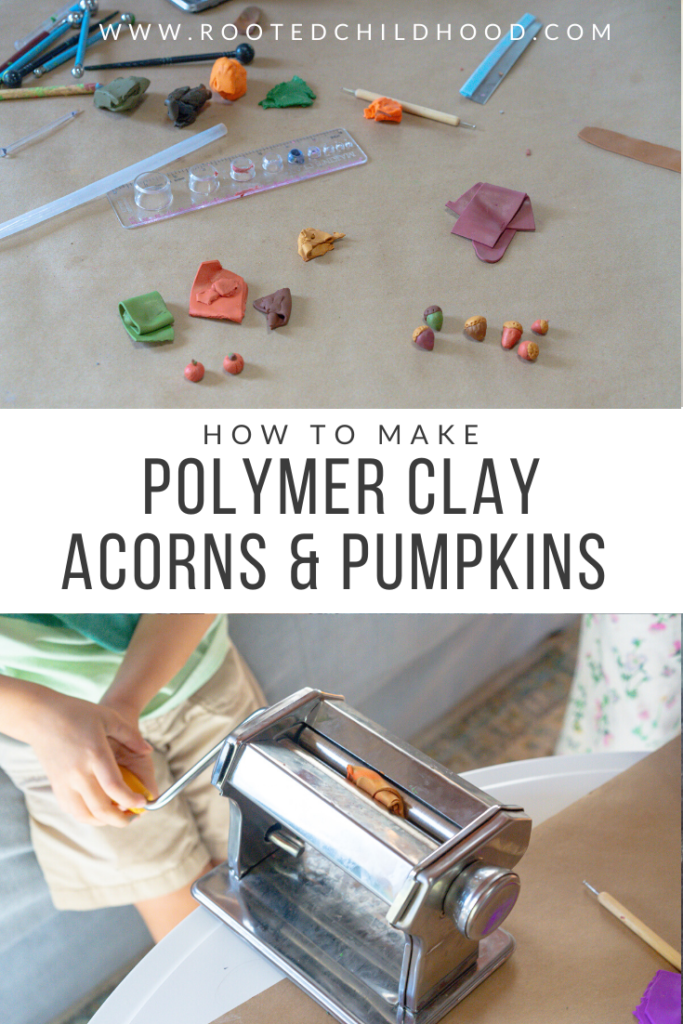
Fall is in the air and these polymer clay acorns and pumpkins are just perfect to celebrate the season!
If you haven’t worked with polymer clay before, what are you waiting for?!
What is Polymer Clay?
Polymer clay isn’t actually clay since it isn’t a natural clay. It’s a man-made modeling clay that remains soft and malleable until it permanantly hardens when baked. Unlike earthen clay, polymer clay won’t ry out when exposed to air and it doesn’t need to be fired at high temperatures in a kiln.
Polymer clay doesn’t require many tools and is easy to work with which makes a great choice for beginners, especially children. It’s relatively affordable, and you can find it at most craft stores or online. We prefer the Sculpey brand, but I’m sure there are other great ones too!
How to Use Polymer Clay?
Polymer clay comes in small blocks, and needs to be conditioned before it’s soft enough for little hands to work with.
You can condition by hand; it just takes a bit of effort. Take a block of clay and press and fold it continuously until you are able to easily mold it.
Another option is to use a simple pasta machine to help condition the clay. This method is much easier for children to do and so much more fun!
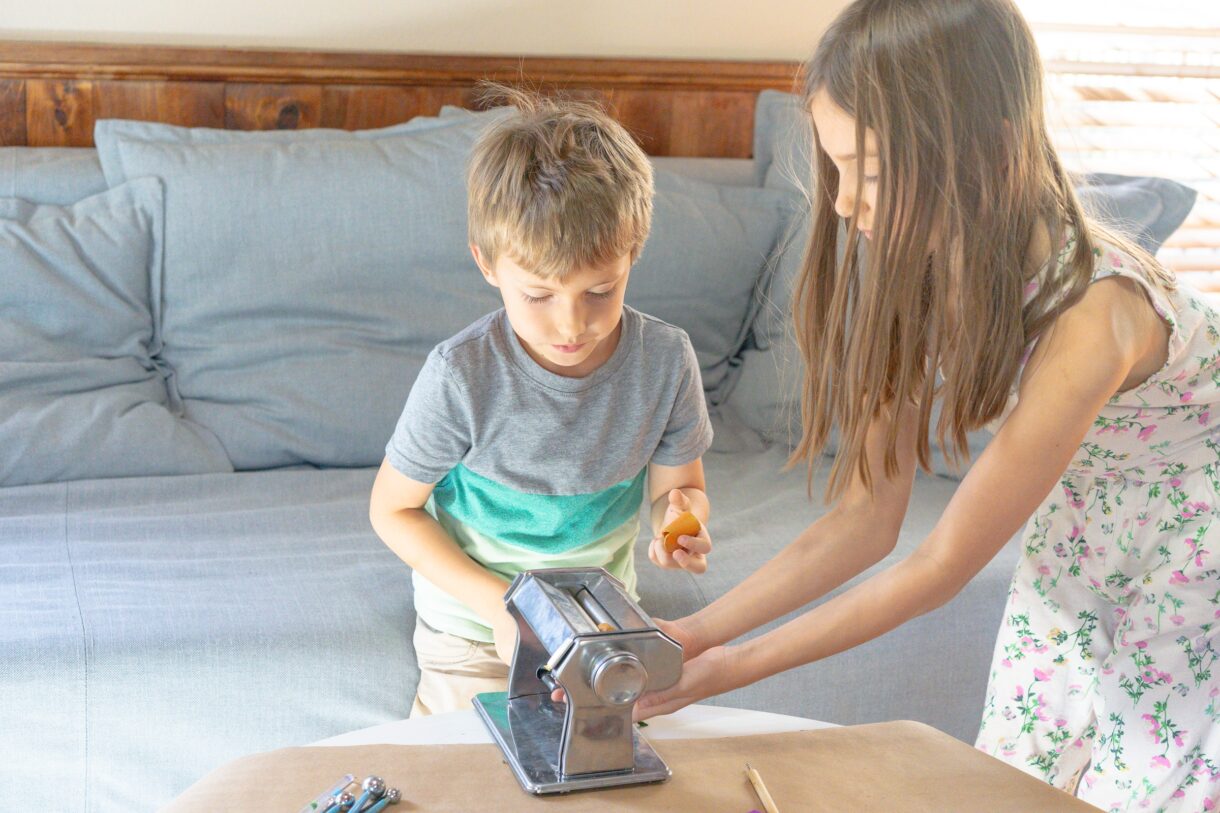
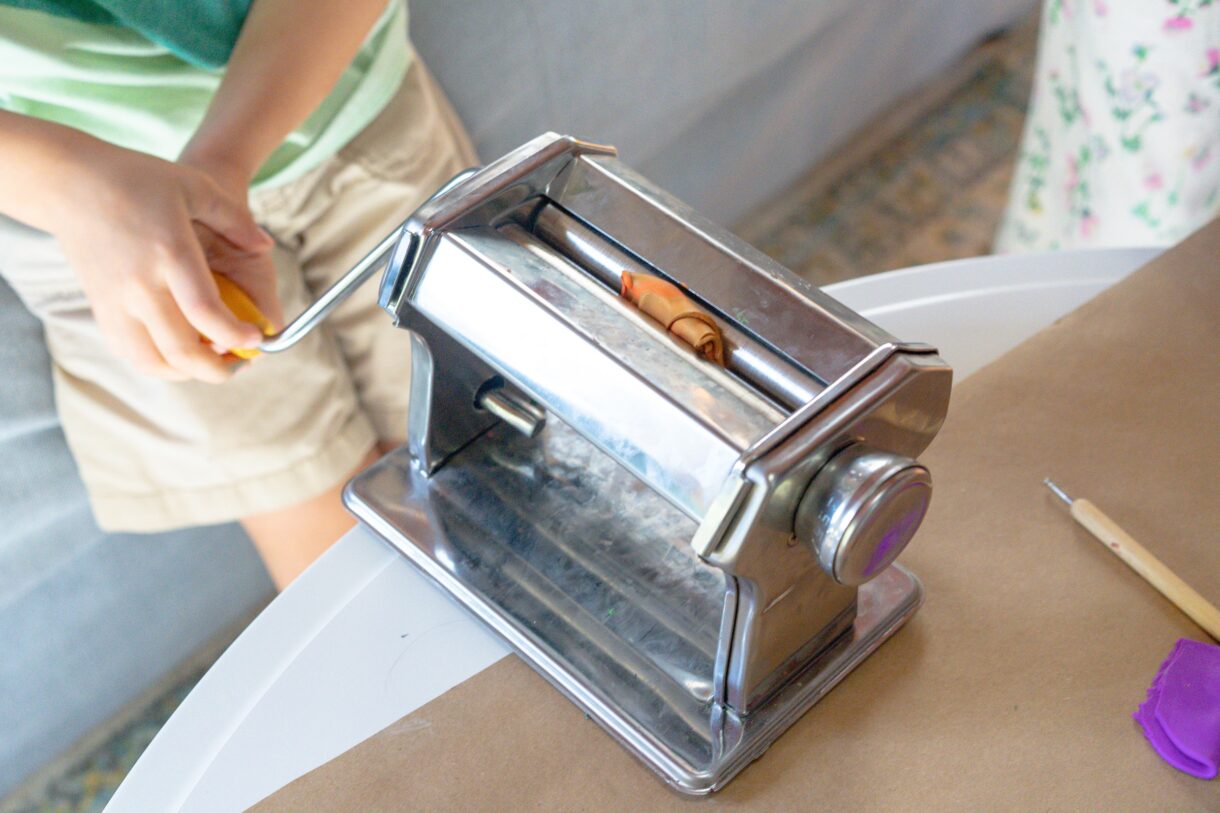
The pasta machine has a knob to adjust the thickness of the pressed clay. Experiment with which setting works best for conditioning.
Condition one color at a time by putting the clay at the top of the pasta machine and gently pushing it into the opening as you turn the handle, using care to keep little fingers back from the rollers.
Run a single piece of clay through the pasta machine on different settings about 10 times to condition it enough to be able to work with it by hand.
Once the clay is conditioned, you can start creating!
Polymer Clay Ideas
Polymer clay is most often used for making miniature creations. Polymer clay is more expensive than other types of clay typically marketed to children, but when you only use a bit of each block each time you crate, it lasts a long time.
Polymer clay is great for making different types of beads for jewelry or keychains. Many professional jewelry makers create beautiful works of art from polymer clay for their jewelry. It’s also great for making miniature figurines for play. We have made many fairy garden elements using polymer clay.
Polymer Clay Acorns & Pumpkins
We decided we wanted our polymer clay creations to have a bit of shimmer so we used a gold metallic clay for the base and mixed in other colors to create a range of custom colors for our acorns and pumpkins.
We chose autumnal, earthy colors to start with.
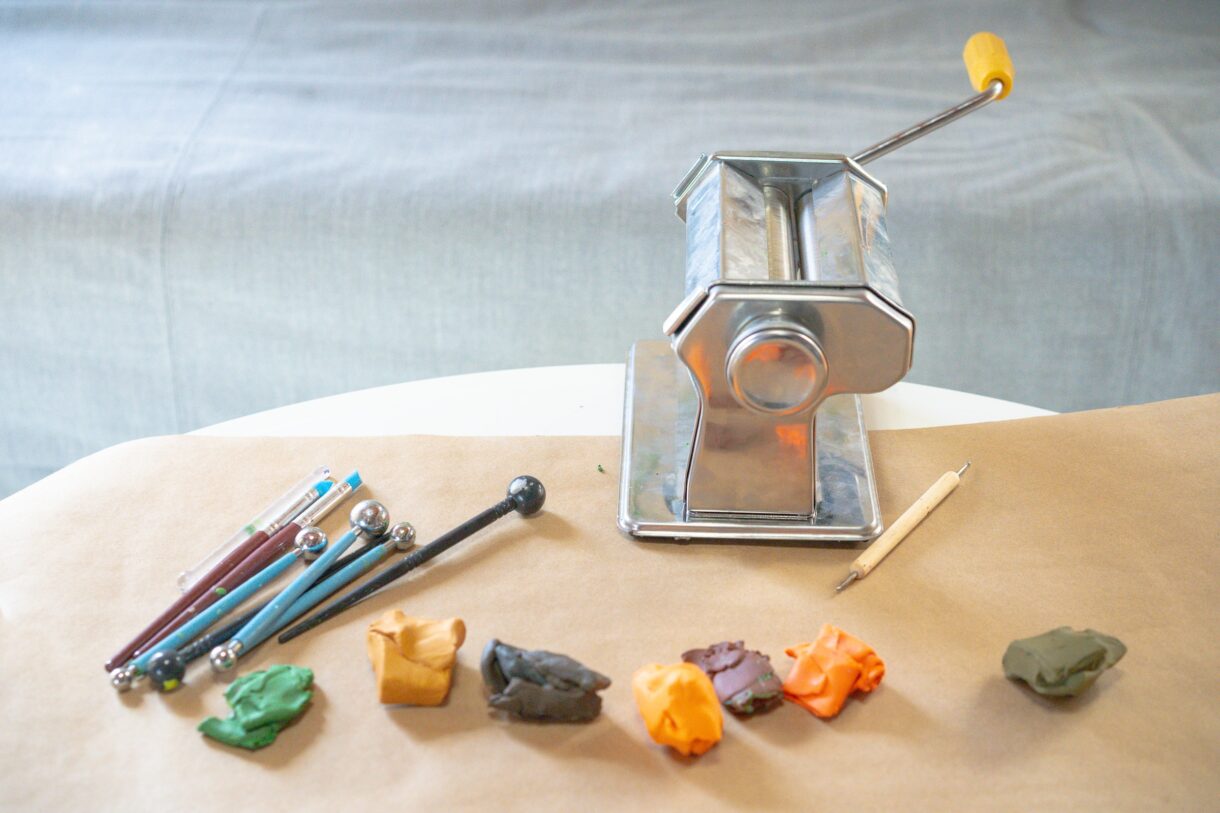
We used a base of the gold plus a small amount of color and ran the colors through the pasta machine several times to mix thoroughly. It takes a bit of trial and error to achieve the color you want. We had to add a lot more purple than what is pictured here plus a small bit of red to achieve a fall purple/maroon color.
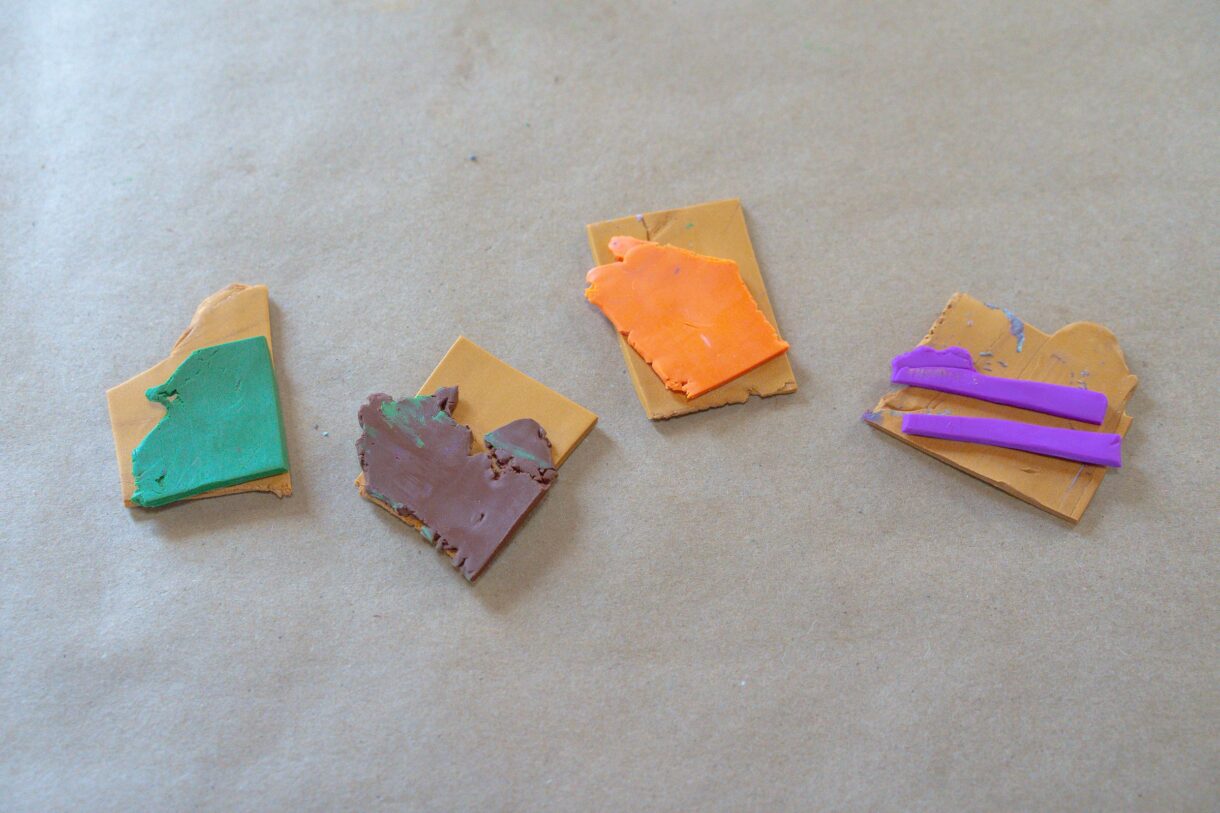
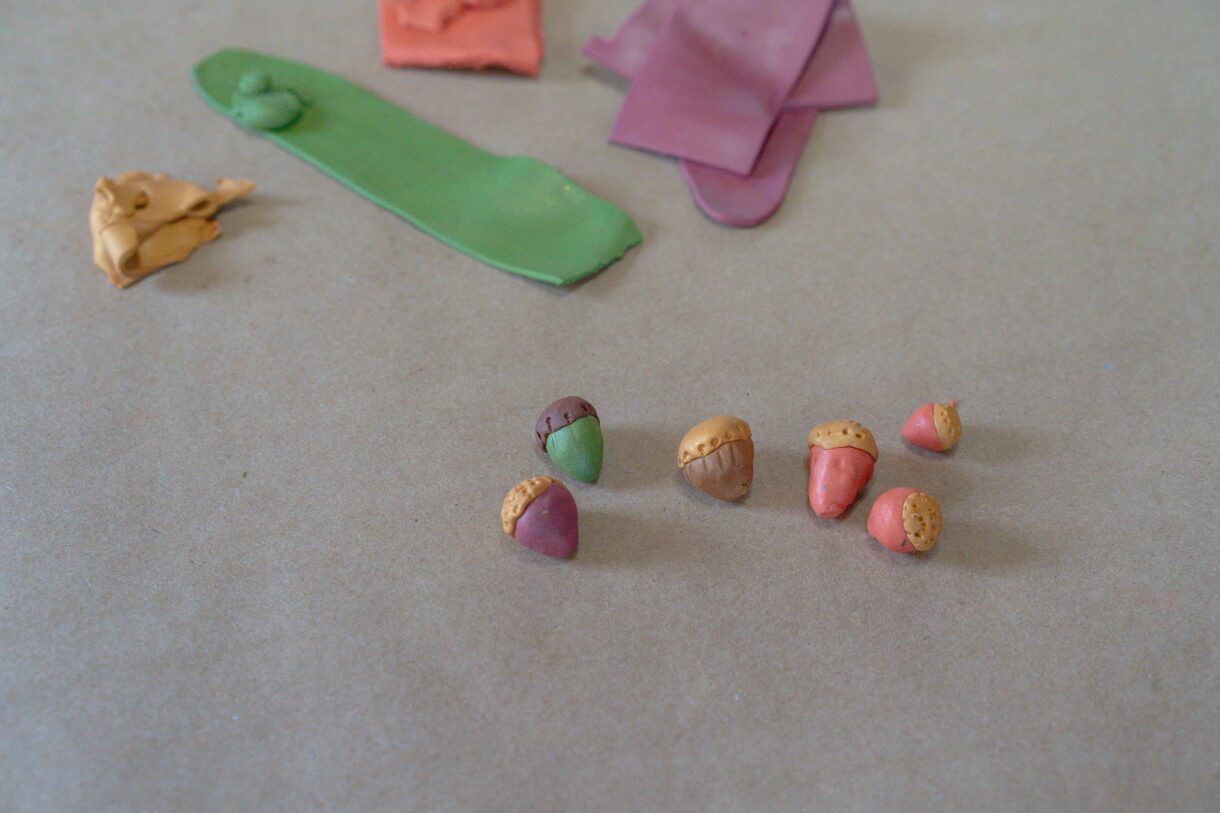
Once we had our colors mixed we had four beautiful, metallic colors to work with.
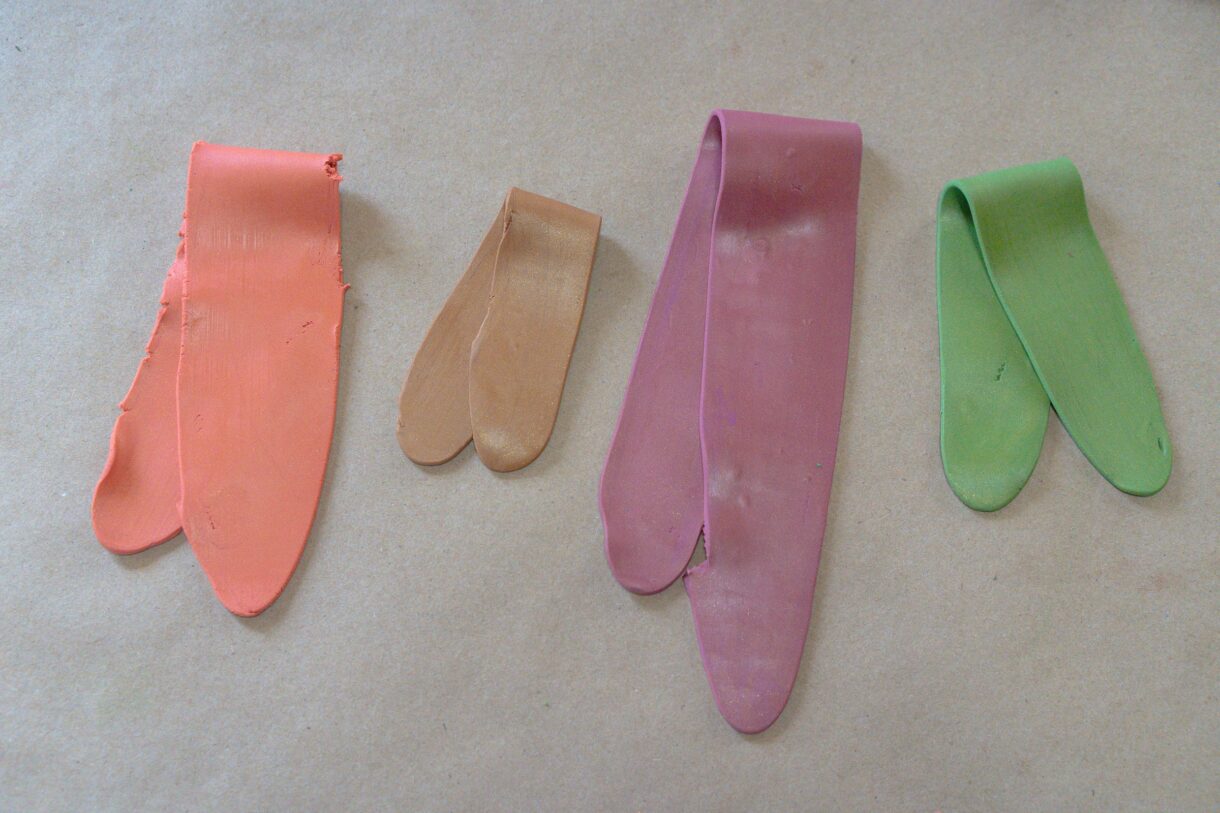
To make acorns, start with a small amount of clay and roll it into a ball. Then gently pinch one end to look like the bottom tip of an acorn.
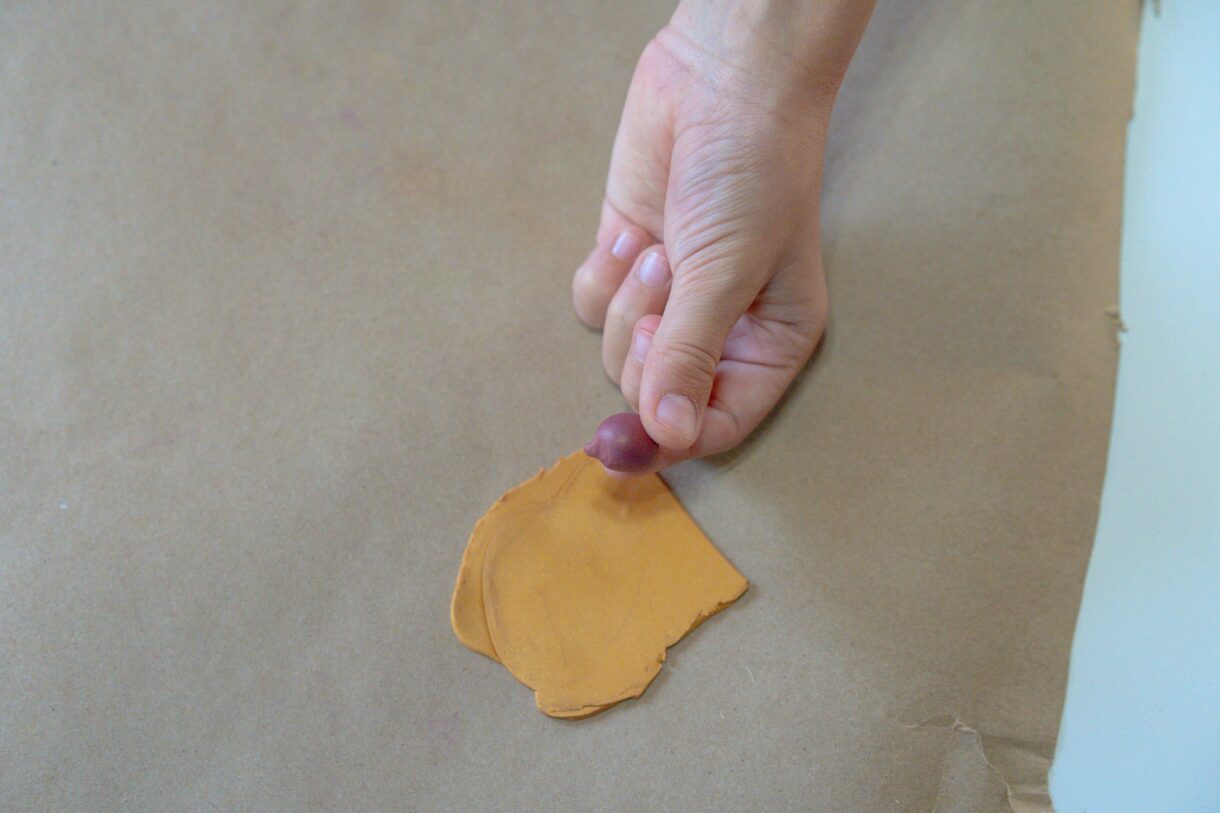
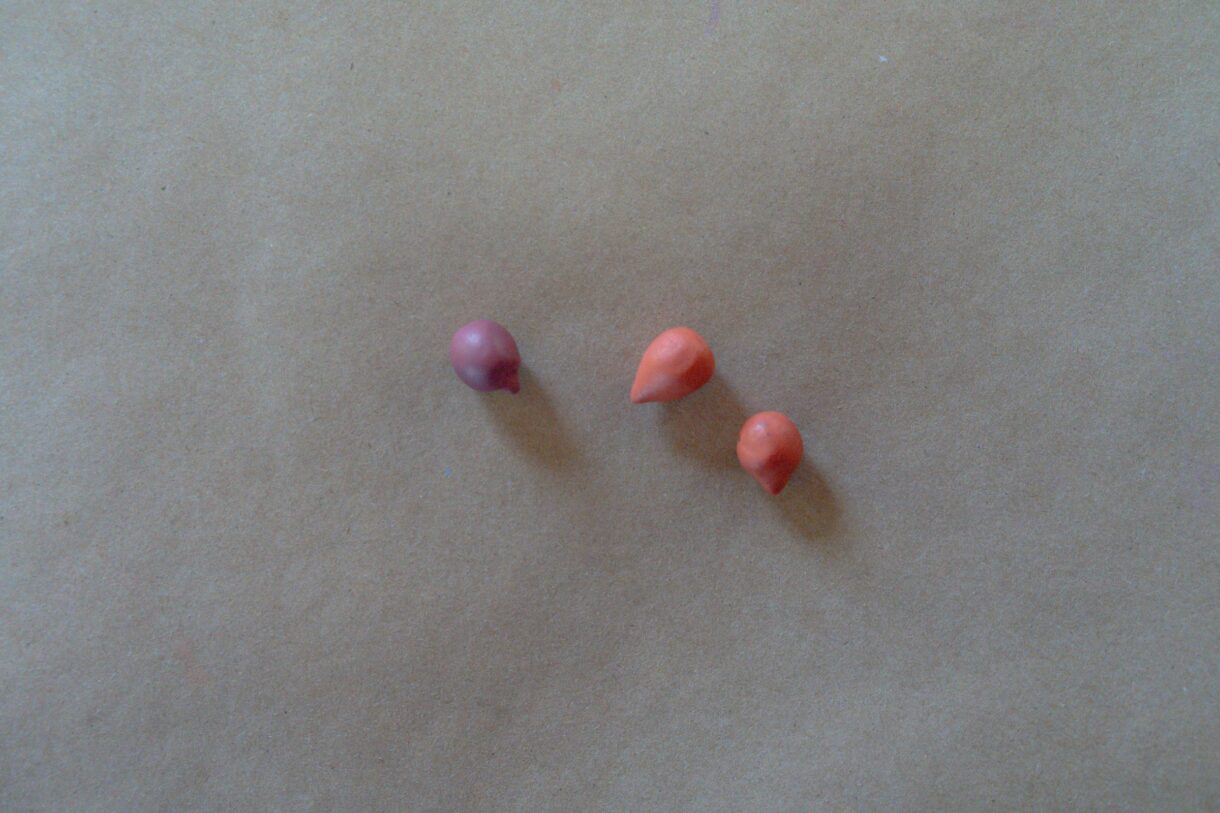
Roll a small amount of gold clay into a ball and flatten slightly with your hands. Gently push the disc onto the top of the acorn to adhere. It’s important to get good contact on connecting pieces so that they don’t fall apart when baked.
Use a toothpick or a clay tool to make indentions on the acorn cap.
If you want to try your hand at pumpkins, roll orange clay into a ball. Pinch a small amount of brown clay for a stem and add a tiny green leaf if you wish. Use a toothpick or clay tool to add indentions on the surface of the pumpkin.
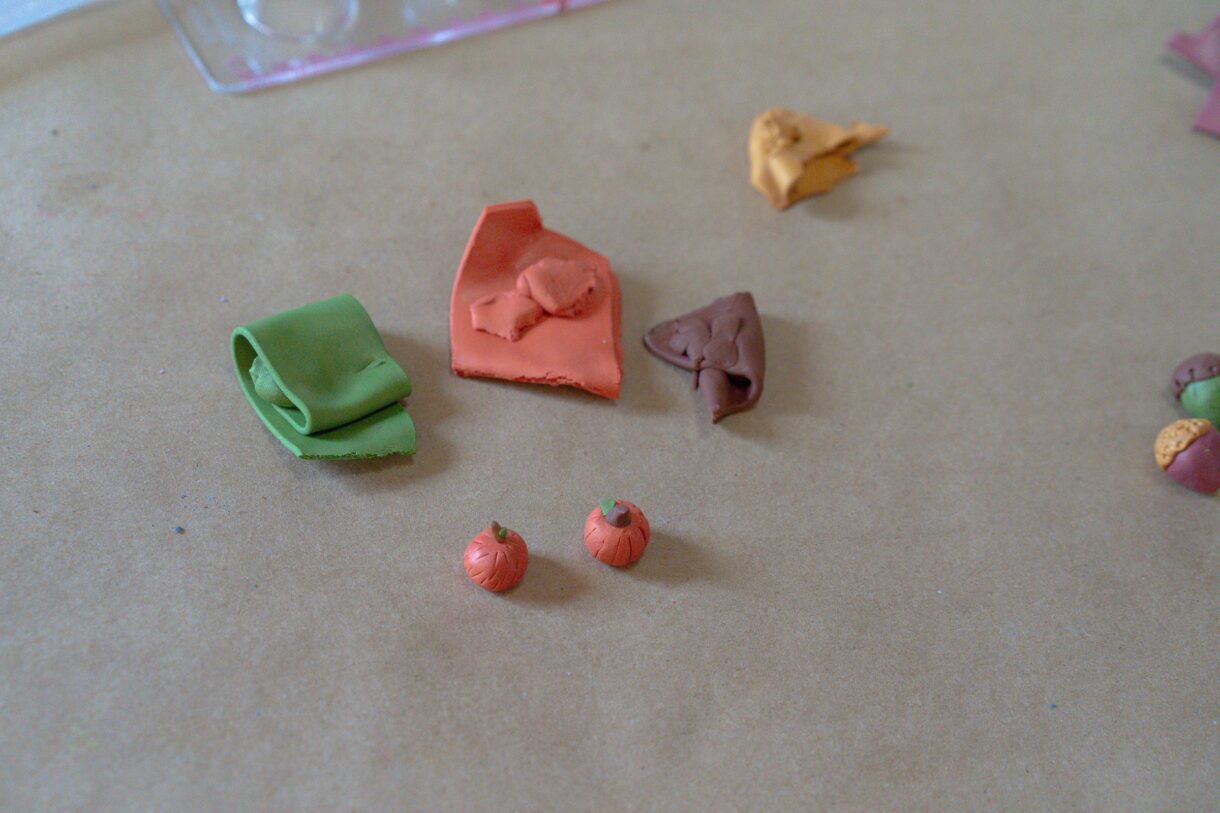
These little punks and acorns make adorable beads! Use a toothpick or clay tool to poke a small hole in the figurine before baking.
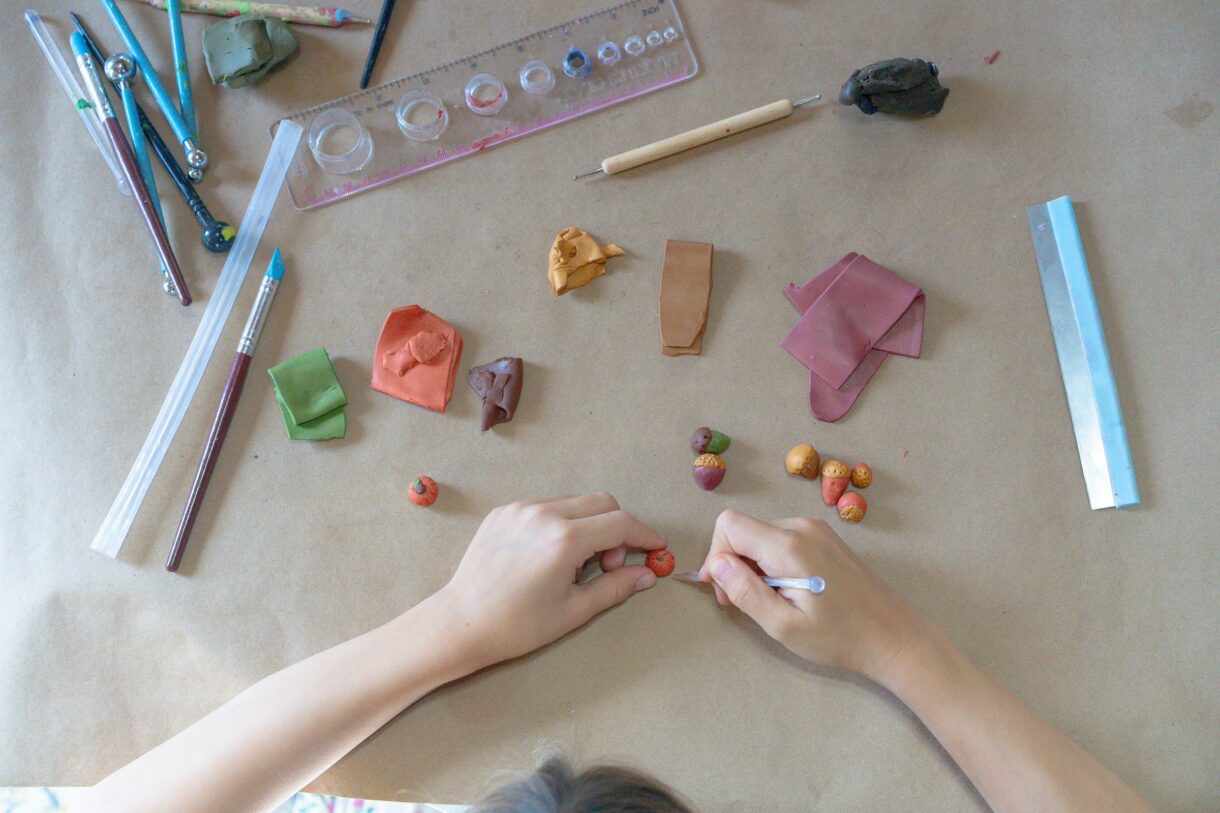
How to bake polymer clay
Read the baking instructions for your brand of clay for oven temperature and baking time, but take note that the baking time is often the minimum time required to se the clay. Polymer clay will not burn if baked at the proper temperature even if baked for hours more than the suggested time.
Polymer clay is made up of chemical compounds that probably aren’t the best to breathe in so I try to do my baking on a day with I can have the doors and windows open to ventilate. I also never bake in the same oven with polymer clay and make sure to air it out before baking.
To bake, I place our creations on a small ceramic tile. I have several of these tiles that provide a great workspace for each child to have for creating. If they work right on the tile, then we can pop it right into the oven without having to risk smushing the creations by picking them up. The tile helps the clay bake evenly and maintain a constant temperature.
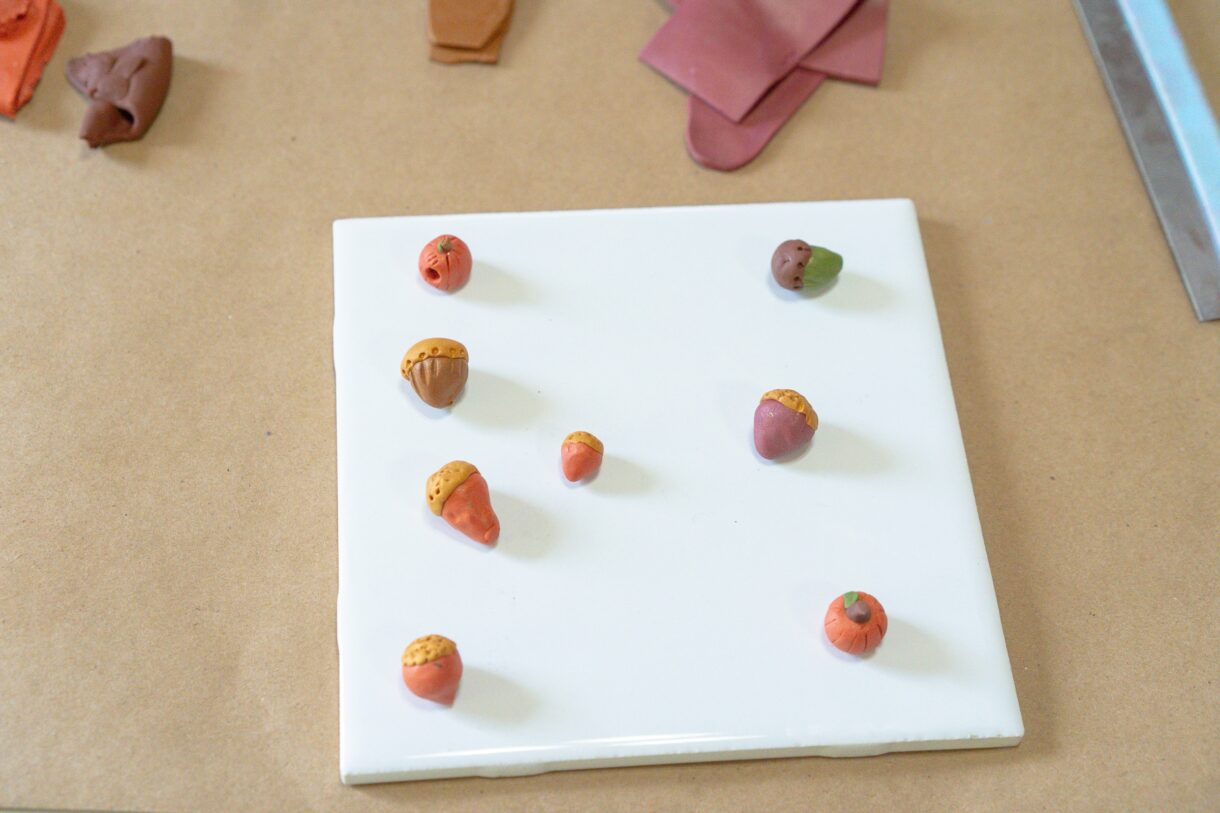
I put the tile in an aluminum foil pan just we have some escapees that roll off.
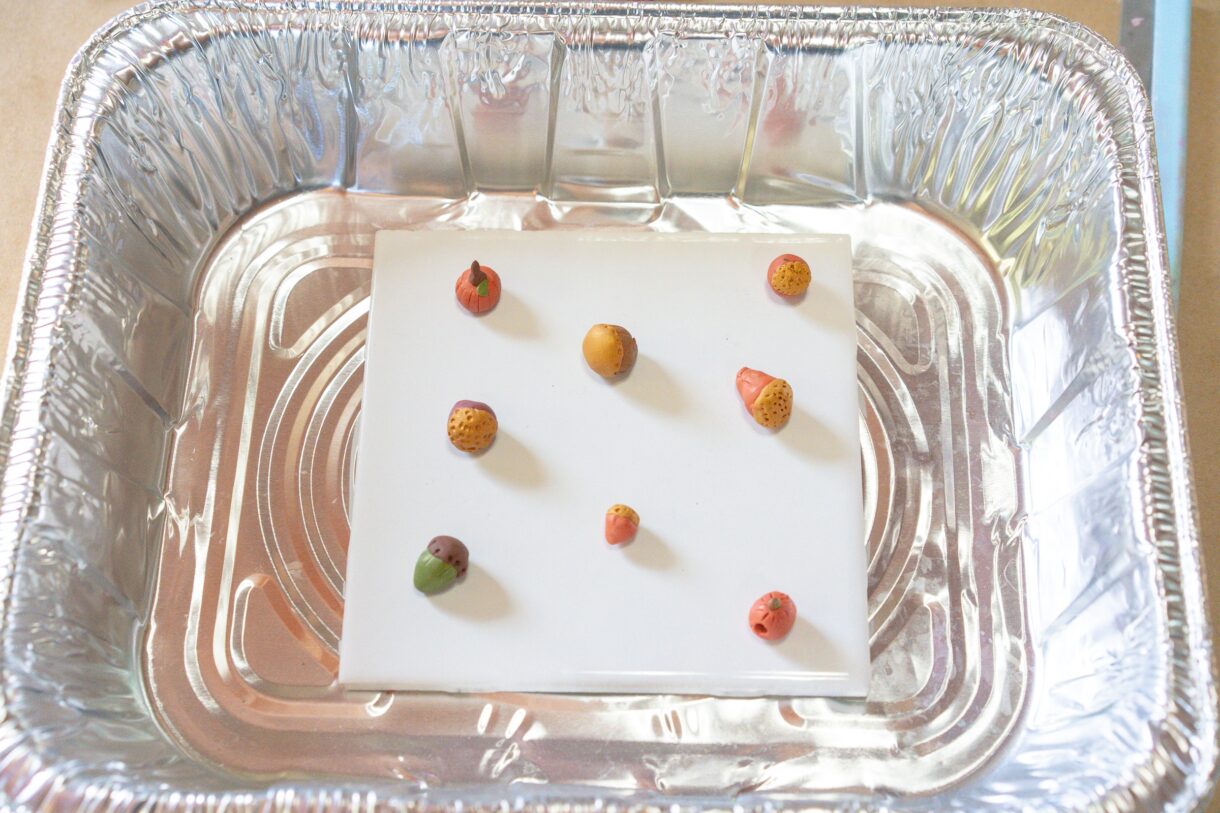
And then I invert another pan on top. This helps prevent some colors from darkening too much. I’ve skipped this step and orange and red clays tend to turn very brown! So definitely for fall colors, don’t skip this part.
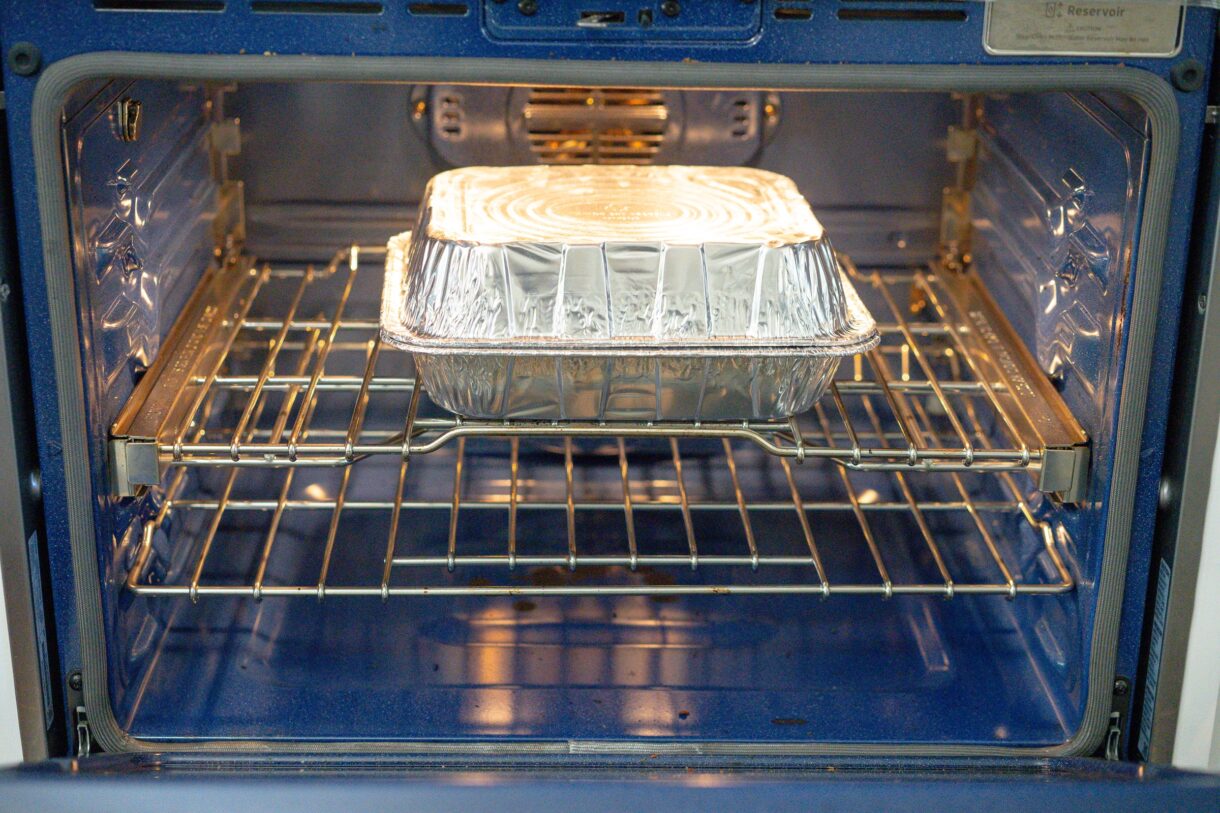
Bake your creations at the recommended temperature for 2-3 times what the package says for the minimum time to make sure they are hard enough to withstand little hands.
If you give these polymer clay acorns or pumpkins a try, I’d love to see! Tag me on Instagram to share!


Leave a Reply