Beautiful drawings and paintings are a hallmark of a Charlotte Mason education. But what if you’re not an artist?
Well I can barely draw a stick figure. But I’m not going to let that discourage me from teaching my children about art and guiding them with Charlotte Mason drawing lessons once they begin school.
My 6 year old creates beautiful drawings and paintings and finds endless inspiration from the world around her. Why are children so naturally inclined to create, yet many of us adults can barely find the strength and courage to try our hand at drawing or painting?
Maybe it’s a matter of talent? Not likely. In an article of the Parent’s Review titled “The Teaching of Drawing and Its Place in Education,” teacher Juliet Williams has this to say:
“Drawing is nothing to do with talent, but can be done with observation, intelligence and application–or by seeing, remembering and expressing and is a fundamentally educative subject.”

Teach a child to see
Teaching drawing is less a matter of talent or teaching a child to draw well, and more about teaching a child to see.
From the very beginning of a Charlotte Mason education, we are cultivating the habits of attention and observation in our children. During the long hours spent outside with our babies and toddlers and preschoolers, we’re drawing their attention to birds, wildflower, little insects, trees, and more.
It is during this quiet growing time that a child develops the keen observation skills that will translate to being able to recreate the world around him through drawing.
Children must learn to notice the big picture. The general shapes that make up a tree. The texture of a favorite flower. The power of perspective on a landscape.
They must learn to notice the small details. The range of colors on a single autumn leaf. The way a shadow falls behind a tree. The proportions of different bird species.
All of this work in seeing is done before a child ever sits down with a paintbrush and continues throughout the child’s education and hopefully throughout life.
Choose materials wisely
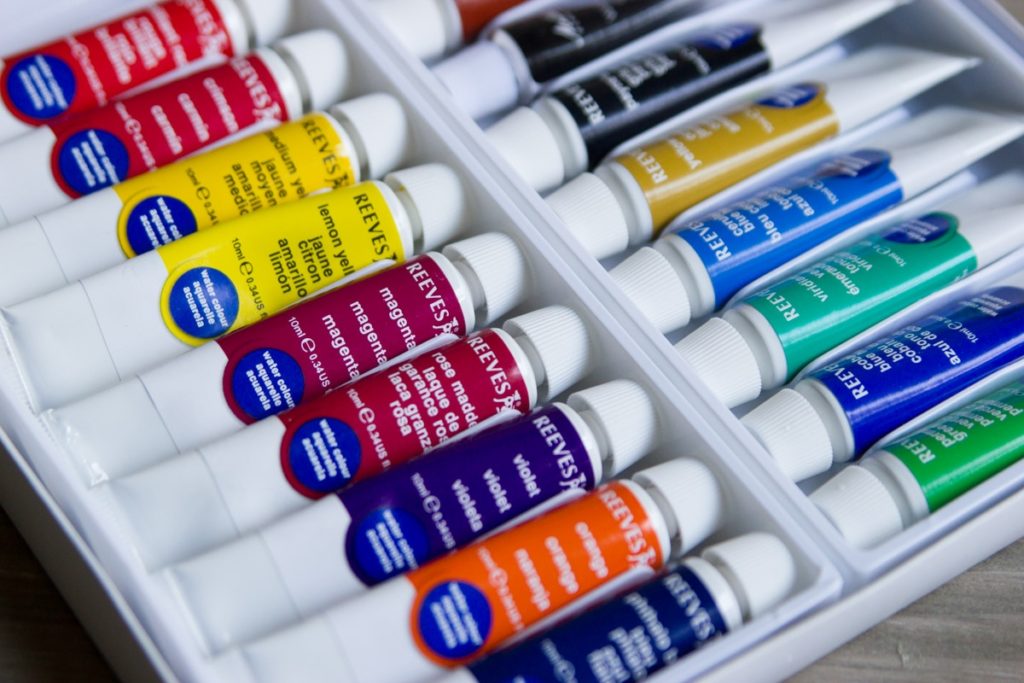
We must take care in what materials we provide for children. Charlotte Mason tells us, “Boxes of cheap colours are to be avoided. Children are worthy of the best.”
We do have cheap crayons, paint, and paper in our house, and I find them useful for certain occasions.
But when we sit down to do an art lesson or create as a family, any child who wants to join and focus at the task at hand (even my little ones who are not school age) will use the high-quality art materials.
Children who are able to use these materials from a young age will learn to use them properly and take care of them.
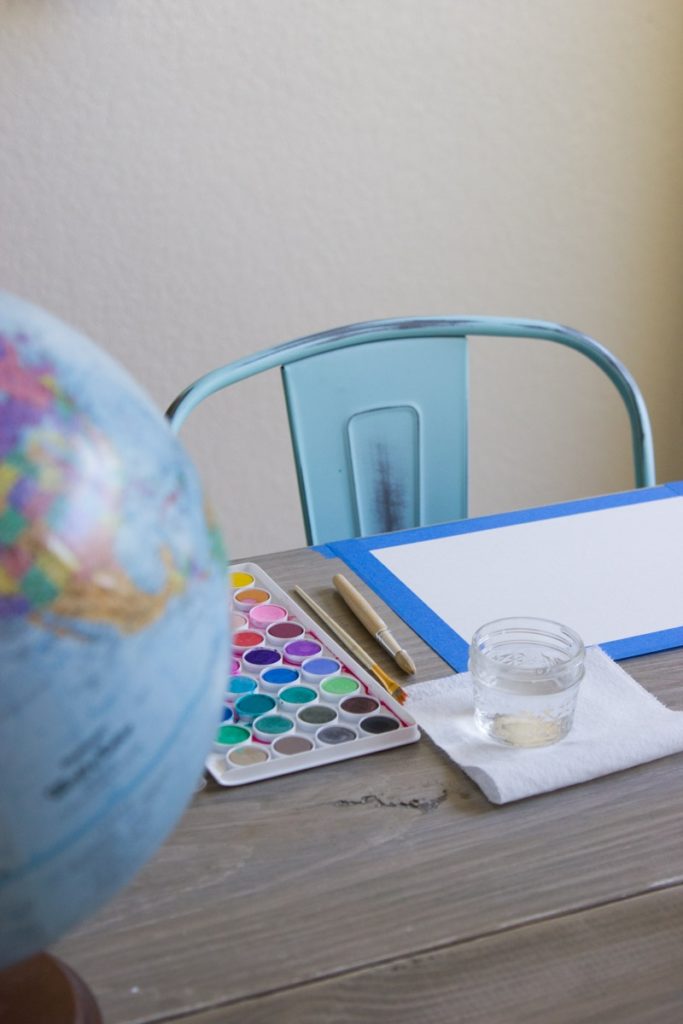
Some basic art materials I keep on hand:
- Crayon rocks
- Beeswax block crayons
- Colored pencils
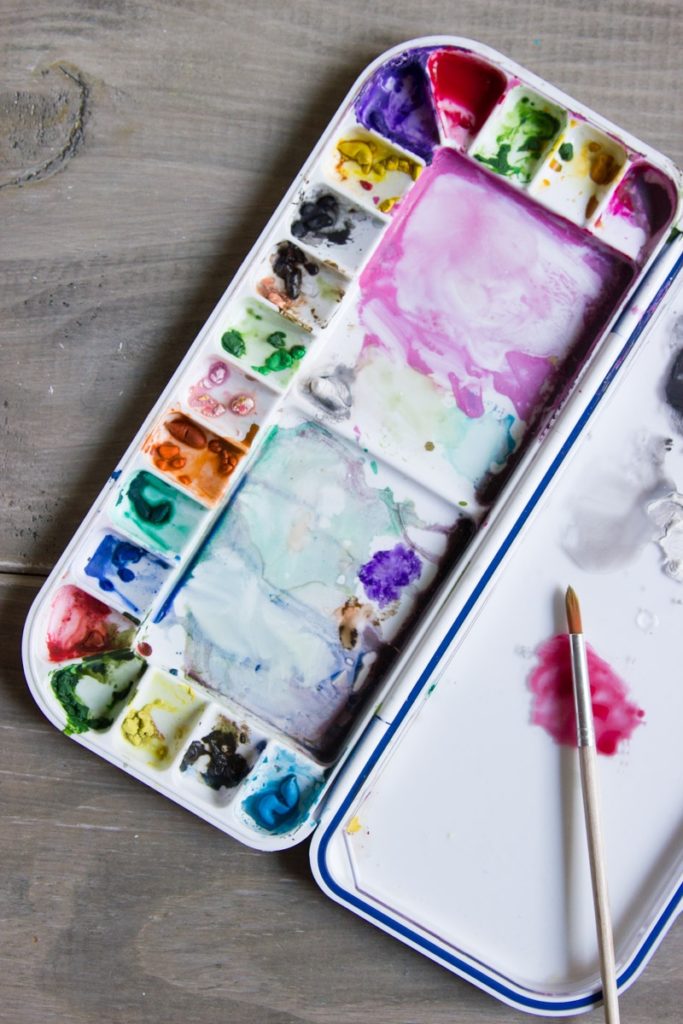
- Watercolor pan set
- Set of watercolor paints
- Watercolor mixing palette
- Watercolor paper
- A set of round brushes
- A set of flat and angle brushes
- Sketchbook
- Chalk pastels
- Chalk
- Polymer clay
- Modeling beeswax
- Vine charcoal
- Mixed media paper
How to structure Charlotte Mason drawing lessons
To learn more about what Charlotte Mason had students in the PNEU schools do with regard to drawing and art:
- listen to the drawing episode of A Delectable Education
- read Juliet William’s Parent’s Review article
- read Charlotte Mason’s own words in her home education series.
I don’t aim to provide an all-inclusive resource for how to implement Charlotte Mason drawing lessons, but I will share what works for our family.
Beginning in Form 1 when a child began formal lessons at age 6, Charlotte Mason included a weekly drawing lesson along with two brush drawing sessions each week. These were included in the morning lessons as part of the curriculum.
Children were also encouraged to do brush drawings during their free time in the afternoons. These afternoon drawings might be an extension of the morning work as a suggestion by the teacher or initiated by the student. Afternoon drawings were often scenes from the child’s imagination of a tale or history book. They also could be objects from an area of special study in natural history like birds, seashells, rocks, leaves, etc.
Lessons were short at 15-20 minutes depending on which form. The drawing lessons were not the same occasion to make an entry into a nature notebook. It was common for there to be purposeful overlap in the material being covered though.
Some notes about Charlotte Mason drawing lessons
Drawing lessons were primarily with watercolors with chalk and charcoal also used occasionally. Charlotte Mason expressly tells us that pencil should not be used:
“…he should work in the easiest medium; that is, with paint-brush or with charcoal, and not with a black-lead pencil.” Volume 1, page 313
She also mentions sculpting objects from clay as part of the art lessons.
Students retain from using pencils and drawing outlines which is why softer mediums like watercolor, chalk pastels, or vine charcoal are preferred.
I have heard some Charlotte Mason enthusiasts propose that a “dry brush” technique should be used. I was surprised to learn that this method of painting with watercolors isn’t actually mentioned in her writings. It seems that to get the level of detail in some nature drawings a dry brush technique would work very well. But there aren’t any indicators that students were instructed to only use a dry brush technique. Read more here.
Drawing lessons need not be kept in a single notebook as often a lesson might utilize a slate and chalk or require different paper for various mediums.
Though the drawing lessons were often of natural objects, these lessons were not done in the field during nature outings.
Drawing lessons included a mix of observing and drawing a specimen in the classroom and drawing objects observed with their own eyes from memory.
In the lower forms, objects were observed and drawn from afar. Nature specimens were pinned to a white sheet of paper and displayed at a distance allowing the child to observe the shape and structure of the object without getting too engrossed in the details.
Children should be encouraged with their drawings, but not flattered. Children need suggestions for improvement and areas to focus on in order to grow. Without this, their interest in drawing wanes quickly.
Teachers should not physically interfere with the work of the child. Encouragement and suggestions are made, but it is up to the child to make the alterations.
Beginning Drawing Lessons
Begin with objects that in their detail show their final shape like a broom, a feather, or a straw mat. Young children notice details first. When the details create the shape, it will be easier for the child to recreate that shape.
Even though the child will be looking at the details, the object should be placed at a far enough distance so that the child can get a full view of it. The concepts of proportion, light, and shadows will be tough for a young child to grasp, but they should be noticed and discussed.
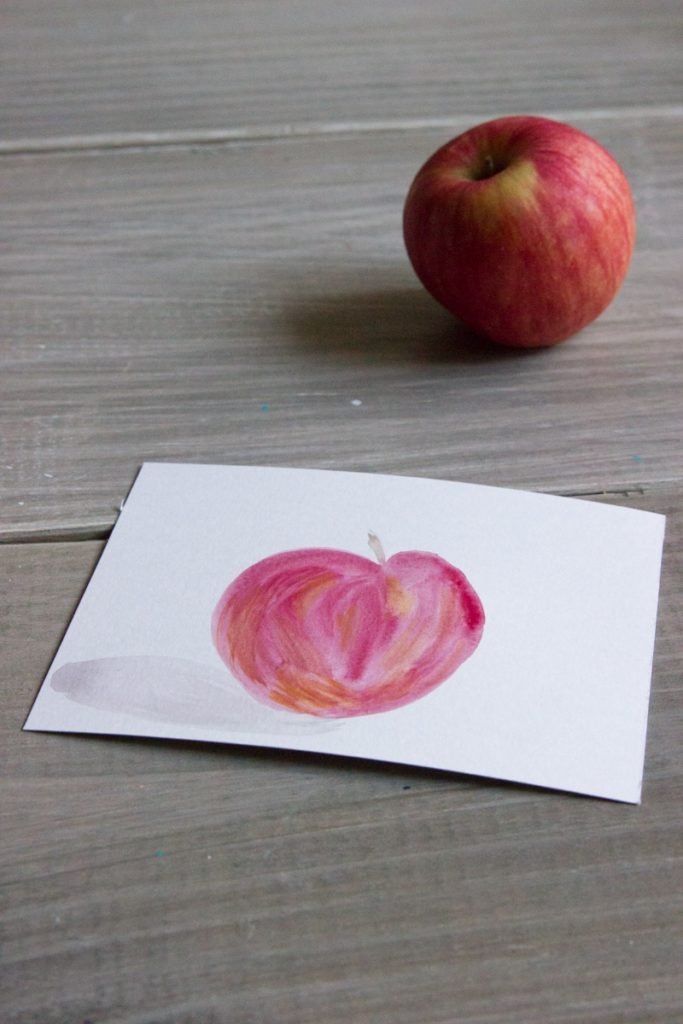
Next, work with simple solid objects like apples, berries, leaves, and simple baskets. Most children will happily and fairly easily draw these irregular, yet familiar objects. Even if it’s not quite in proportion or lacks a definitive shadow, anyone could probably recognize a child’s rendition of an apple. This delights a child!
Then, students draw simple, regular shapes like books, boxes, and tin cans. It might be an advanced concept, but discuss perspective and how to make objects appear three-dimensional. In her Parent’s Review article, Juliet Williams suggests an exercise to teach perspective:
“A good lesson is learnt by a thin round biscuit and a ball being put up beside each other- the biscuit on edge, and the fact pointed out that though the outline is the same, the shadows on object and table show how different shape really is.”
Lessons in human form start from the beginning. It’s challenging, but a necessity to illustrate scenes from the imagination or from life. Children draw their own fingers, their hands and feet, and then other people. Point out the proportions of heads and faces.
Drawings of people should largely be done from memory to keep the child from focusing too much on the details.
Finally, children draw intricate objects like chairs, tables, and bookcases. The perspective involved in these drawings make them incredibly challenging.
Brushwork
While moving through these stages of drawing, the child also learns brushwork.
Children must learn how to properly grip the paint brush and position their paper to be able to paint without their hand resting on the paper at all.
They must learn to mix the watercolors into distinct shades and how to put the paint down on the paper in purposeful strokes.
Once a stroke has been put down, it should not be touched again. This art in finality takes practice and planning.
Children should learn techniques in how to observe and create shadows and fine details.
Homework
Children will have “homework” to do in their own time during the afternoon 2-3 times a week.
You can assign specific homework, but children often come up with their own ideas.
This is the time when children have the opportunity to put the skills and techniques they have learned in drawing lessons to use in the real world. They might choose to draw a favorite tree, illustrate a visual narration of an engaging fairy tale, or draw scenes from a story from their own imagination.
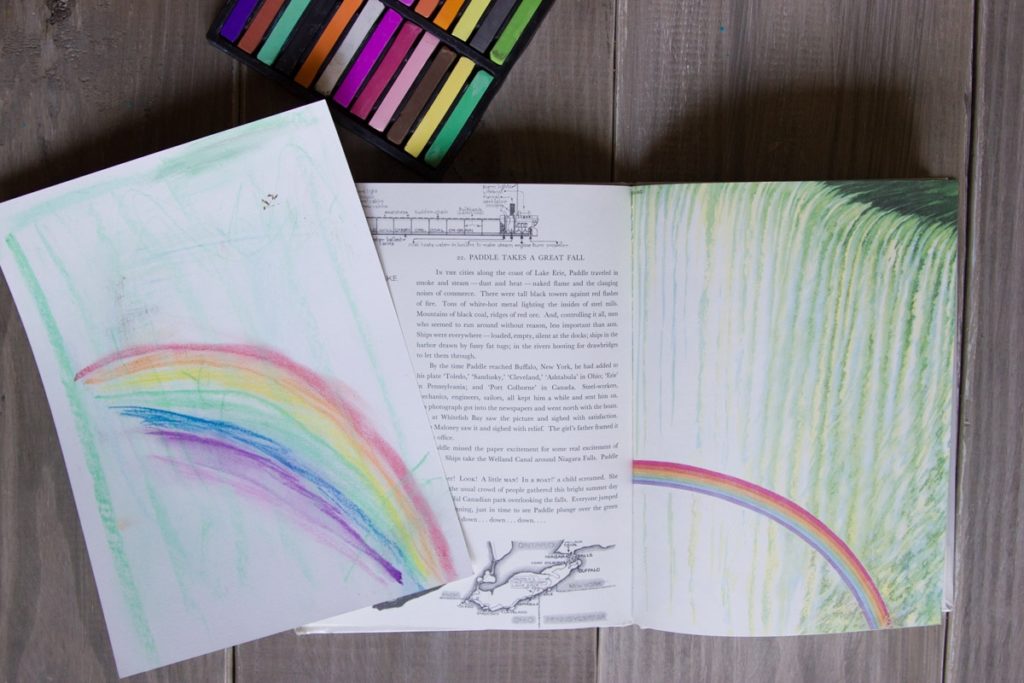
My 6yo Form 1B student’s Visual narration of a chapter from Paddle-to-the-Sea, done from the imagination in chalk pastels
What about the nature journal?
The nature journal is not directly related to drawling lessons, though it is often complementary.
We choose some areas of special study each term. The special studies are based on my children’s interests and the seasons. They might include subjects like birds, rocks, butterflies, weather, etc.
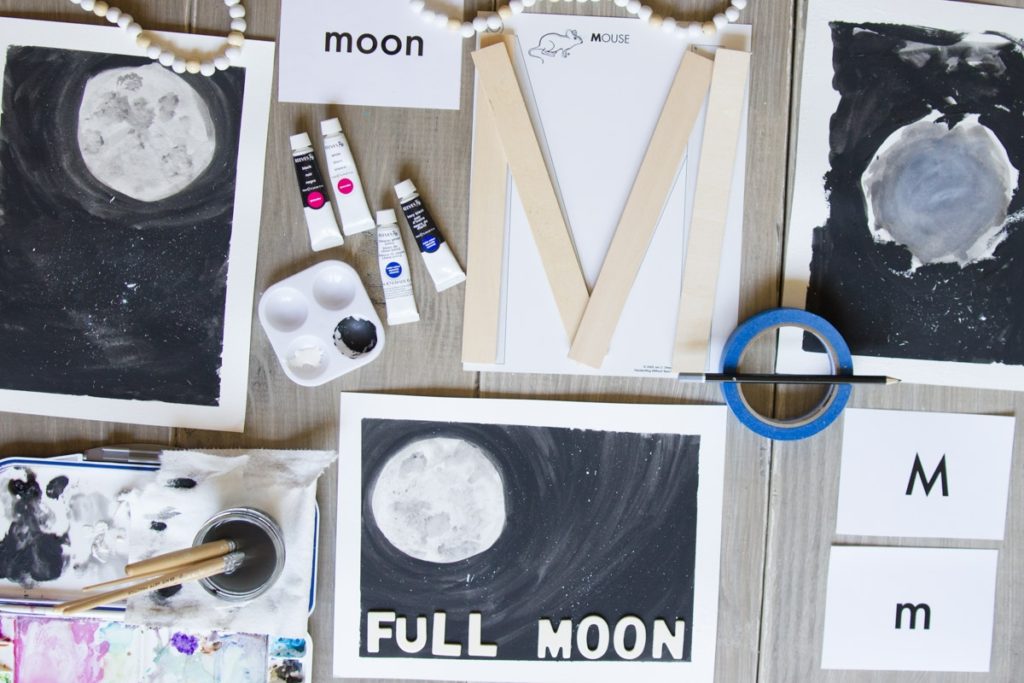
I try to plan our drawing lessons to coordinate with our areas of special study. If we are studying birds we may do a drawing lesson on a feather, showing movement, blending colors found in a favorite bird, etc.
The child decides what and how to make entries into his nature journal, though we set aside time for making entires each week. With a weekly drawing lesson, brush drawing practice twice a week, and afternoon homework, the skills learned during the week often translate directly to nature journal entries.
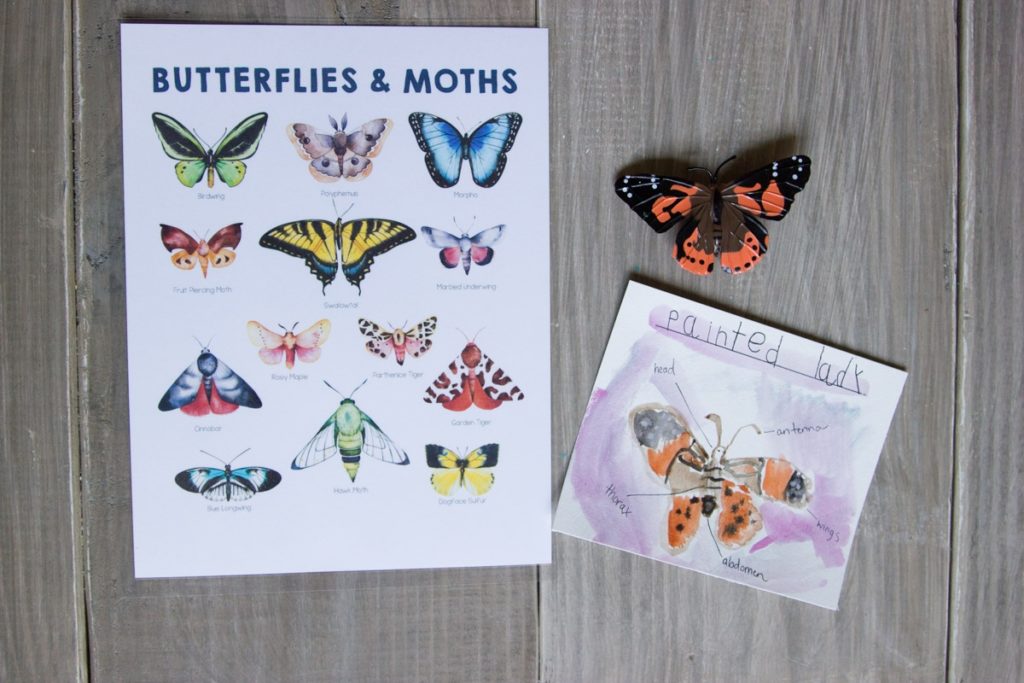
Nature journal entry by my 6yo Form 1B student
Do you need a curriculum to teach drawing lessons?
Most parents have no art training. But most of the time, a curriculum or art program is is not necessary.
Since a huge part of drawing and art is the mere act of seeing, we can serve our children the best by cultivating this skill.
When it comes to the actual drawing, the method and progression I outlined in this post is explained in great detail with additional exercise and activities in this Parent’s Review article.
I decide on our topic or area of focus each week, and then I look for resources to help me teach it.
As a total beginning, I had no idea what kind of paints or brushes or paper or the different between the options. Creative Bug was my best investment into our art lessons, and at only about $5/month it was well worth it!
They have thousands of online classes in all different types of art. I started with watercolor classes but also experimented with drawing classes among others. Even though these classes aren’t exactly in line with the Charlotte Mason method, they gave me a better starting foundation for teaching art.
I did some of the classes with my daughter, but I did several by myself as my own mother culture.
If you want to try it out, here is a 14-Day Free Trial to Creativebug + Save 20% (including sale items!) at Joann!
Beyond those classes, I have found countless tutorials on YouTube that are fantastic resources for our drawing lessons.
Drawing lesson by Mr Otter Studio on YouTube
I will say that I at some point, my daughter’s skills will advance beyond what I am capable of teaching. She has a gift for art and a keen interest in creating. She participated in an art camp last summer and will do one again this summer. In the next few years, we will probably look into art classes during the school year too.
Additional Resources
There are many, many wonderful resources out there for learning to draw yourself and teaching children to draw. Here are a few I would recommend checking out at your local library:
- Drawing With Children
- Drawing on the Right Side of the Brain
- Draw Write Now series
- Laws Guide to Drawing and Nature Journaling
- Laws Guide to Drawing Birds
- Drawing Nature for the Absolute Beginner
I hope all of this has been helpful, and that I’ve made it clear that yes, you can teach your child to draw! If you have any questions, leave a comment and I will definitely try to answer them. You can also follow along and see more of our homeschool adventures on Instagram.

I remember years ago when I was taking a early childhood education course, it mentioned not physically helping a child with art. Yes give them suggestions and encouragement but physical help can hindered their creativity so I love that you mentioned that and looking forward to teaching myself and my children to draw!
It takes a lot of restraint for me, but I can understand why it’s best!
Thanks for the article! I am in the process of deciding how to go about educating our littles, and really appreciate the effort you make to share! I my background is in art (painting degree and classical/naturalist training afterward) and a great! book to read is Henry Poor’s The Practice and Science of Drawing – it is quite dense, but gives an excellent foundation, especially if you are trying to teach and aren’t familiar with the theory behind it. Thanks again!
Love this.
thank so much for reading!
I’m so excited to discover this website and specifically this post on drawing. I can’t wait to incorporate this into our homeschool day.
I’m so glad we’ve found each other! Drawing has been such a lovely addition to our days!
Hey! I have a question for you. If Charlotte Mason liked copy work for teaching grammar and sentence structure, what are your thought’s on tracing as a means of learning how to draw things in proper proportion?
Hey there! So copywork is done by looking at the letters or a word, taking a picture in your mind, and then writing the letters or the word. Charlotte Mason didn’t advocate for tracing in writing or in drawing. For drawing, she warned against even outlining or sketching out something first and instead used the same technique- look at an object, take a picture in your mind, and then reproduce it. Hope that helps some!