My kids are obsessed with sewing right now! Kids love working with their hands, and sewing is a fantastic way to engage so many of their skills and systems all at once.
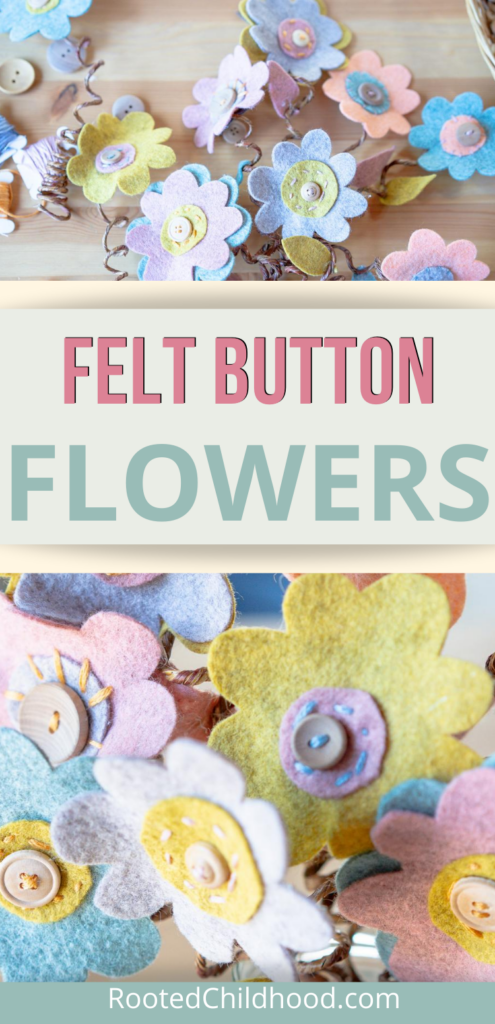
Easy Sewing Project for Kids
With young children, I find that small, bite-sized sewing projects are essential to expose a child to the skill of sewing without tiring out their physical ability or frustrating them.
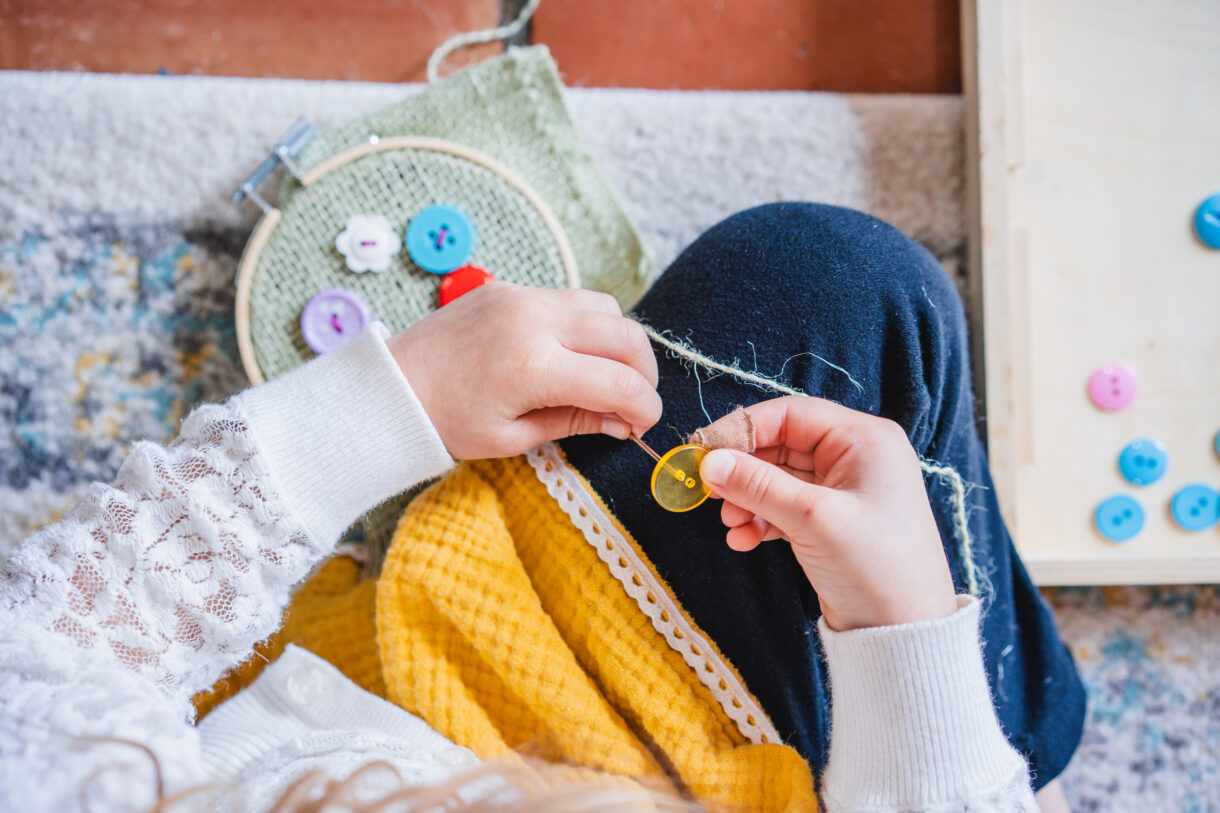
Sewing buttons is one task that is such a perfect beginner sewing project. A child can sew on one button and squeal with delight at the task they have accomplished.
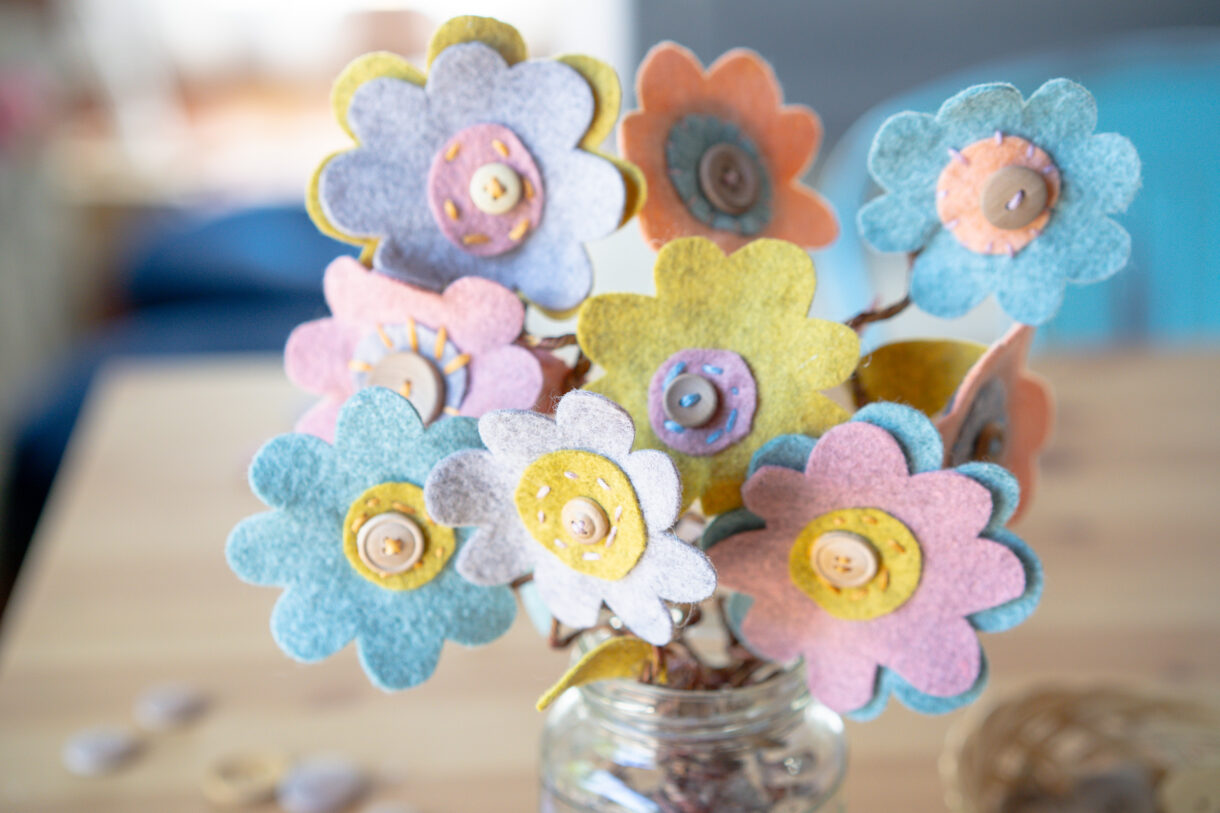
This sweet handicraft project would make a beautiful spring decoration or a lovely Mother’s Day gift or a fun present to take along with a meal to a family in need. It’s a great collaborative project for the whole family to work on with each child doing what they can.
Materials
- Felt in a variety of complimentary colors
- Buttons
- Embroidery thread
- Embroidery needle
- Vine covered floral wire
- Pen or marker
- Scissors
- Template (print/draw your own or scroll to the bottom of this post to download the one I used)
- Wire cutters/pliers
- Freezer paper (optional)
Instructions
Whenever we start with a handicraft project, I like to think about the finished product and where we will use it in the home or if we’re giving it away, what the person receiving it would appreciate. If I let my kids have their way in creating these flowers, we’d have hot pink and neon orange flowers!
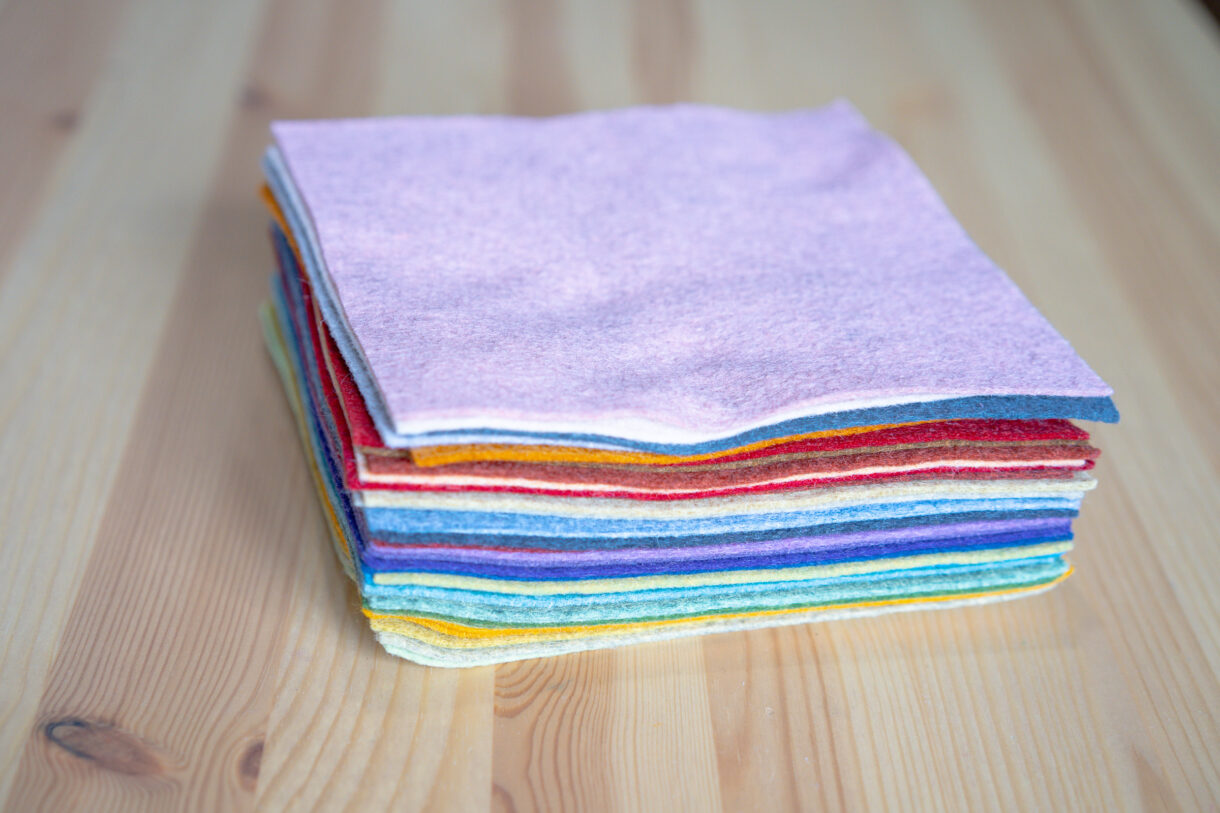
Of course there is a time and place for creative freedom, but one tenet I try to adhere to about handicrafts is that they should have a purpose…and I would find it hard to display neon flowers in my home so instead, I pre-selected a range of colors I was comfortable with before offering them to my kids. From these, they could pick whatever they wanted. I found this collection of heathered felt on Amazon.
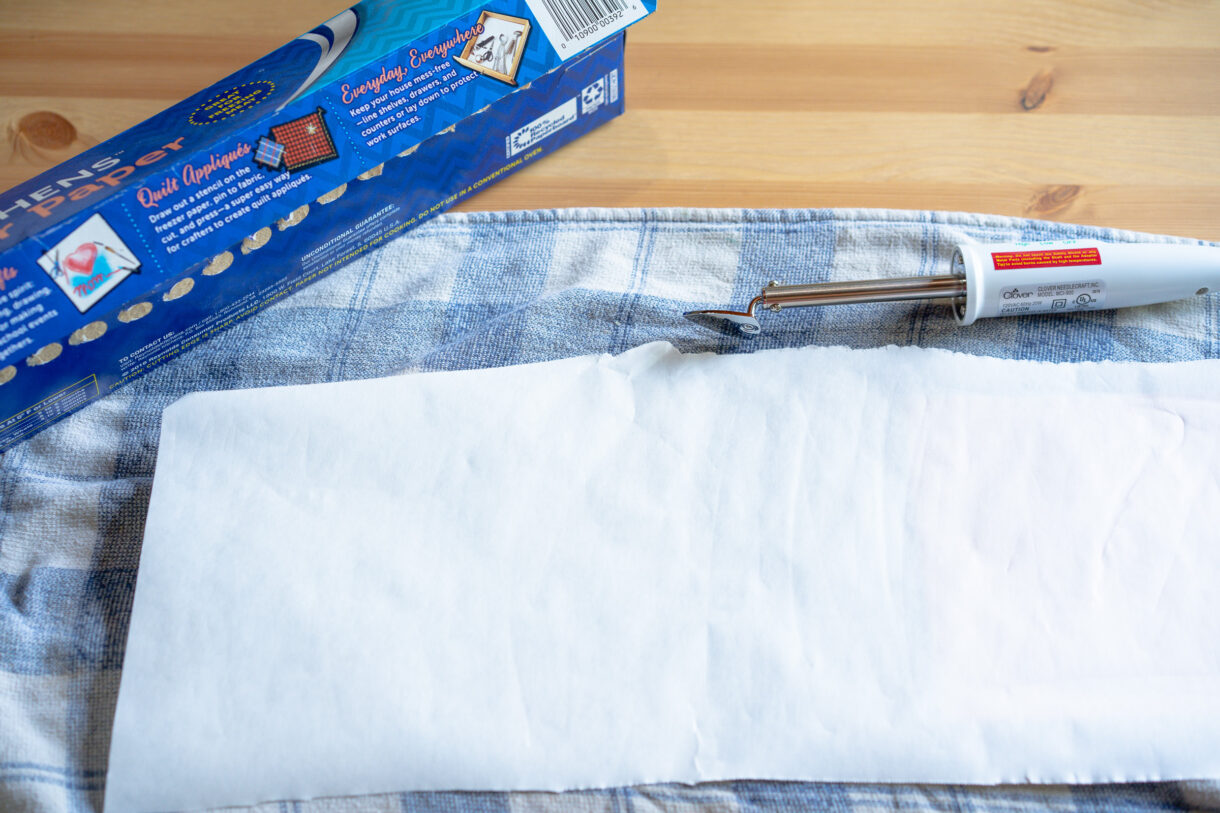
Whenever I cut felt, I use the freezer paper trick for easy and precise cutting. Pull off a length of freezer paper to cover your felt and iron it shiny side down onto the felt. I got this mini craft iron thinking it would be nice to be able to iron the paper without having the danger of heating the big iron around the kids, but I ended up getting the big iron out anyway! The little iron just wasn’t hot enough to melt the paper onto the felt.
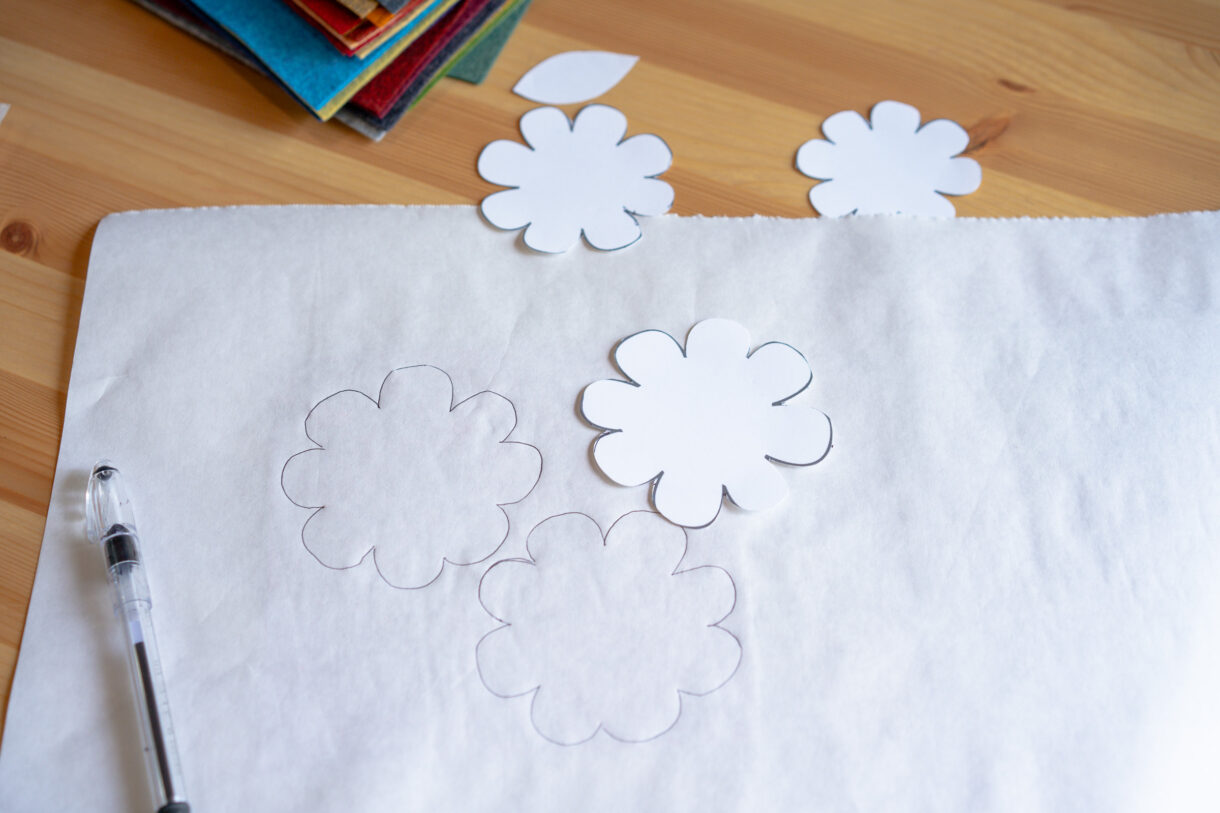
Cut out your template pieces or hand draw your flowers onto the matte side of the freezer paper with a pen or marker.
I sometimes trace the pattern onto the freezer paper before ironing it on, especially if it is a more intricate design, but depending on what pen or marker you use, it sometimes smudges on the iron. One day I’ll get my own iron for crafting but for now I share with my husband and to keep his work clothes looking good, I draw the patterns after I iron!
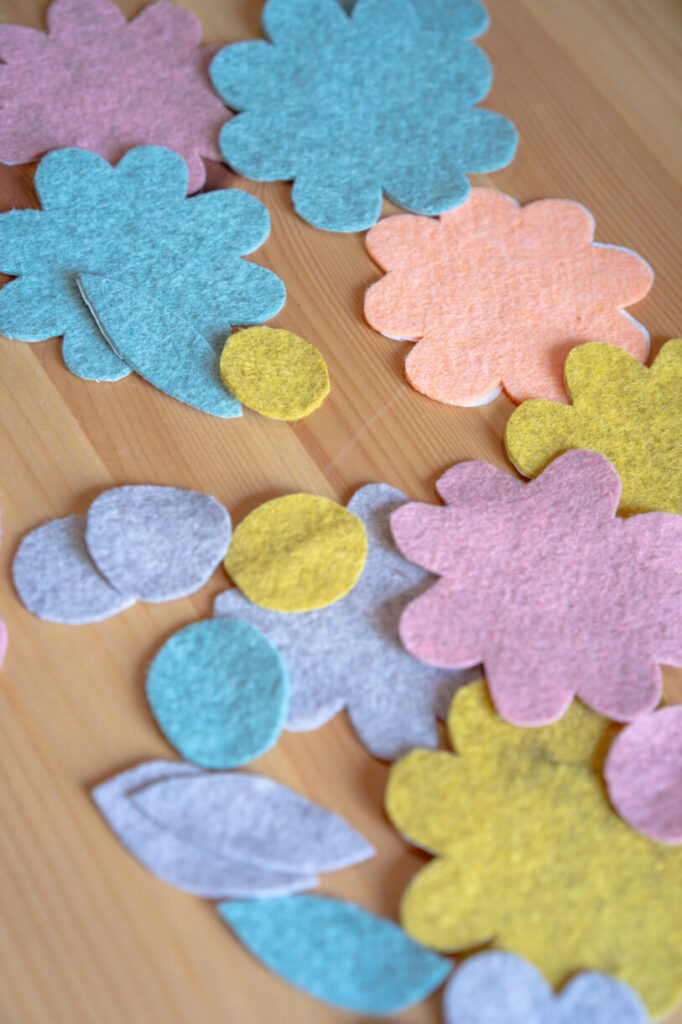
I cut out two different sizes of flowers, leaves and some circles for the centers out of several colors of felt. I used a pattern for the flowers but just cut out the leaves and circles freehand.
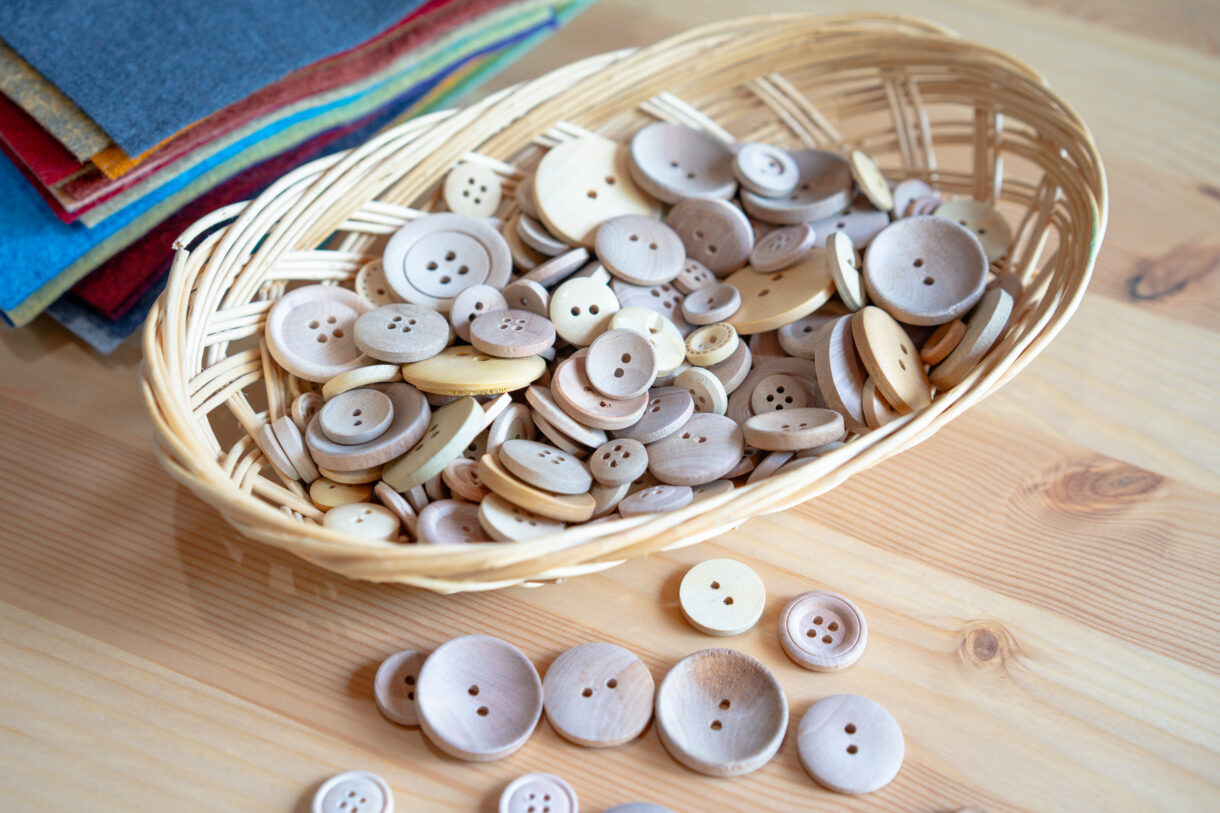
I opted for wooden buttons to complement the natural feel of the heathered felt. This multipack came with a variety of sizes and I picked out the ones I thought would look good with the felt colors.
Next, I found some complementary colors of embroidery thread and pre-threaded a bunch of needles. Threading needles is pretty tough for most kids under about 8 so I do this myself at night watching a show so they can just get started with the project and not have to wait on me when we are ready to get started.
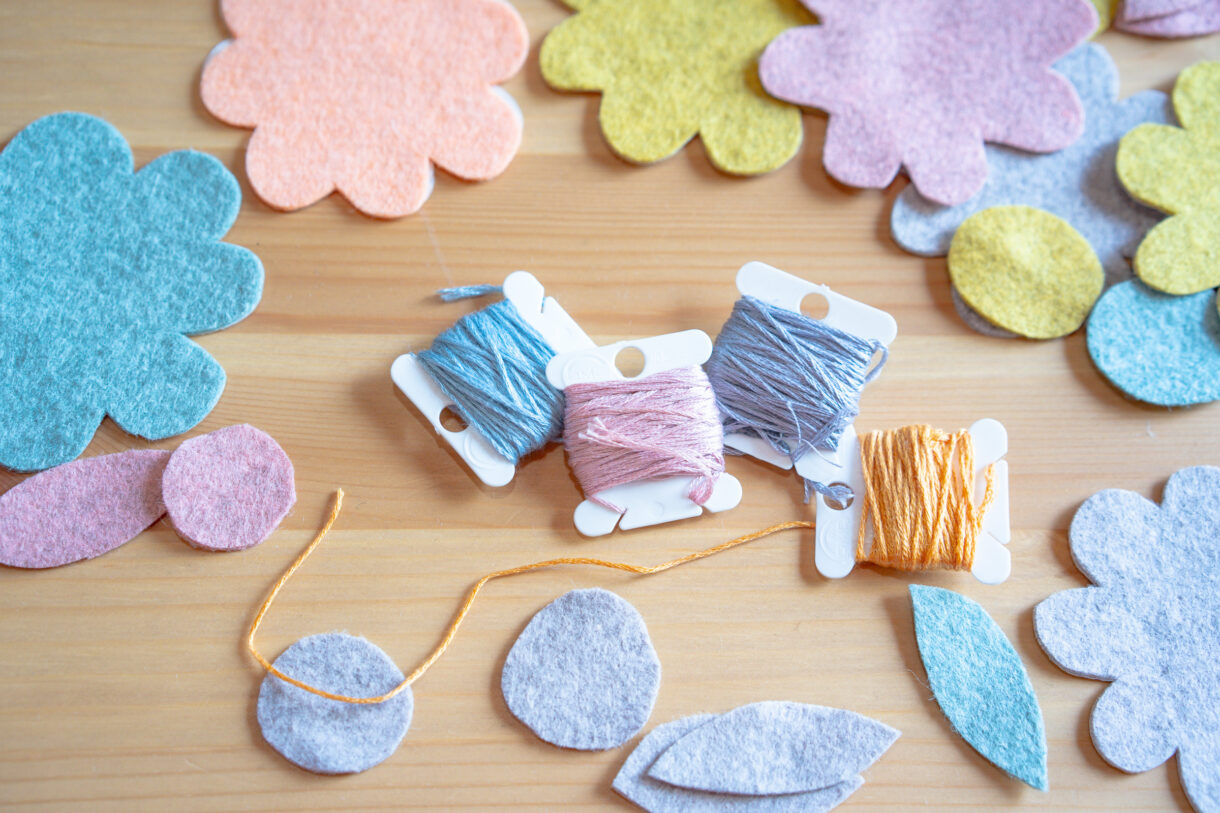
I let the kids pick out their favorite combinations of flowers, buttons, and thread, and they got started sewing! Each child came up with their own system for what order they assembled their flowers and what exact design to do. I didn’t micromanage this and let them be creative.
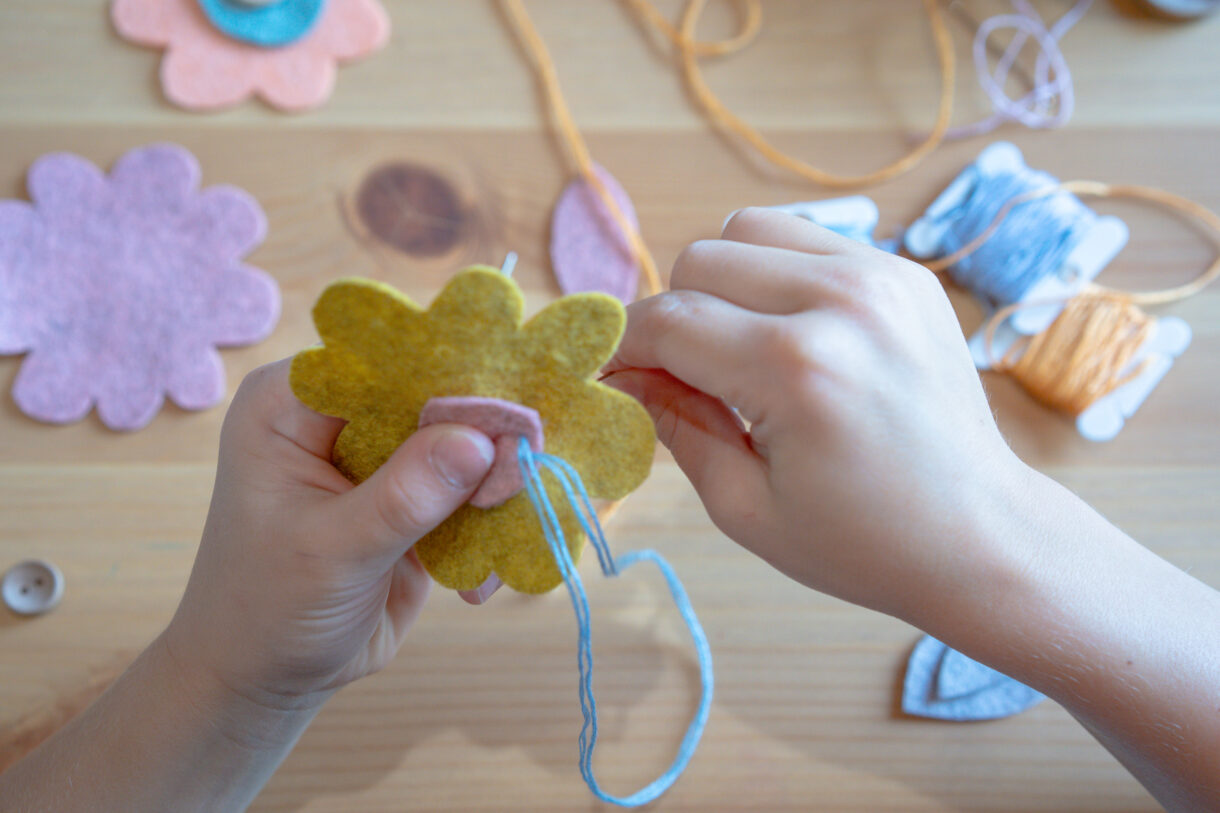
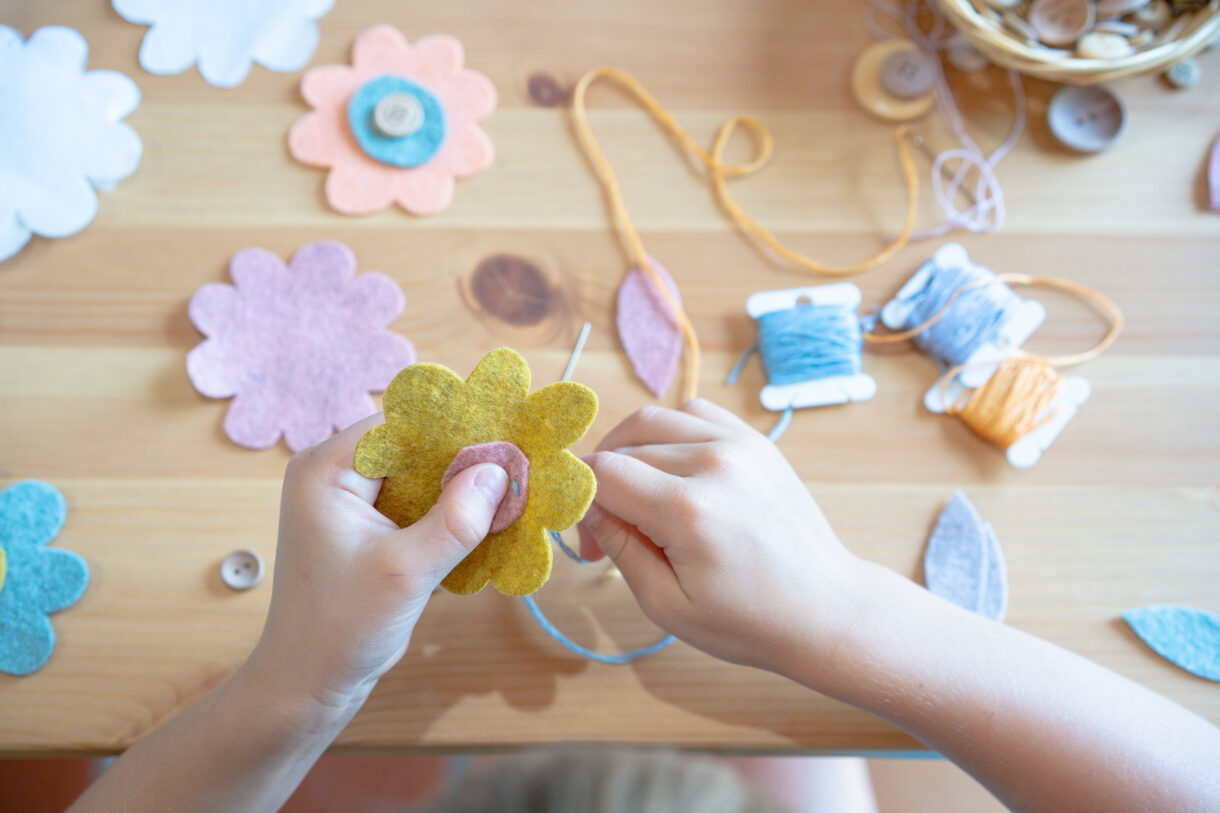
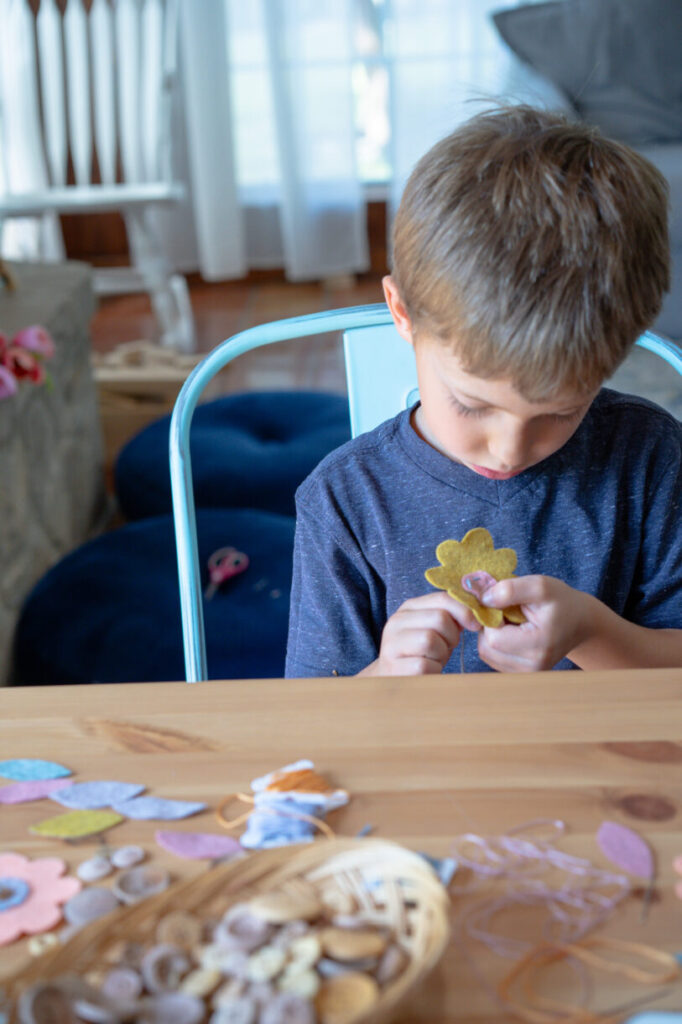
We got some different designs, and I love them all!
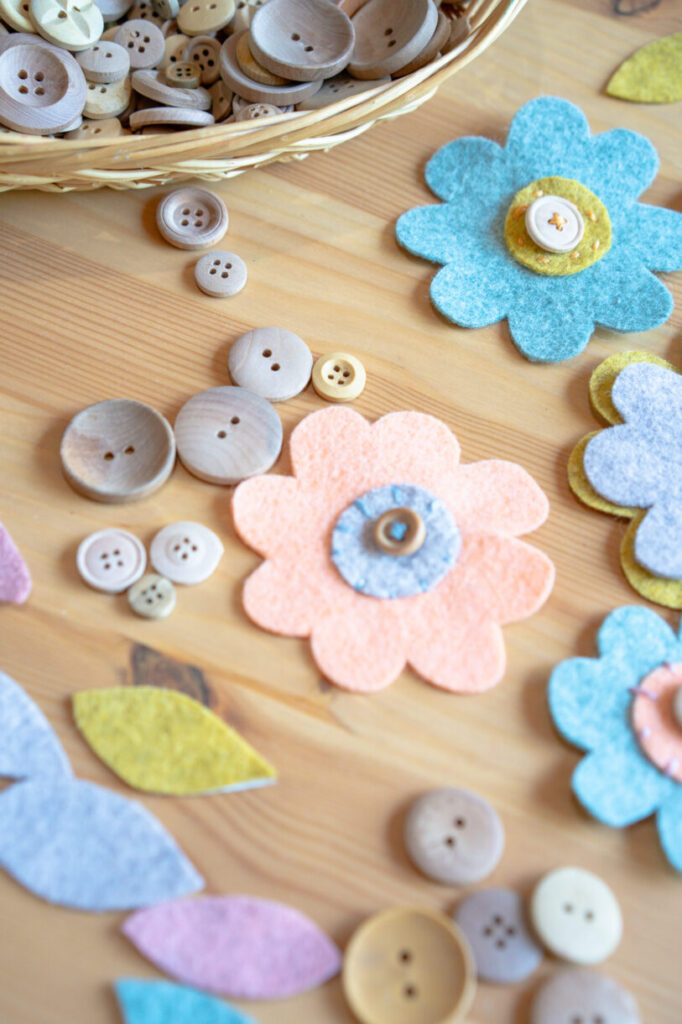
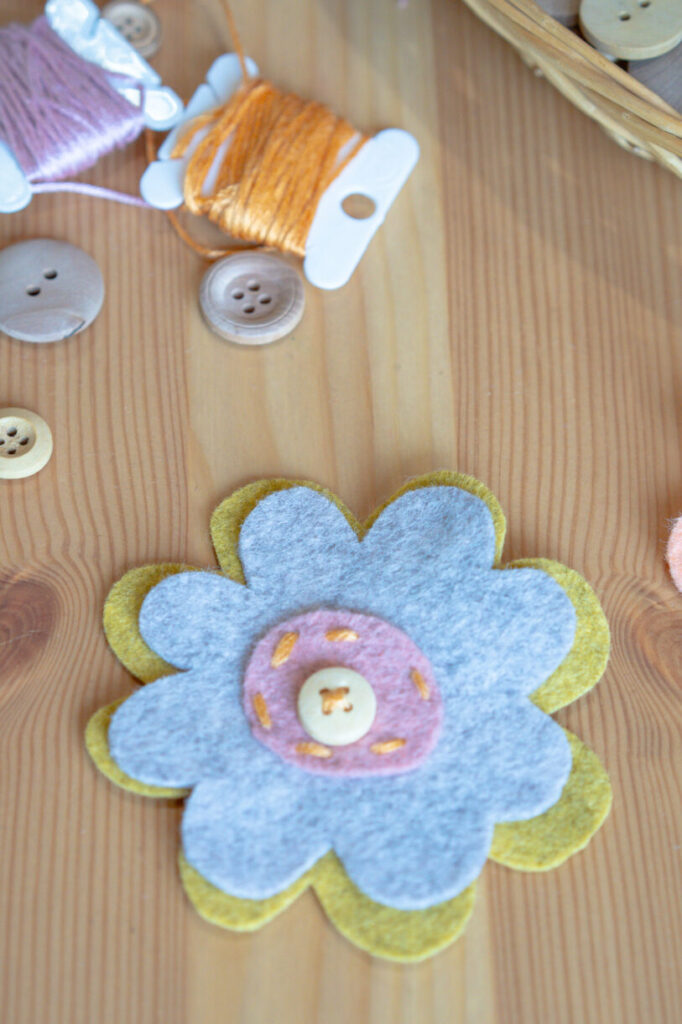
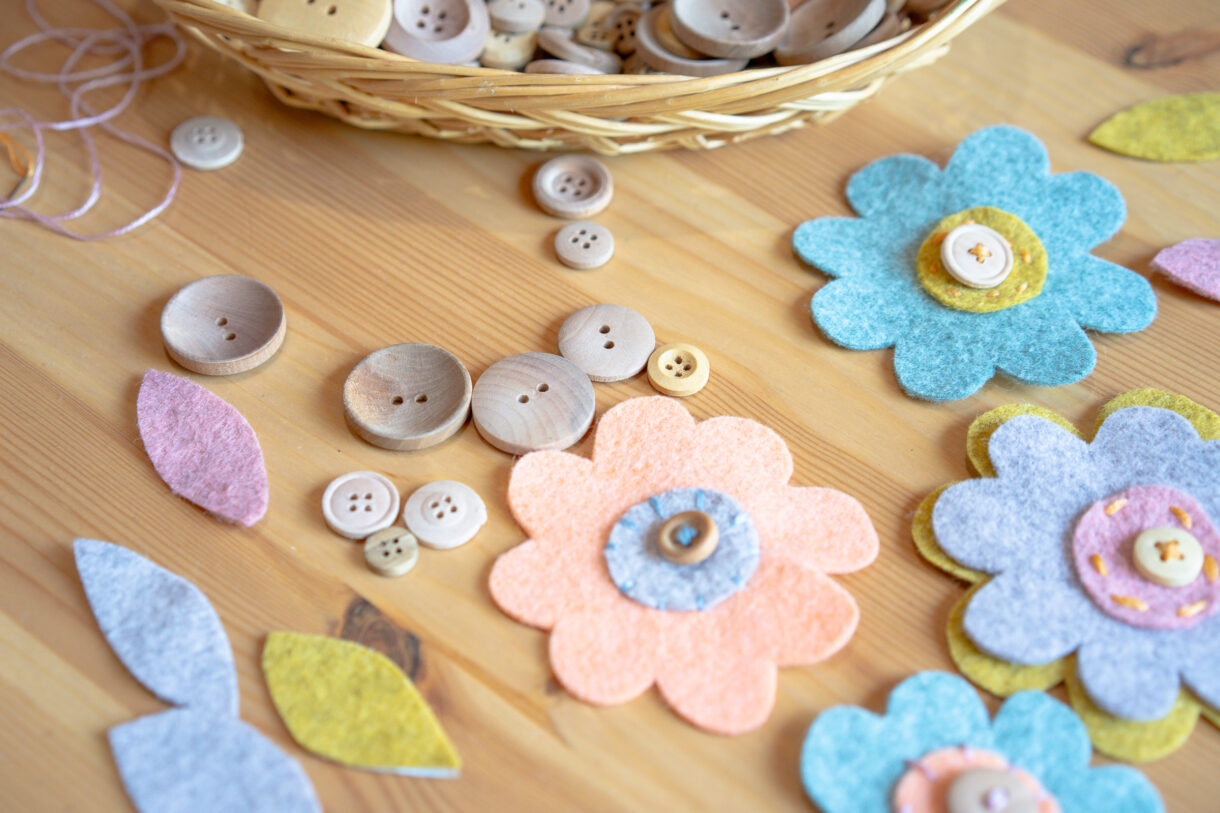
We worked on sewing flowers over the course on a few afternoons. I like to set everything out in a basket so the kids can come and go as they have the desire and the stamina to work on the project.
Once we had a good amount of flowers, we were ready to add the stems. We’ve made these flowers before and stuck them on craft sticks or sticks we found in the yard, but I wanted to do something a little different for this bouquet.
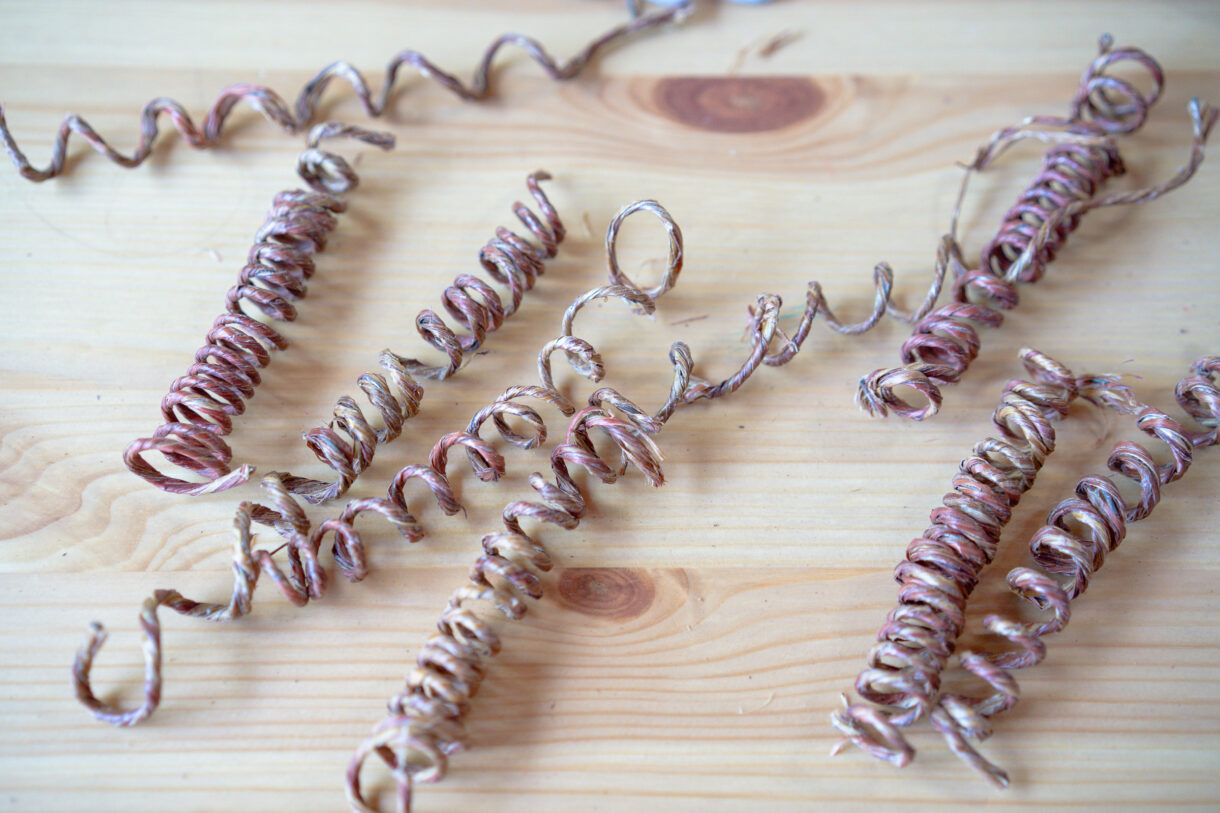
I used vine covered floral wire to create this fun twisty stem.
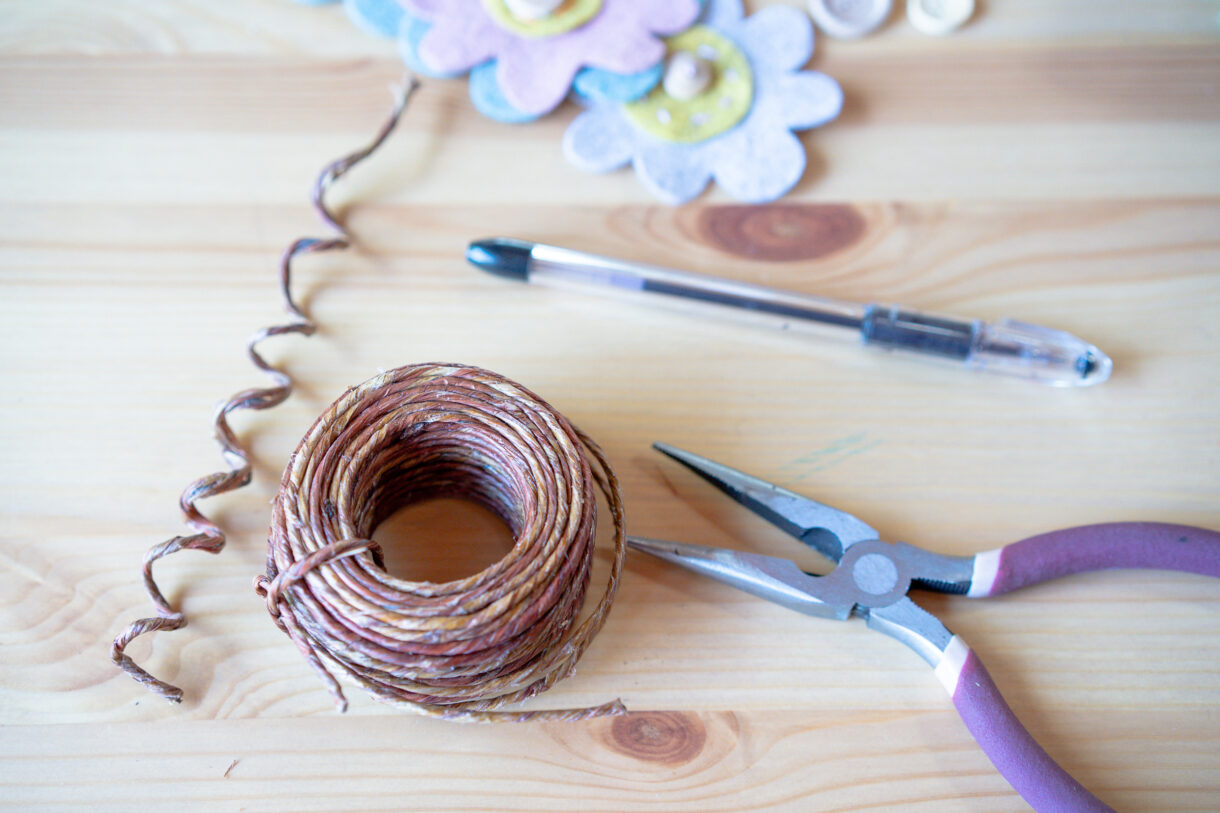
To make the stem, I just twisted it around a chunky pen and then cut it with the wire cutters.
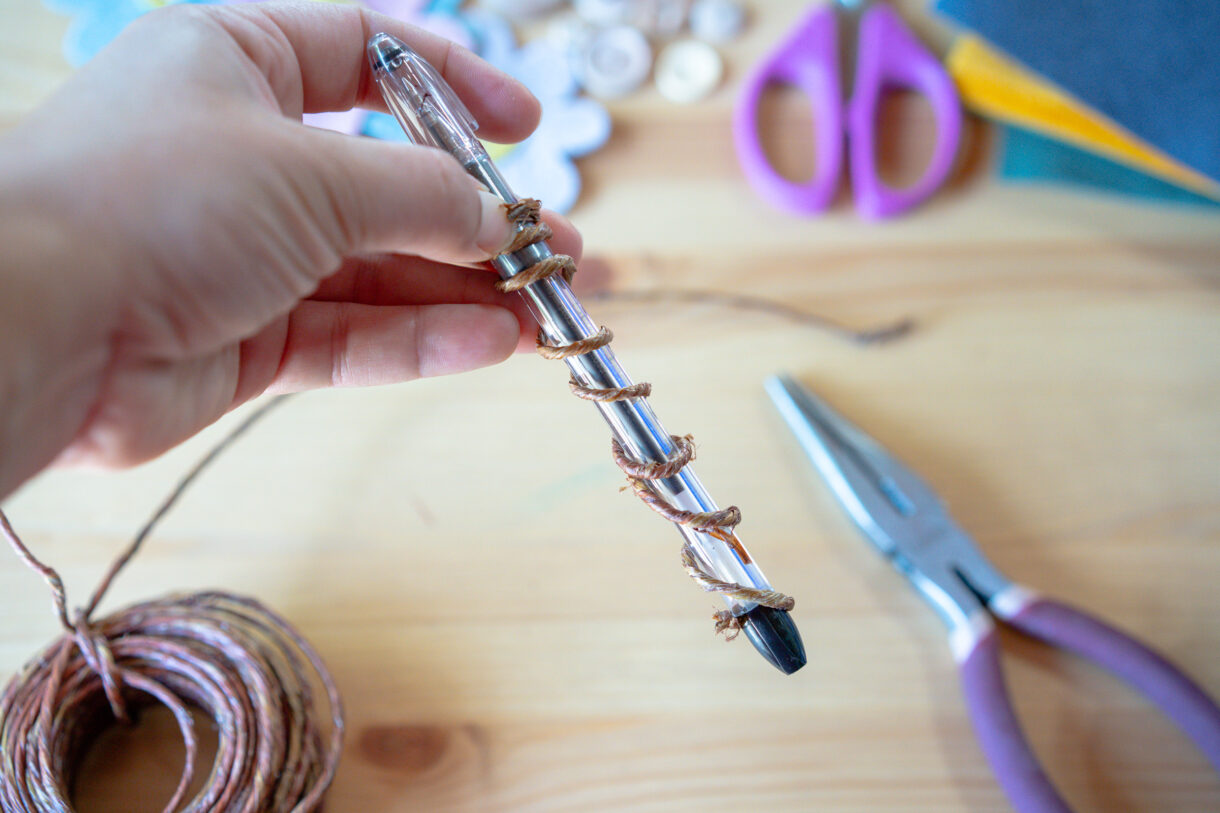
This was tricky for my younger kids to do, but my 8 year old loved making a bunch of twisty stems!
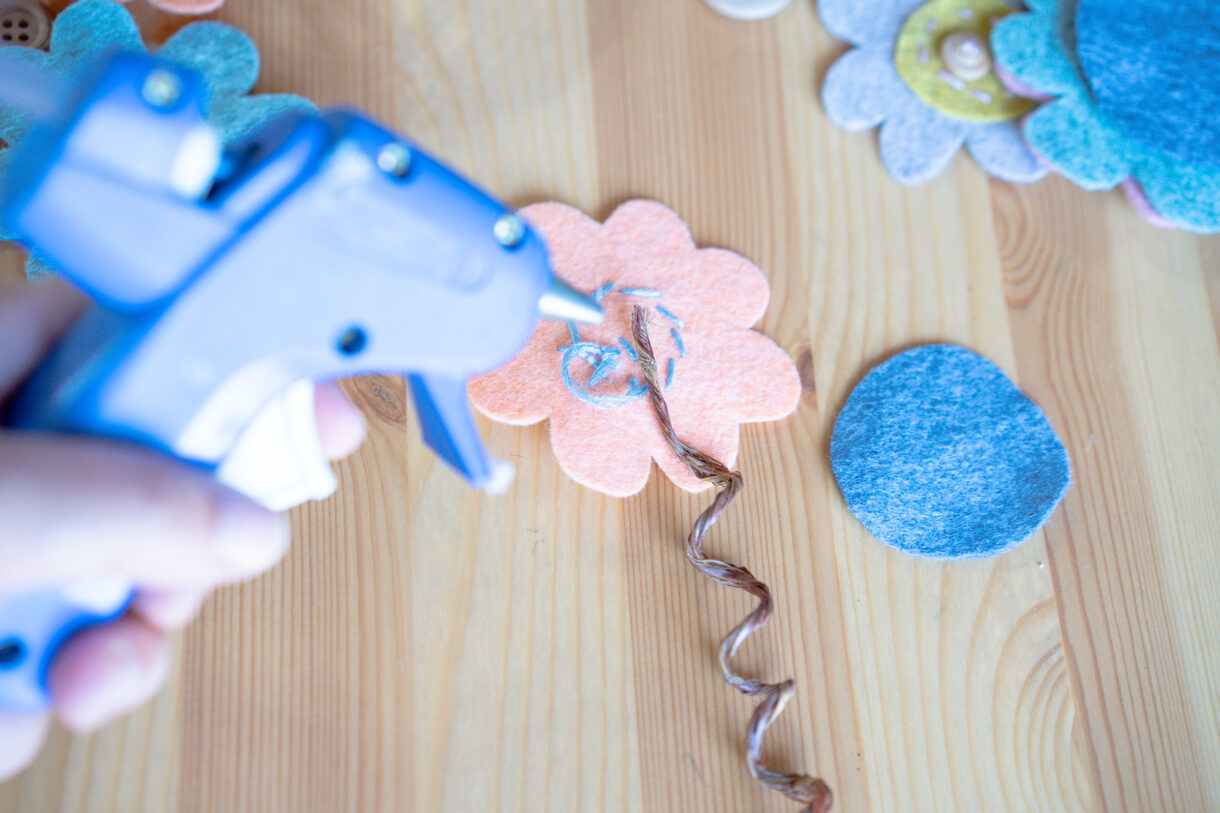
We attached the stems to the back of the flower with hot glue.
To make the back a bit more finished, I cut out some more circles to stick on the back over the stem.
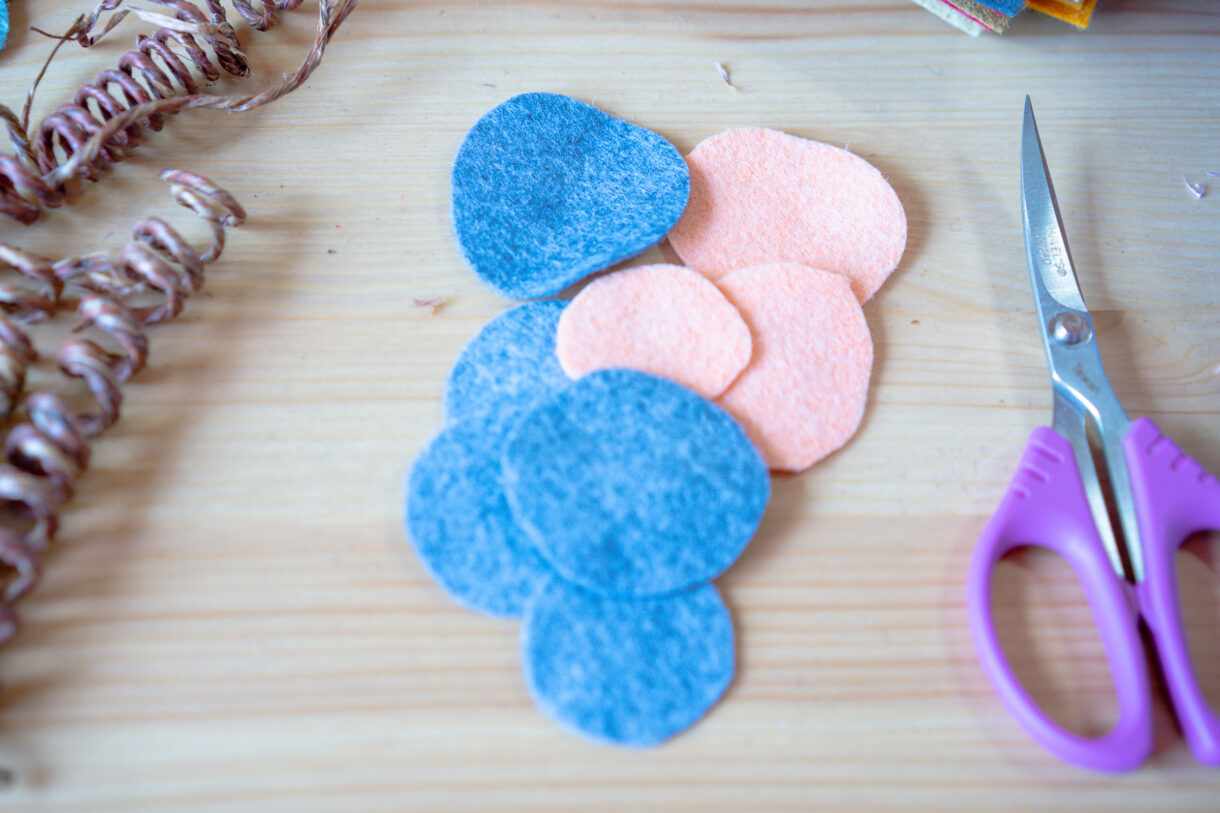
I added more hot glue on to the stem and then stuck the circle on top so the finished back looks like this.
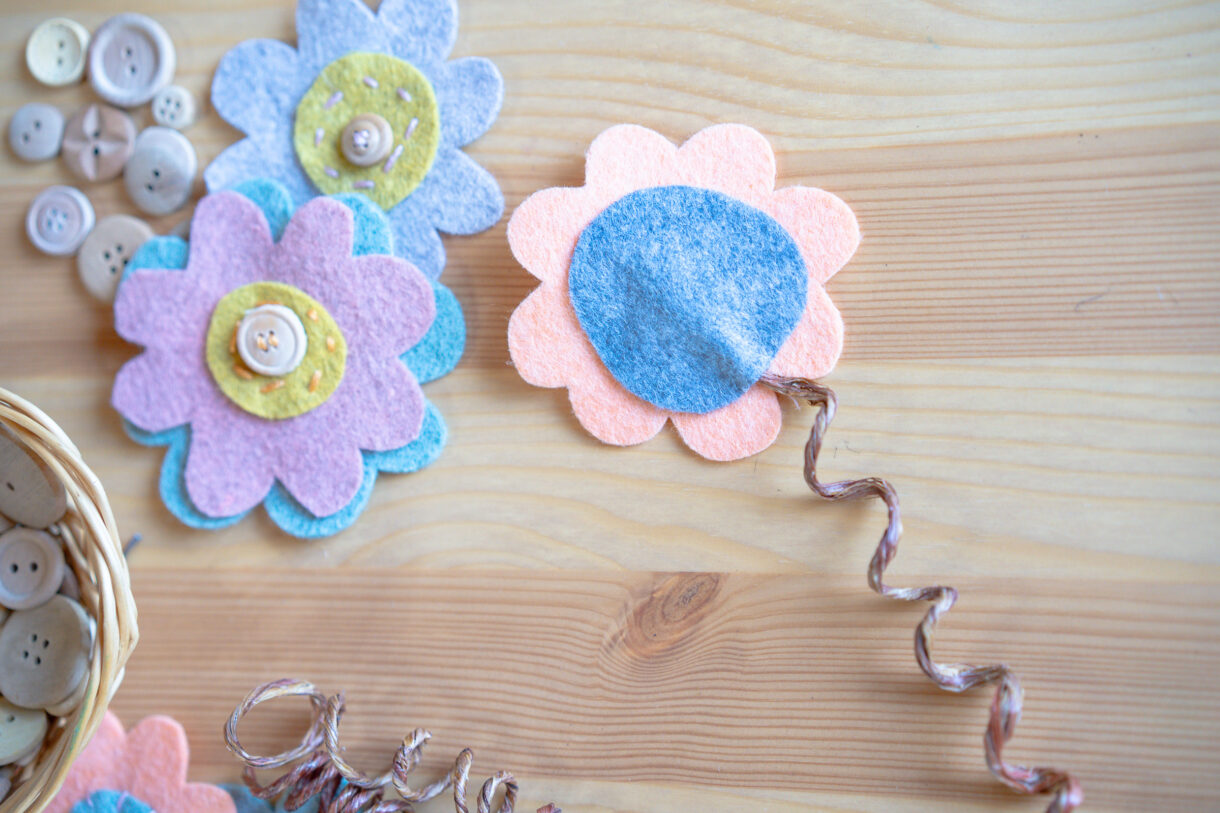
For the finishing touch, we added a few leaves. I cut out a few leaves freehand and used hot glue to attach them to the stem.
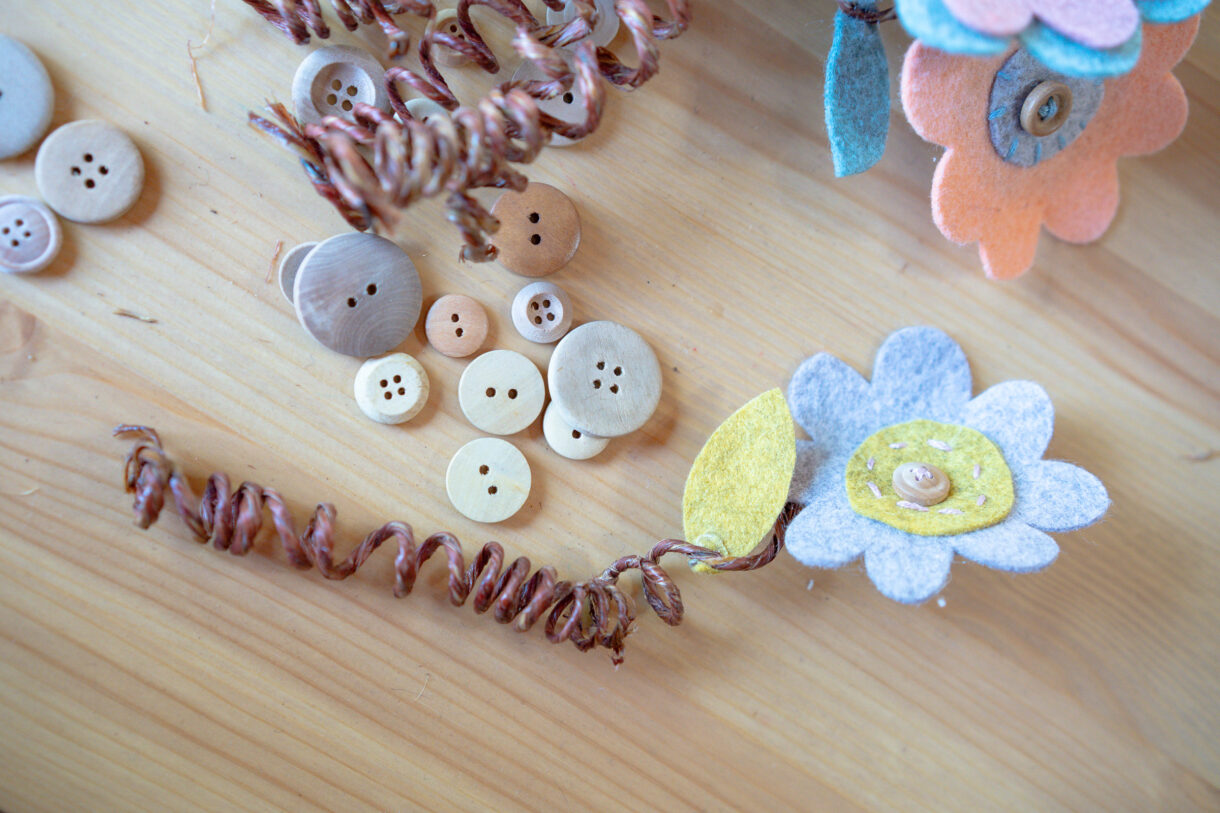
They look so great!
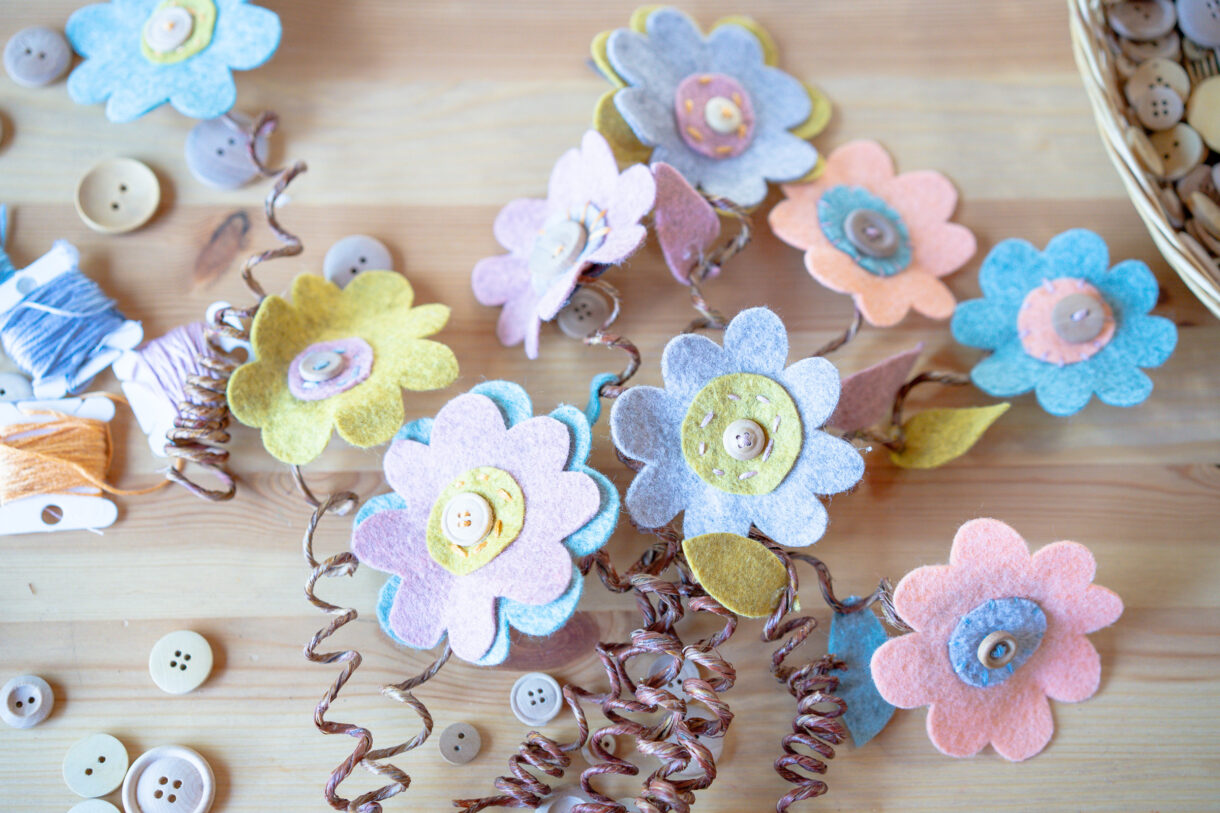
I gathered them up and put them in a mason jar and that’s it- we made a gorgeous, handmade bouquet that will never wilt!
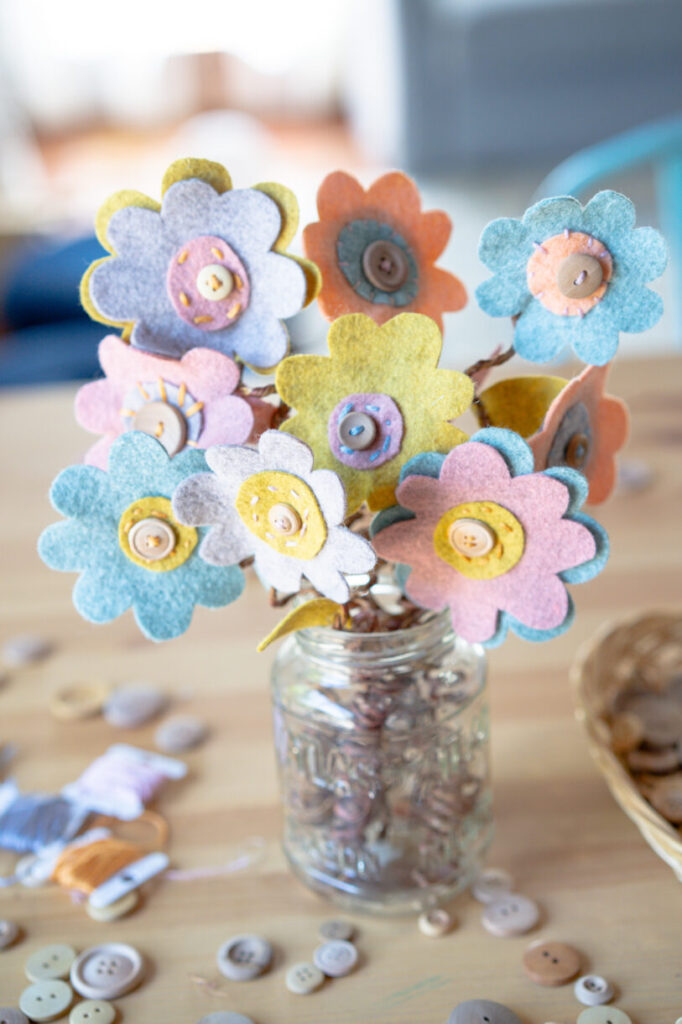
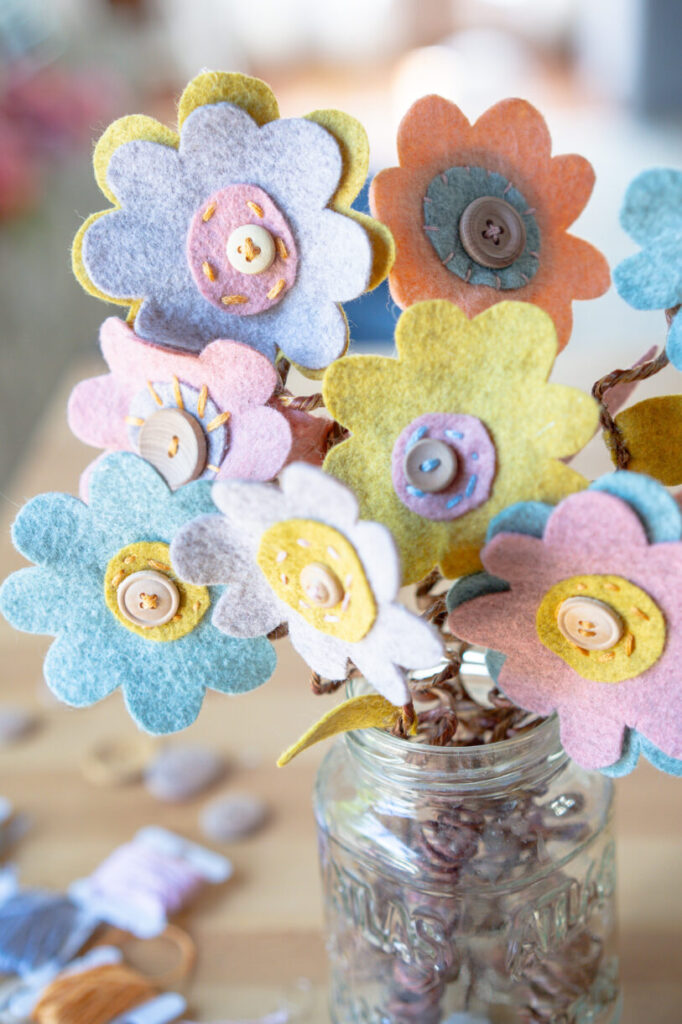
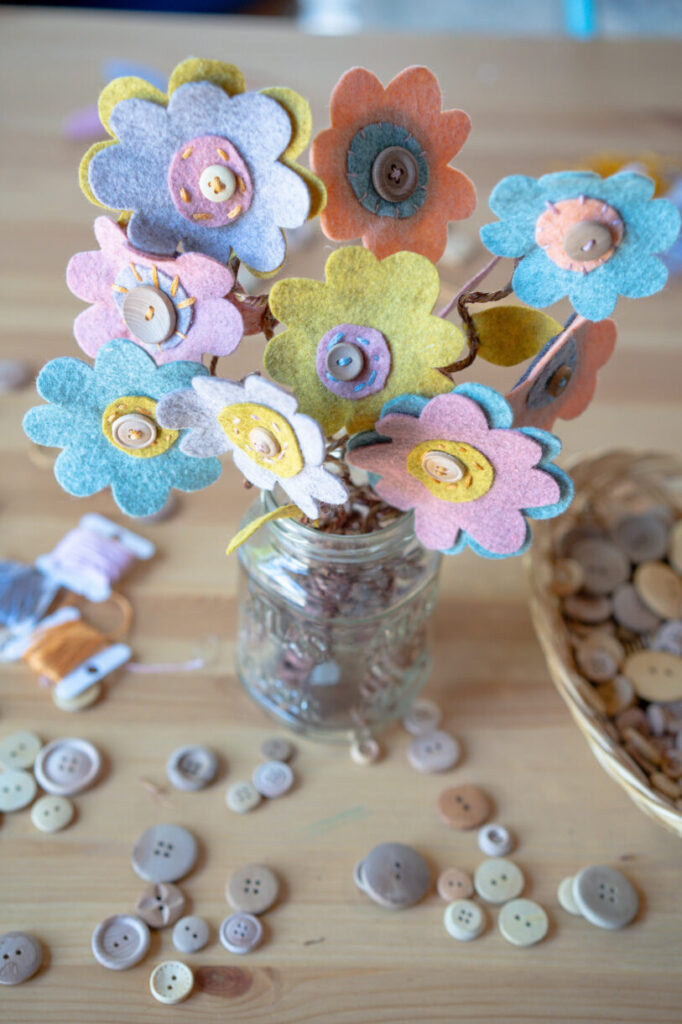
This easy sewing project for kids is so simple and fun- I hope you’ll try it out too!


So cute!! I would love to know where you bought your heathered felt?? I’ve only ever seen the primary colors which are so not our decor style either…. Thanks!
I just added a link- I found it on Amazon! https://amzn.to/2Yv0X8A