Ever heard of paper sloyd? Yeah, me neither. But hear me out, this is good stuff.
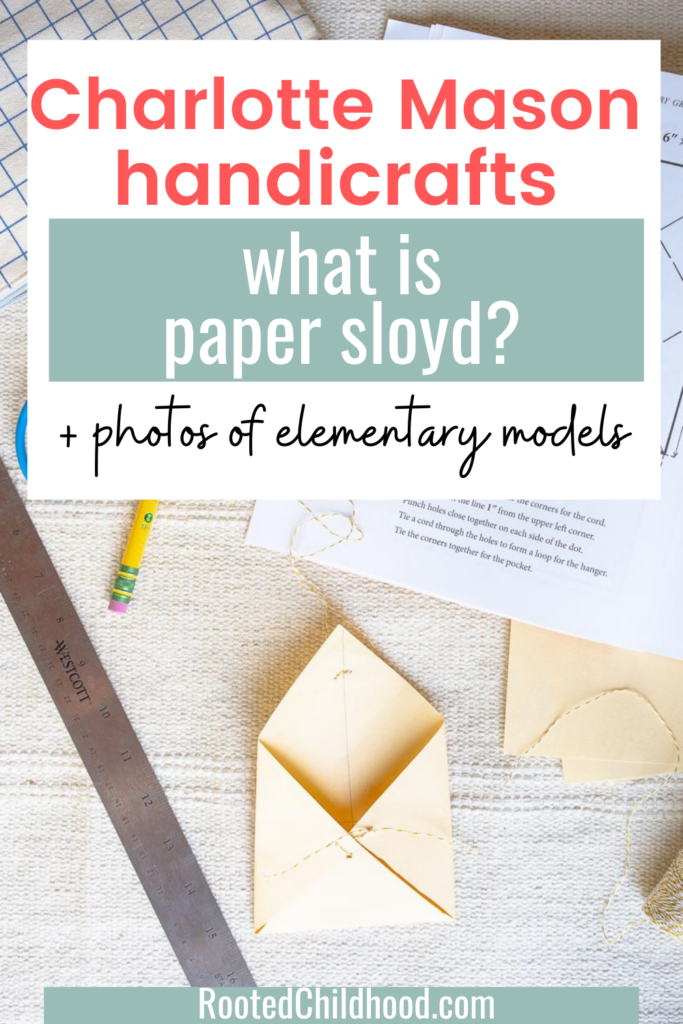
What is paper sloyd?
Paper sloyd is a form of manual training, a means of training a child in hand-eye coordination in preparation for woodwork and sewing in the later years. Paper sloyd aims to allow children to work with simple tools to create a series of concrete models. It is engaging the mind, the eyes, and the hands for a purpose.
Charlotte Mason valued paper sloyd along with clay modeling and brush drawing as integral to the curriculum.
In Paper Sloyd for Primary Grades, Edna Anne Rich writes, “Prompt obedience to requests for attention and immediate response to dictation, be the lesson in whatever subject, are essential in the school life of today, and these important qualities paper sloyd helps to develop. Order, neatness, carefulness, accuracy, honesty follow in the lead of all work which trains concentration to attention.
Observation is quickened; eyes are trained to see right lines and distances, this aiding in free-hand drawing and writing; while the hand and wrist muscles, being used for a definite purpose, unconsciously become obedient assistants. Paper sloyd rightly presented justifies itself.”
Paper Sloyd for the Primary grades is designed for children in grades 1-3, about 6-9 years old. There is a supplementary section to extend a bit further too.
If you’re looking for paper sloyd resources for a bit older child, I would suggest Paper Modeling as a start. Paper sloyd is the beginning of the progression toward cardboard sloyd or cardboard modeling and eventually sewing and woodworking.
The Tools
When I shared that we would be doing paper sloyd, I got a lot of questions about what tools and materials are required. The tools are pretty basic:
- Pencils
You’ll need sharp pencils with good quality erasers. I start my kids with the chunky Ticonderoga pencils but I’ve found that the measurements are more precise using a regular pencil that is well sharpened. We sharpen them at the end of each lesson so they are ready to go for the next time.
You need a 12-inch ruler that is light weight. The book suggests it has a back edge that is squared and a front edge that is beveled. Measurements should not be marked less than eighths. A primary ruler with 1″, 1/2″, and 1/4″ will work for the first two years.
- Scissors
Each child should have his own pair of scissors sized appropriately for the child. The book suggests scissors should be five inches long with one sharp tip and one blunt tip.
You’ll need a compass to slip your pencil in to draw circles.
You’ll need a paper punch that punches holes that are 3/16 inch or less in diameter.
The Materials
Paper Sloyd for Primary Grades was originally published in 1905 so it took a little bit of work to figure out the materials as a lot of the language is from a different era! Here’s the list of materials required as I have deciphered them to the best of my ability:
- Manila drawing paper rated at 60 pounds
If you’re wondering what kind of paper to use, you want to use something with more weight than regular printer paper, but less weight than cardstock. You want the paper to have a rough surface but that can also be folded and creased easily by young children.
Manila drawing paper is rated at 60 pounds and is perfect for paper sloyd projects. If you have construction paper at home, this would also work, but you’ll want to make sure you use light colors so that you can see the markings required prior to folding and cutting.
The book calls for Bristol board which is named for the area in England where it is produced. Chipboard is a comparable product and will work for the projects.
The book calls for Royal Melton, 70 pound paper in a variety of colors. Cardstock is rated at 80 pounds but should be a suitable alternative.
Making a match scratcher is a second year model. You can use a fine-grit sandpaper- anything over 400 should work, or get specific match scratch adhesive stickers.
The book called for gummed parquetry in one-inch circles and squares in the color red. I opted for gold circle stickers, but I’m sure any color would work!
You’ll want small gold or colored stars.
- String
A few projects call for string. The book suggests “yarn, silk or linen floss, silk or cotton cord, ribbon, and colored twine” with preference for yarn or twine. I would just use whatever you have on hand!
- Glue
- Paraffin paper
Paraffin paper is the old-fashioned term for wax paper. This is paper that has been waxed so it is moisture resistant and is usually translucent.
You’ll need a small amount of glue. The child will spread it with a small paintbrush or toothpick.
Models for the First Year
As we work through the book, I will try to share our projects here so that we have them all in one place with any tips or tricks I found useful! I am doing these models with my 6 and 8 year olds.
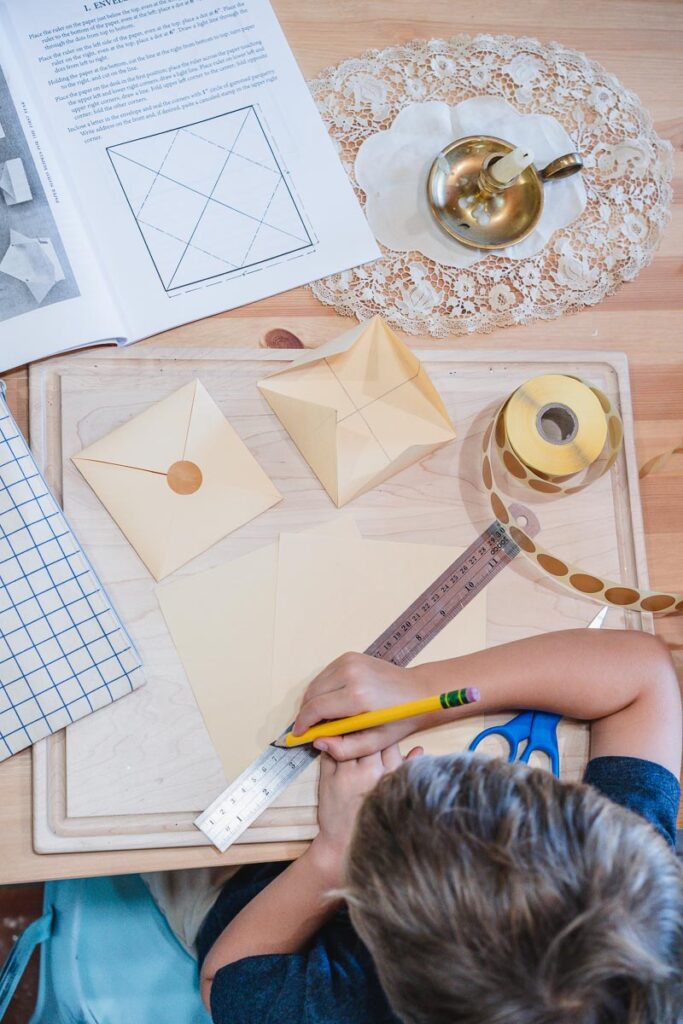
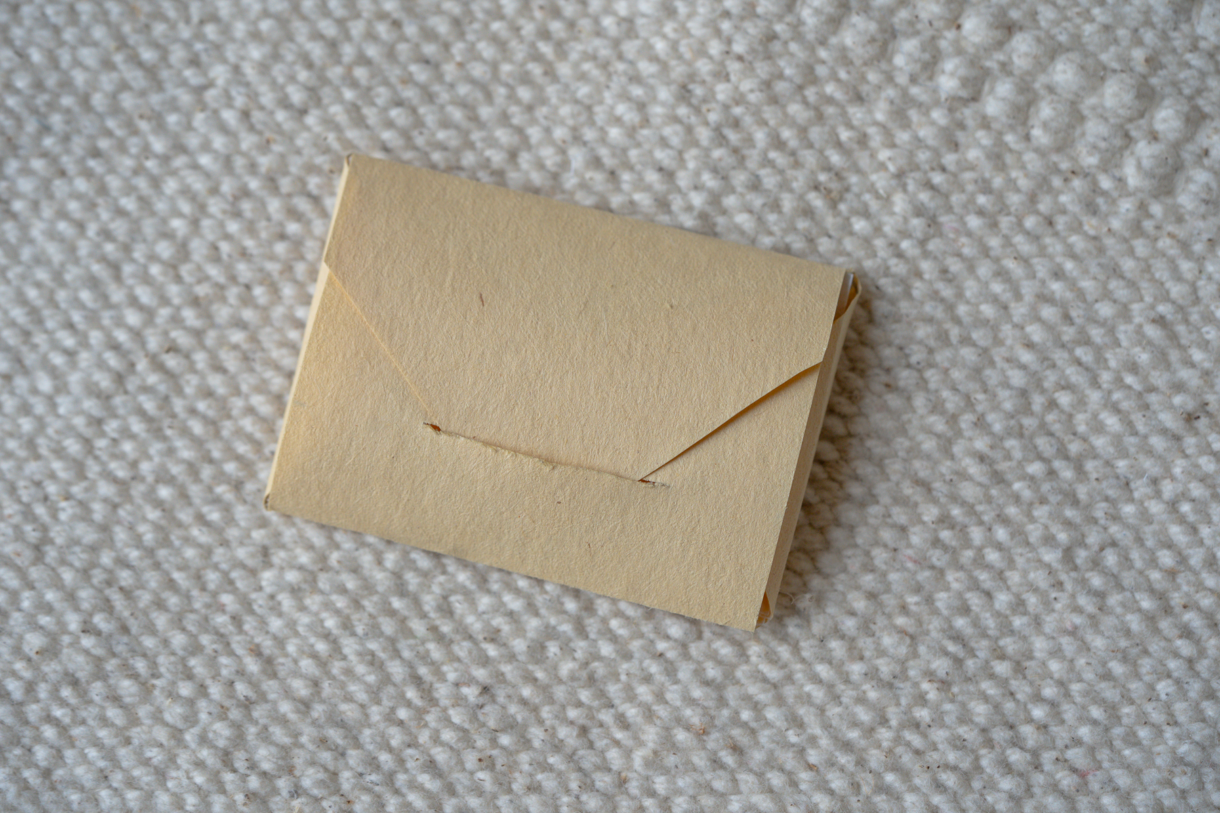
I: Envelope
A lesson in patience, attention to detail, measurement, mathematics, manual dexterity, penmanship, and pride.
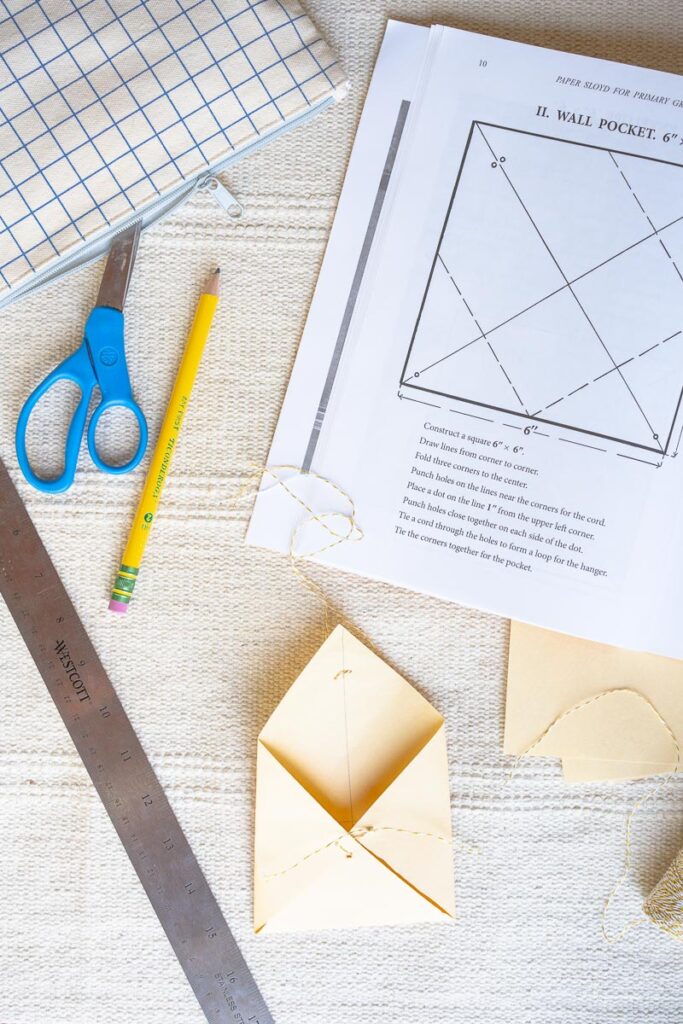
II. Wall Pocket
So I wasn’t entirely sure what a wall pocket would look like or be used for, but it turns out that my kids absolutely love these hangable wall pockets! They have made many since our lesson, and it’s a great place to put all the random little things they love to save.
We didn’t have our tiny hole punch yet, which made this lesson a bit difficult. We tried to use an awl and it was frustrating, but worked out in the end. My 8 year old misplaced her holes on her first try and had to start over. This was a good lesson in “measure three times, cut once” as you would do in woodworking. She tends to rush ahead and with paper sloyd it is often difficult to go back and fix mistakes.
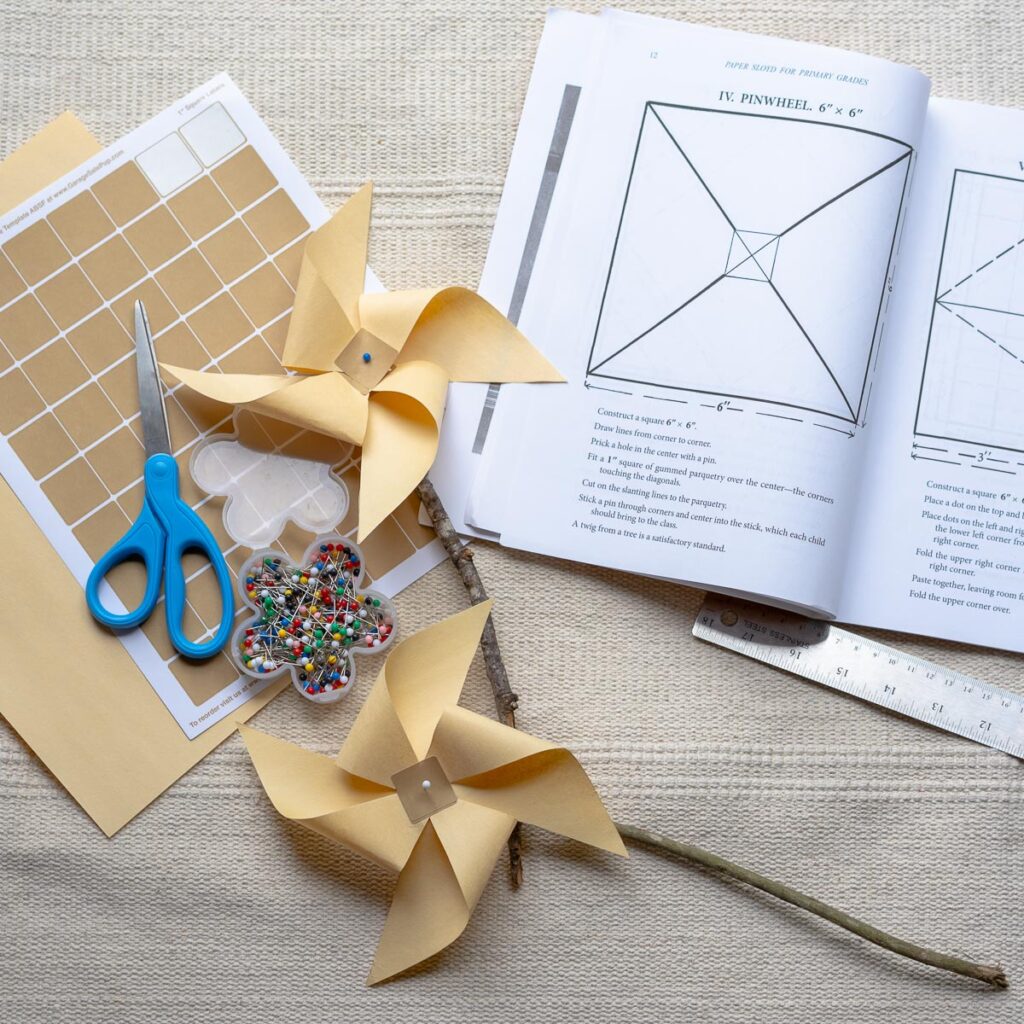
III: Pinwheel
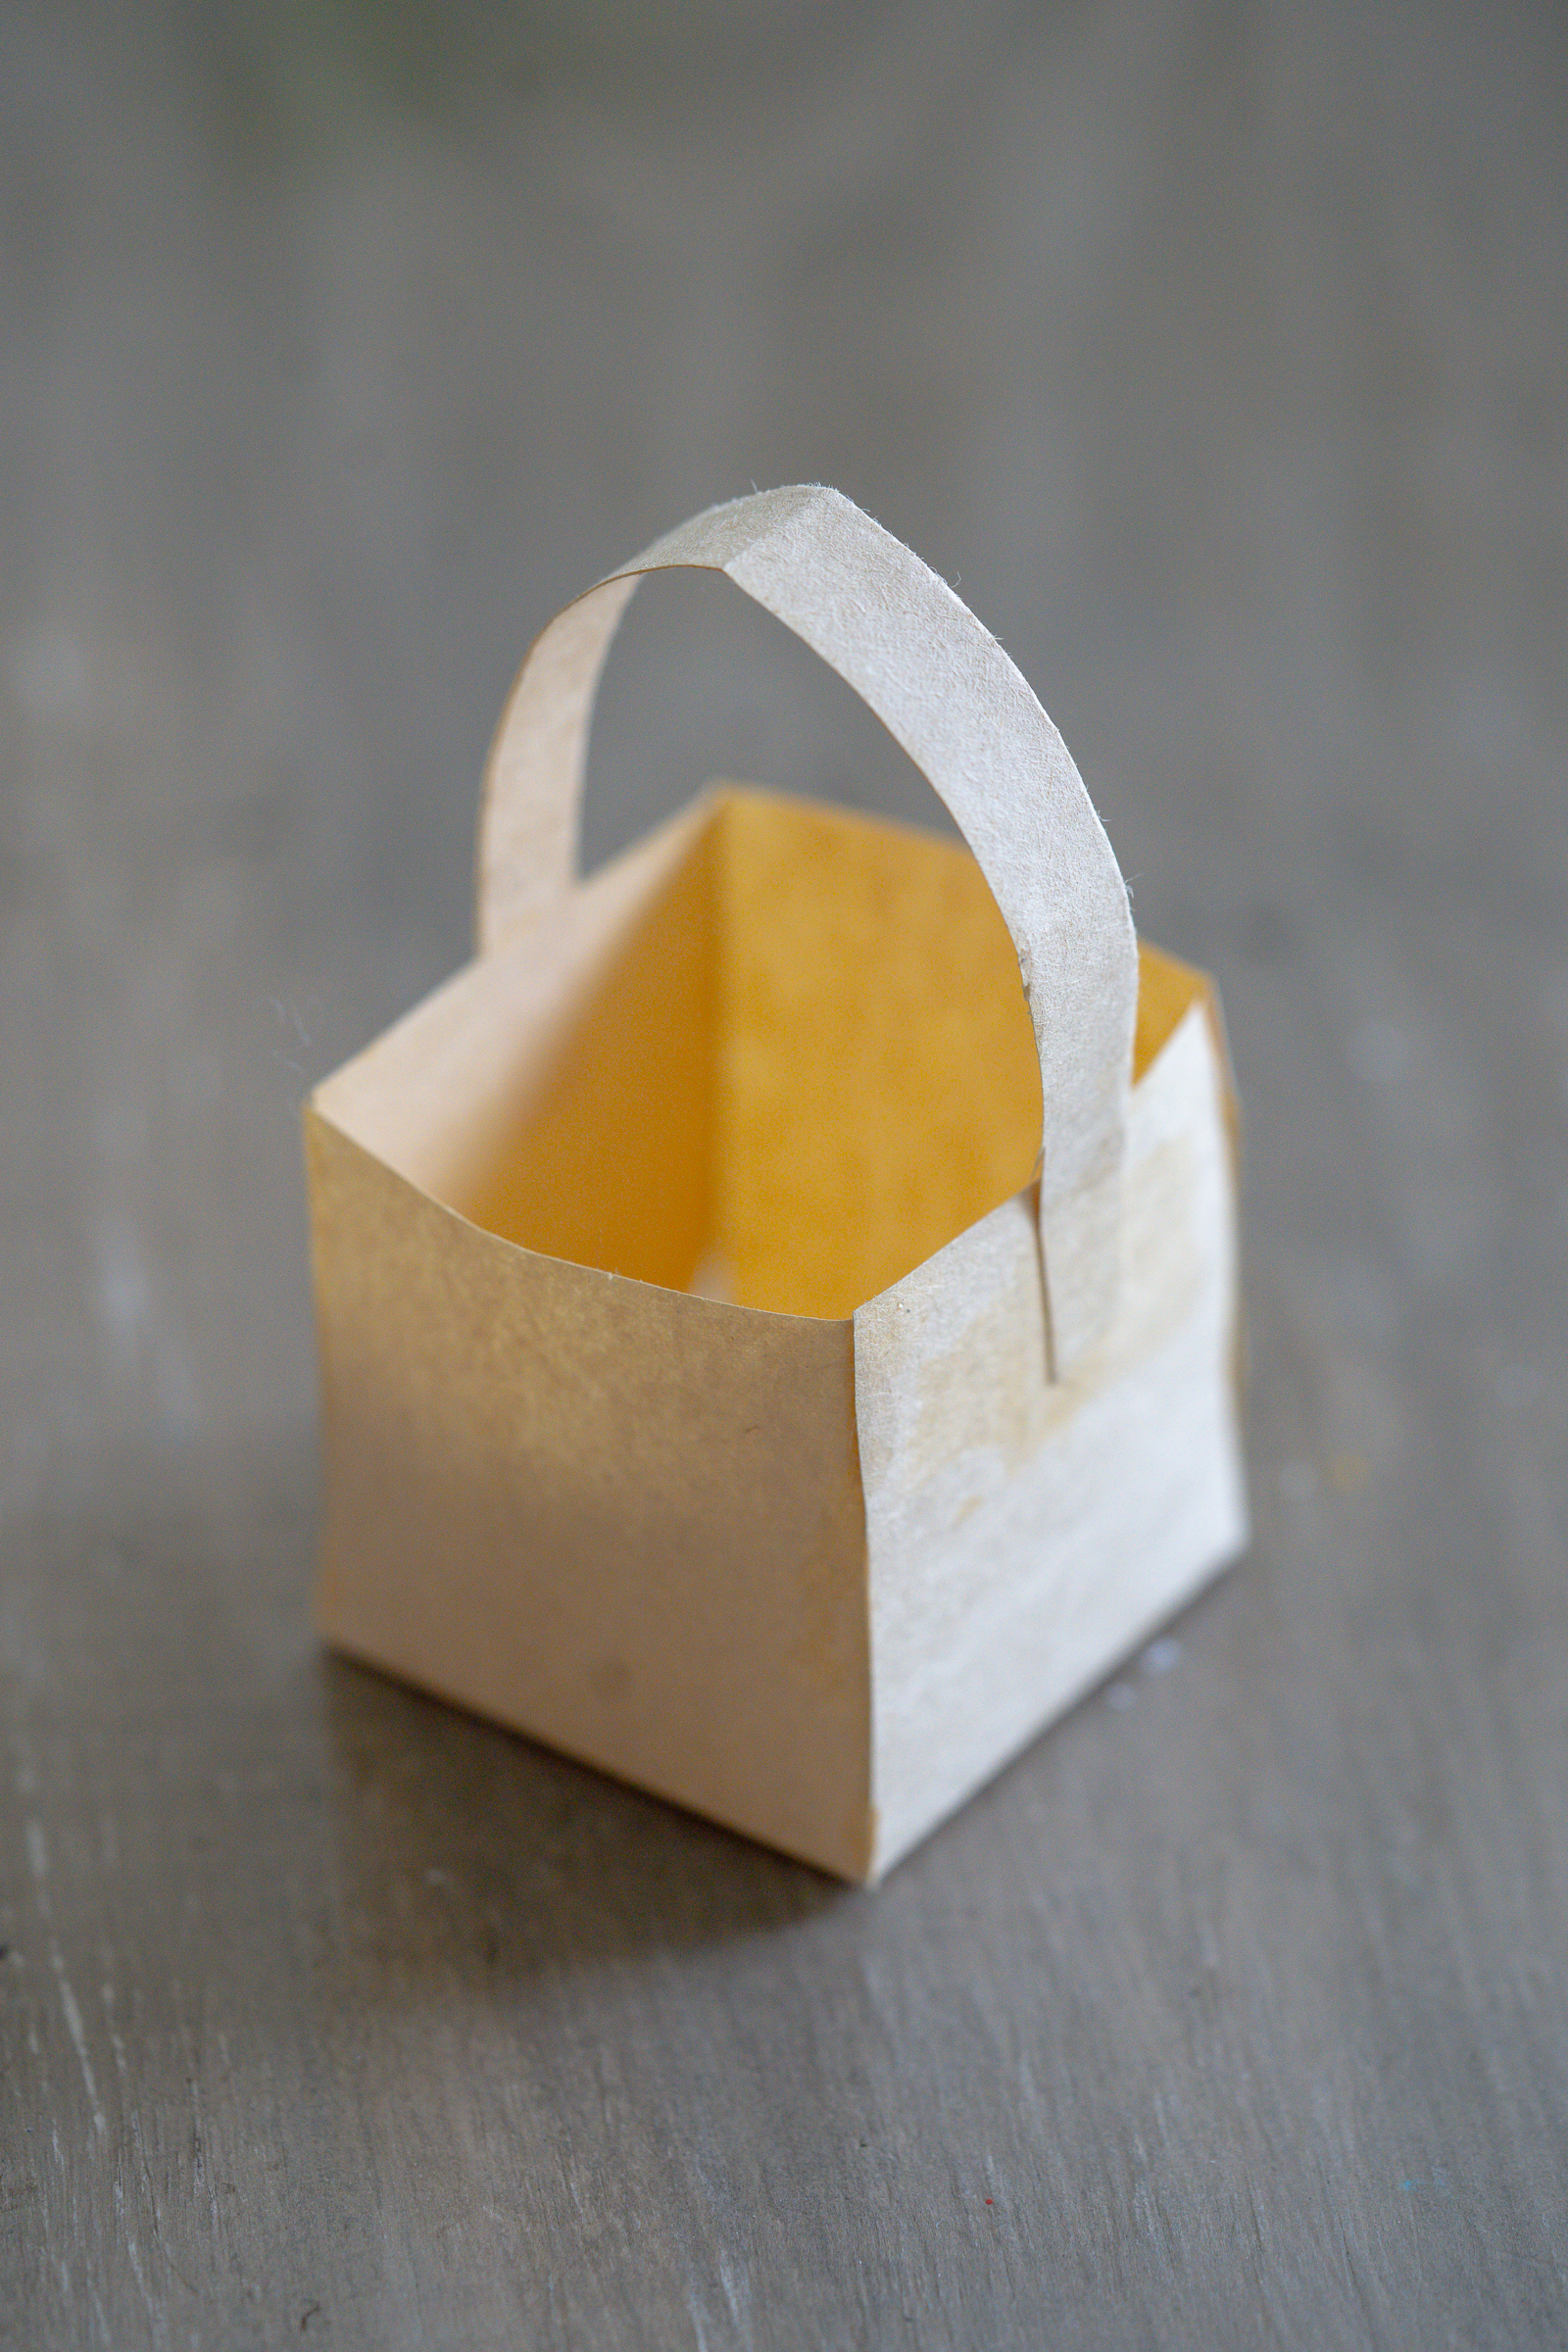
VIII: Basket
Models for the Second Year
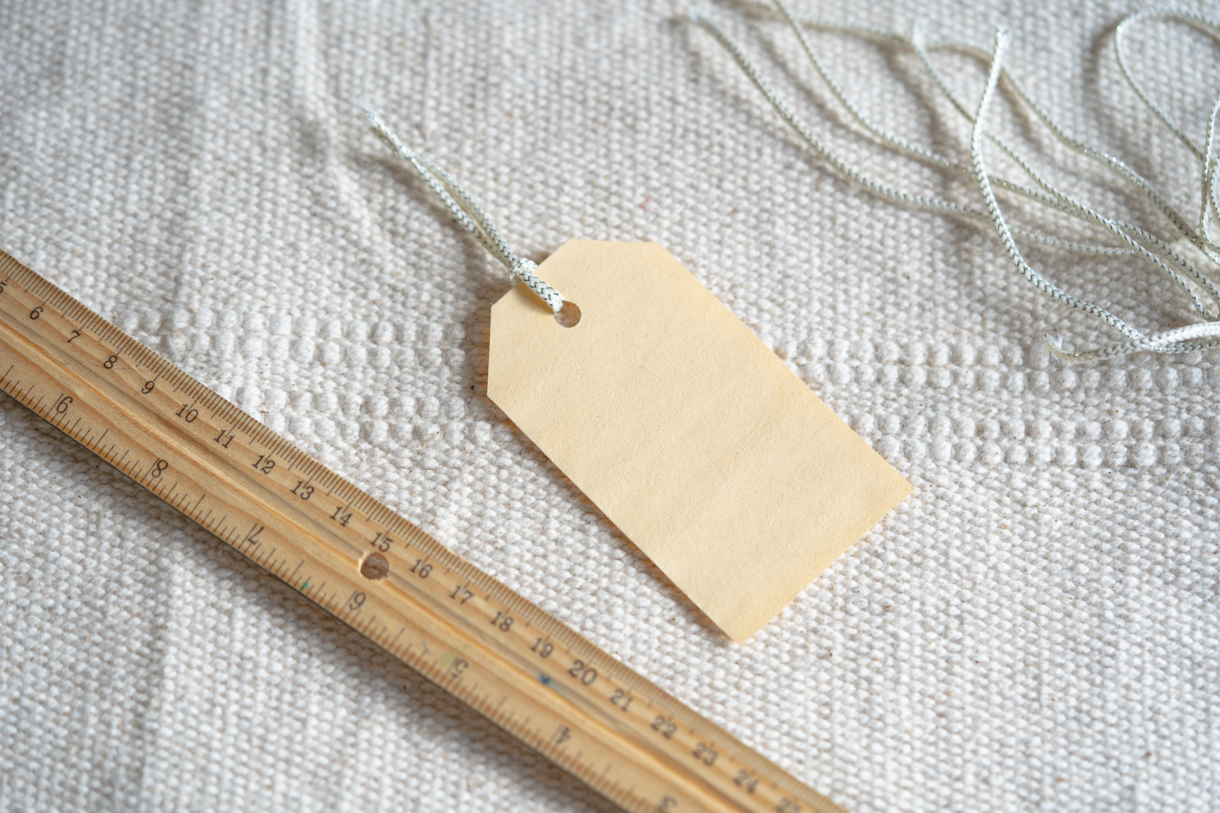
I. Key Tag
This model was pretty simple, but it is the first model that calls for angled cuts. We took time to practice the marking and measuring of the angled lines as this will be a common feature of the Year 2 models.
II. Stamp Book
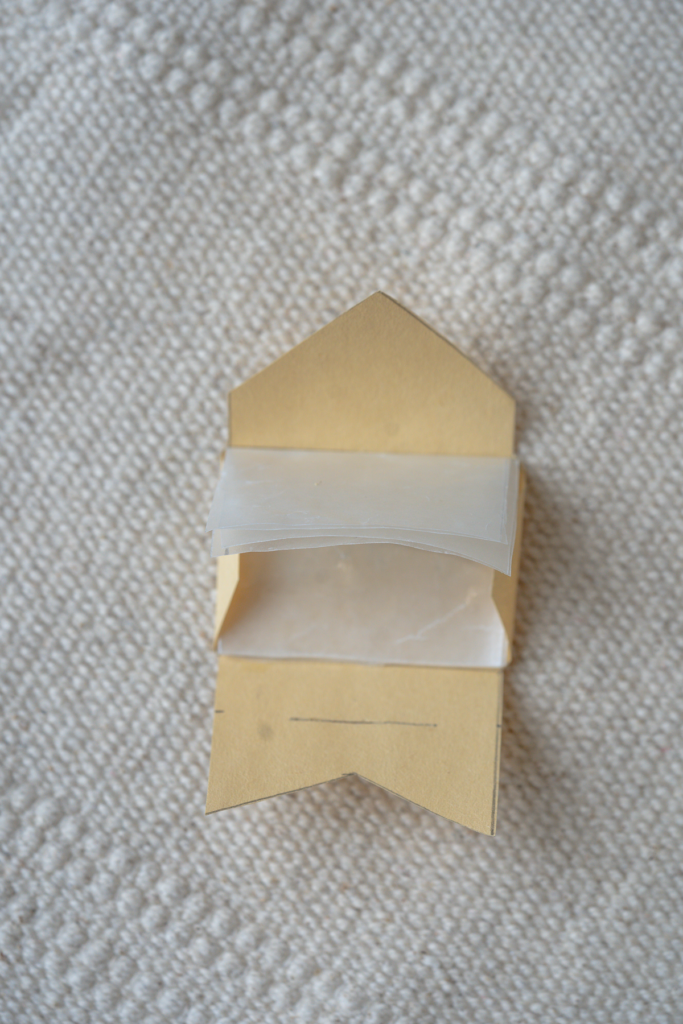
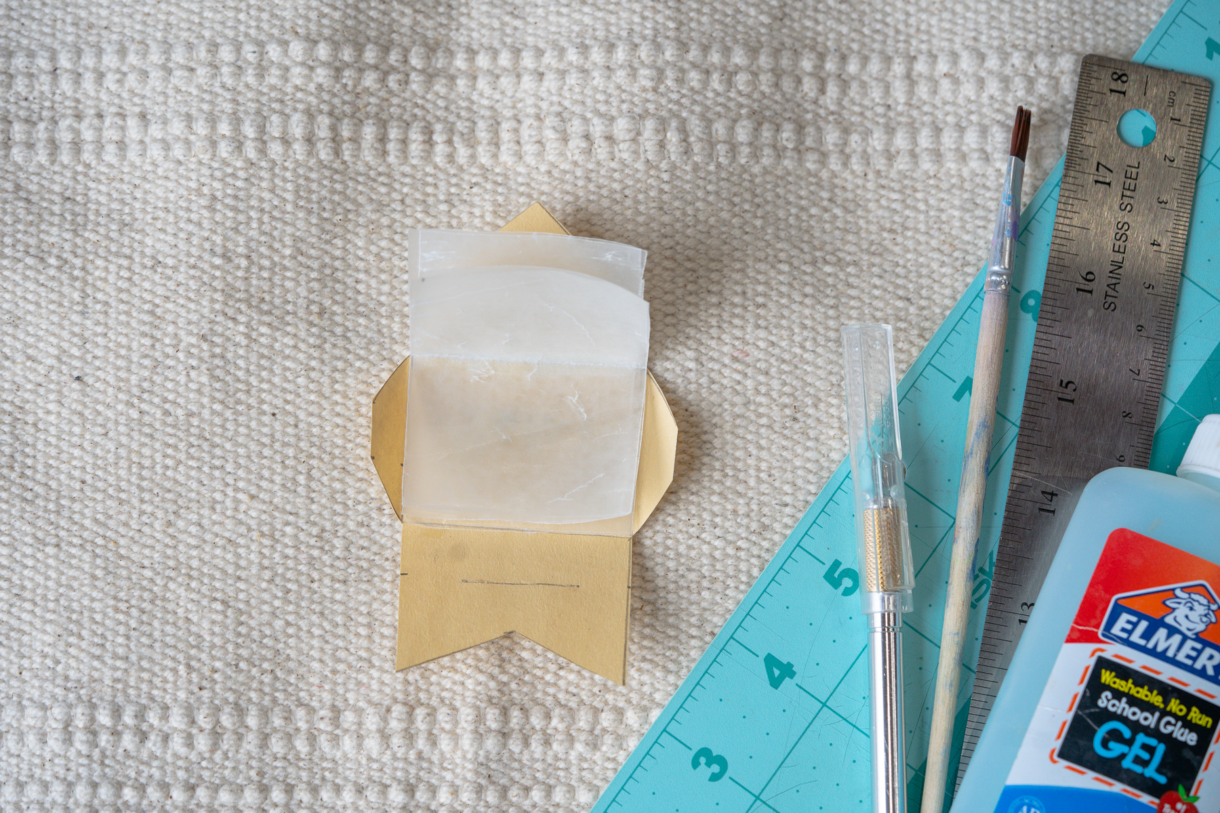
The stamp book was the most challenging model yet as it required the use of a craft knife to cut a slit in the paper. It also requires “paraffin paper” which we determined was wax paper. We used school glue and a paintbrush in lieu of pinning the wax paper into the booklet.
We folded the wax paper and glued the creases as each sheet nestled into each other to create the wax paper flaps of the stamp book.


Leave a Reply