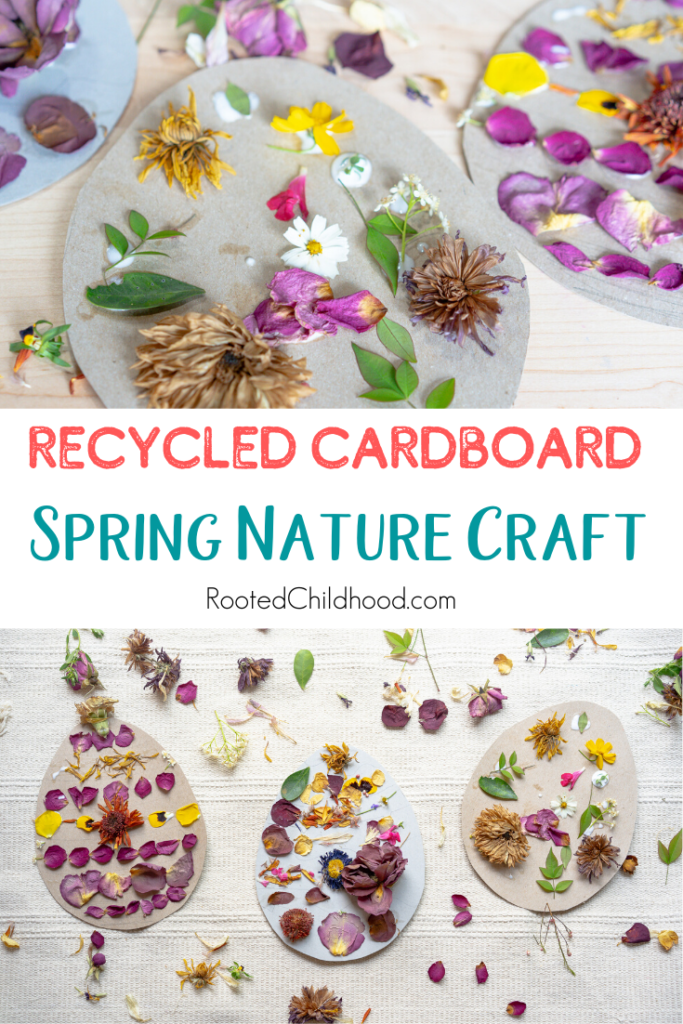
Looking for a simple, no-fuss Easter craft? This recycled cardboard Easter egg nature craft makes a sweet spring decoration without any waste or having to go to the store.
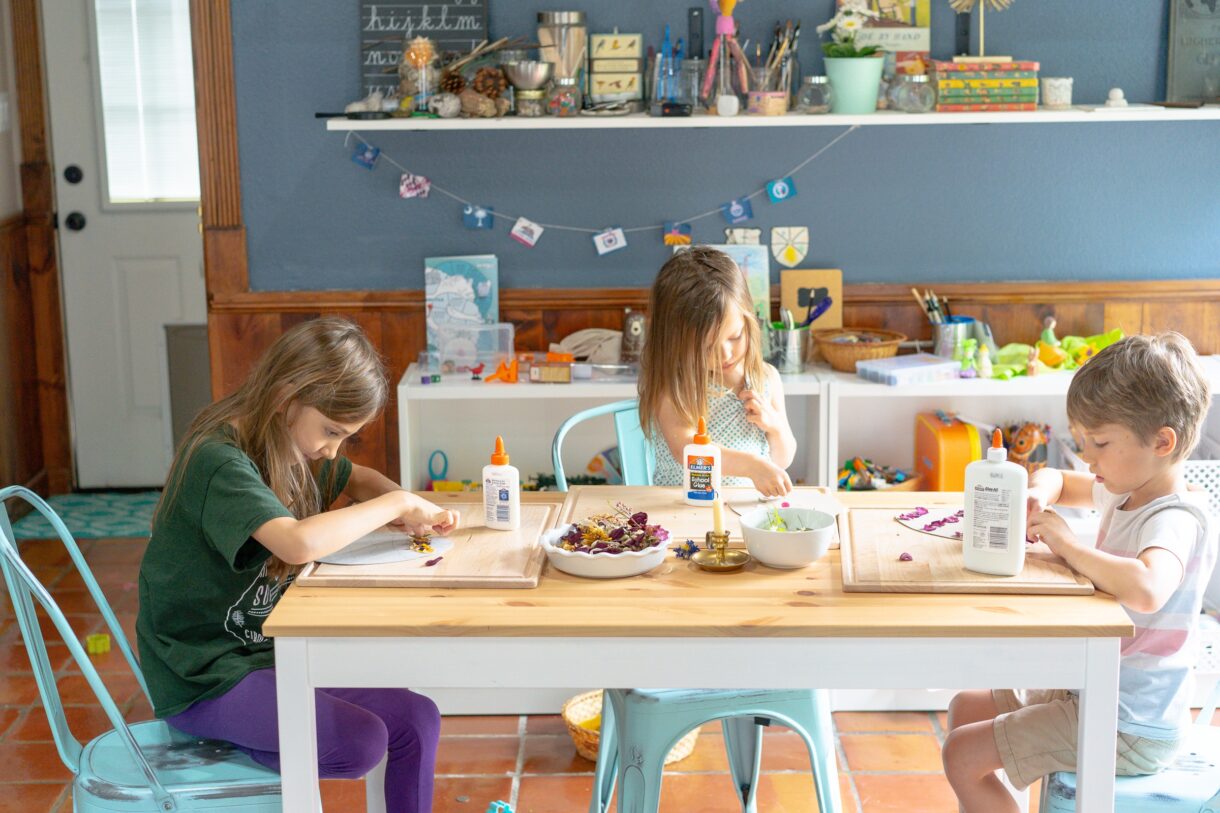
My kids love crafting and really anything that includes glue is an instant hit! We did this craft as part of our spring morning time and all three kids (ages 8, 5, and 3) loved it.
I had to resist my inner control freak and not micromanage how the finished product turned out. I had a vision of decorating neat stripes or zip zags like traditional Easter eggs, but each child had their own plan. And that’s OK!
Benefits of Open Ended Craft Projects
When it comes to kids arts and crafts, the beauty really is in the process. There is such value in open-ended craft projects.
When we provide the materials, especial beautiful, natural materials, children can harness their inner creativity in really special ways. This ability to think outside the box and make their own judgments about what the end product should look like will serve them well in so many aspects of their life as they get older.
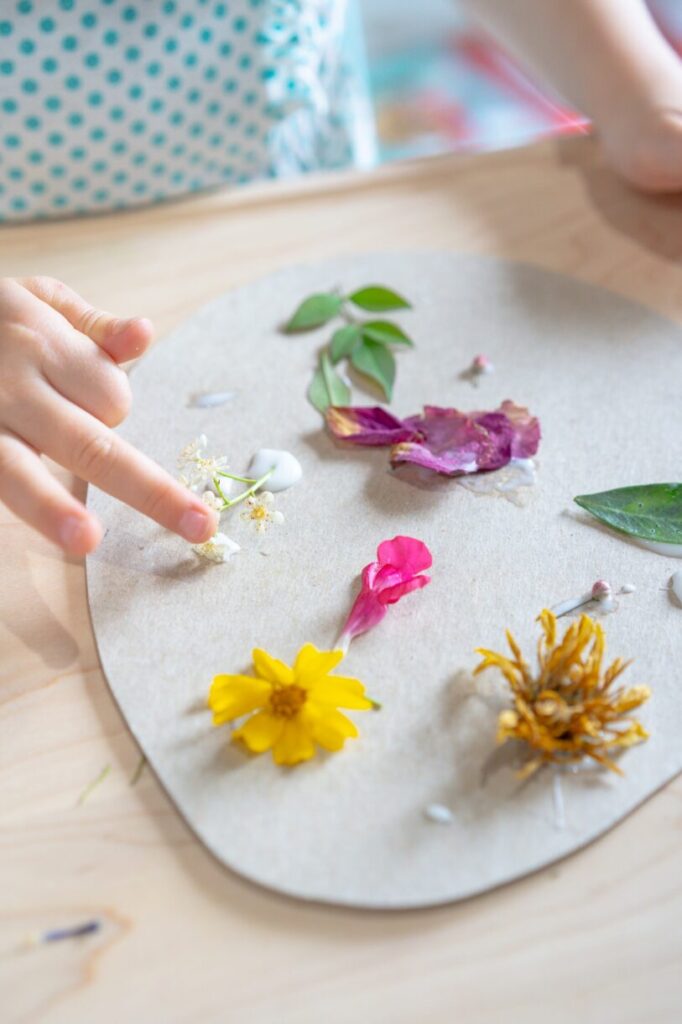
Instead of having an end goal in mind, we as parents watching the creative process can encourage and praise the child’s effort rather than praising the finished product. We might say things like, “Oh, I love how you put purple and yellow flowers next to each other!” or “I see that you took all the petals off of that flower.”
Children appreciate independence and the chance to use their talents to create beautiful art. It’s just up to us to allow them the time, space, and freedom to do it.
Materials
- scrap cardboard
- scissors
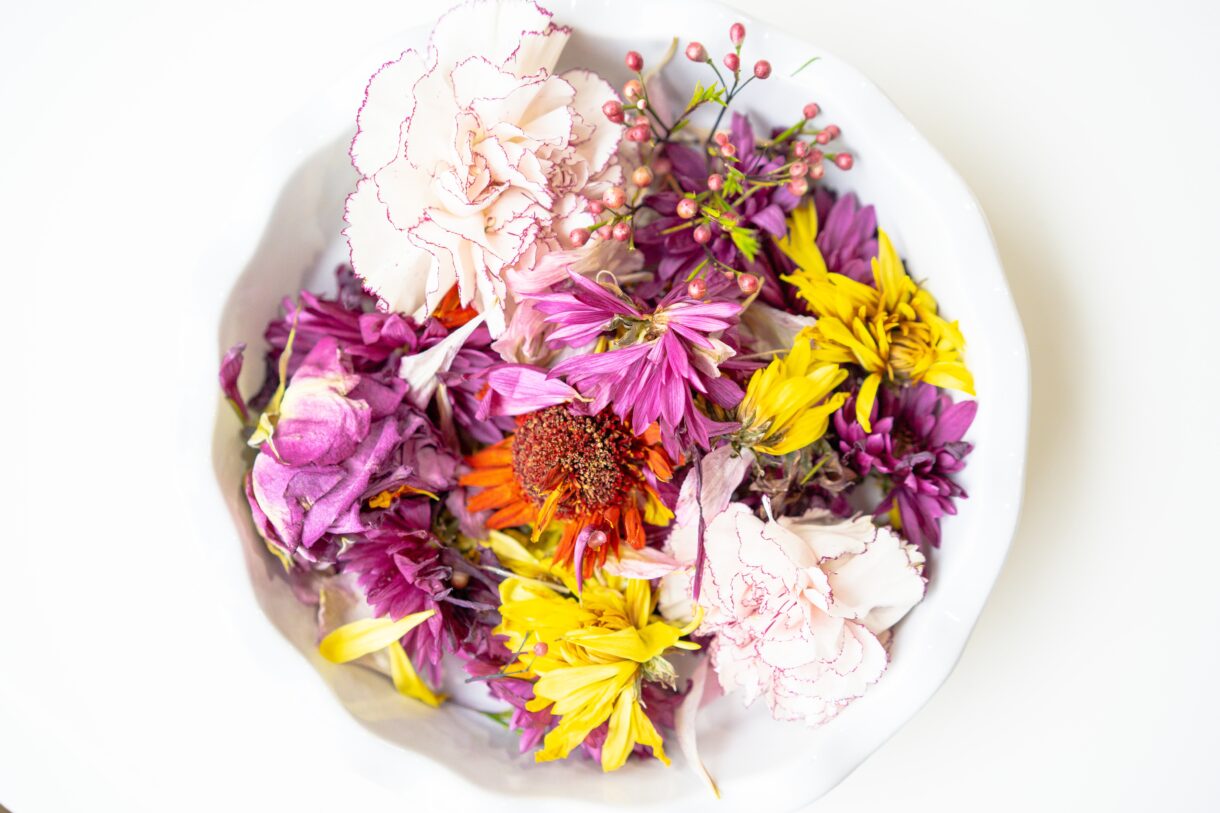
- fresh or dried flowers
- glue
For this project, I saved a couple of cereal boxes and cut out the two large faces.
I printed off a template of an egg to use to get the egg shape. You could absolutely just draw out the egg on your cardboard freehand, but I have limited drawing skills so I traced mine.
I cut out the template and traced the shape onto the cardboard.
Older children can cut out the cardboard egg themselves, but for mine, I went ahead and cut them out.
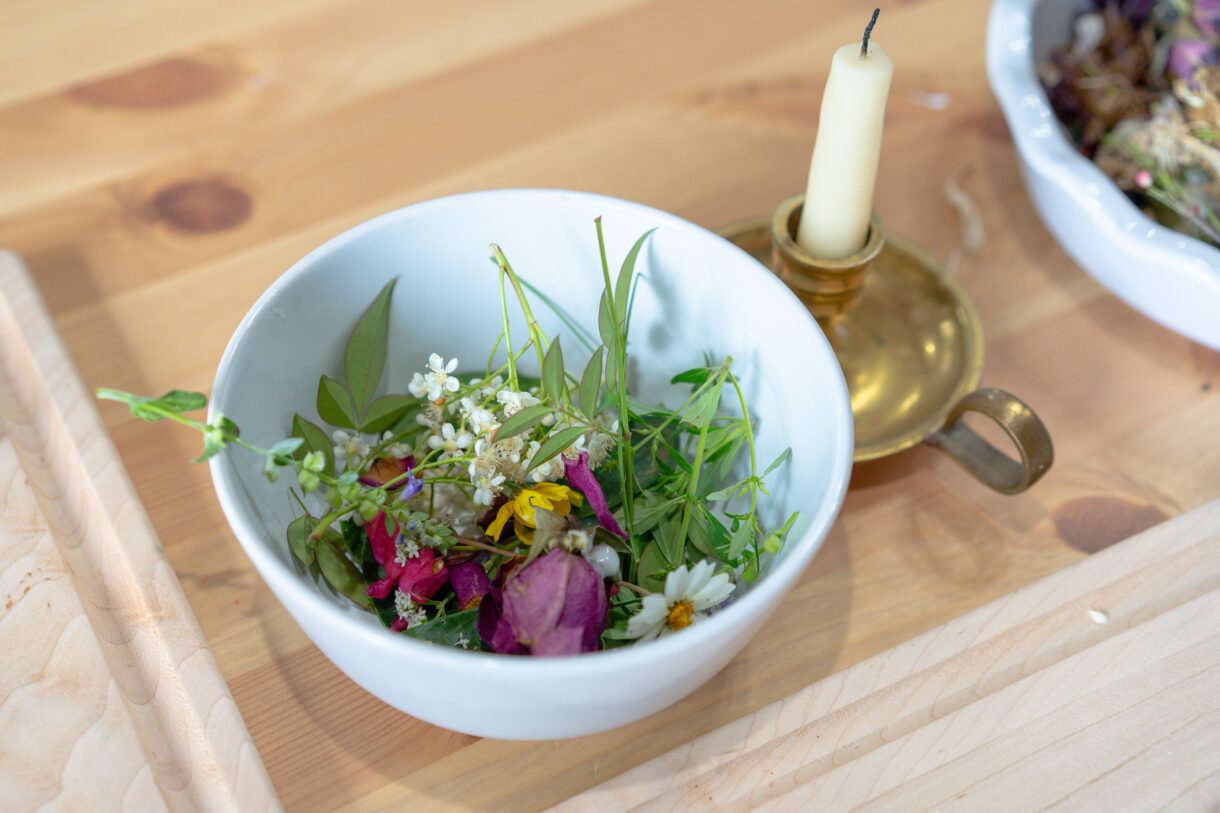
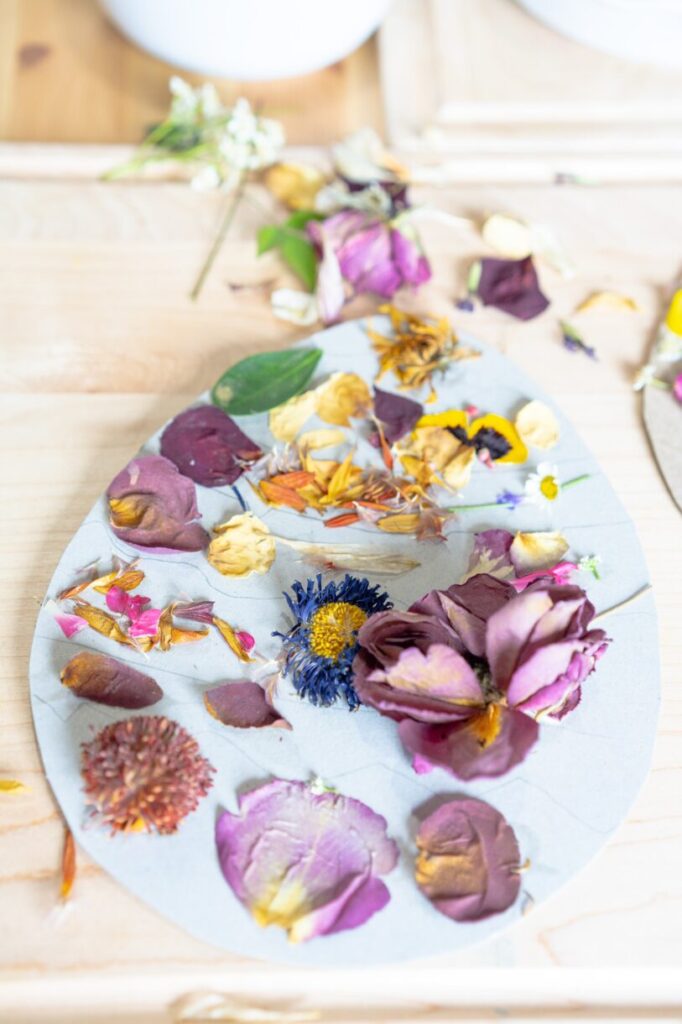
Next, I sent the kids out to the yard to collect some spring blossoms and leaves for the project. I also had some dried flowers on hand that we used as well.
Whenever we have fresh flowers, I always save the blossoms in a big jar to use for craft projects. I really believe that the best craft supplies are free!
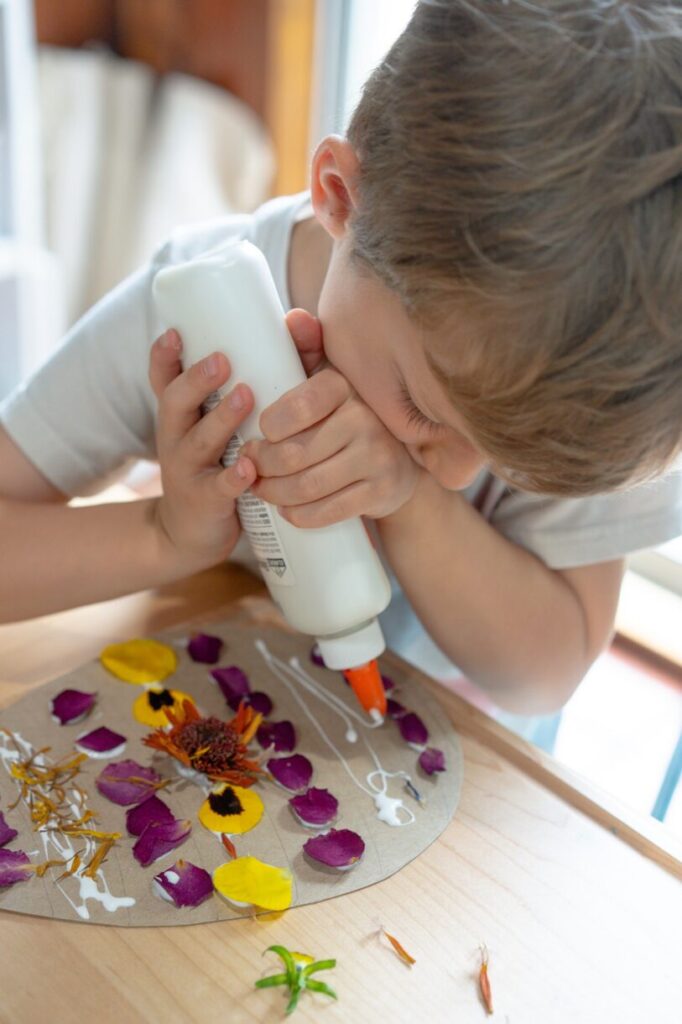
And last but not least, we used glue. And lots of it!
Setting the Scene
I like to set up craft projects in a way that satisfies all of our needs.
Children need the freedom to access the materials and have plenty of space to move around because we know kids don’t just sit quietly and work. I also like to make sure we use a space where we can leave the project out for several hours because my kids will often come back to finish projects after we are done working together.
When I’m setting up a craft project, I also want to take into consideration my needs as well. If I’m stressed out and worried about messes or things getting knocked over or kids fighting over materials, the process isn’t going to be enjoyable at all.
Whenever we use glue, we use an art board or activity tray to protect the table. My kids are notorious for pouring on the glue with heavy hands so this keeps me from worrying about glue soaking through or getting off of the cardboard.
I also make sure all of our materials are in low bowls or dishes so that all of the kids can reach the materials from anywhere around the table.
Creating the right atmosphere for calm, gentle art usually means low classical music, a candle lit, and a bit of sunshine soaking in through our sliding glass doors. It might sounds cheesy, but creating that beautiful atmosphere absolutely enhances the creative process.
The Process
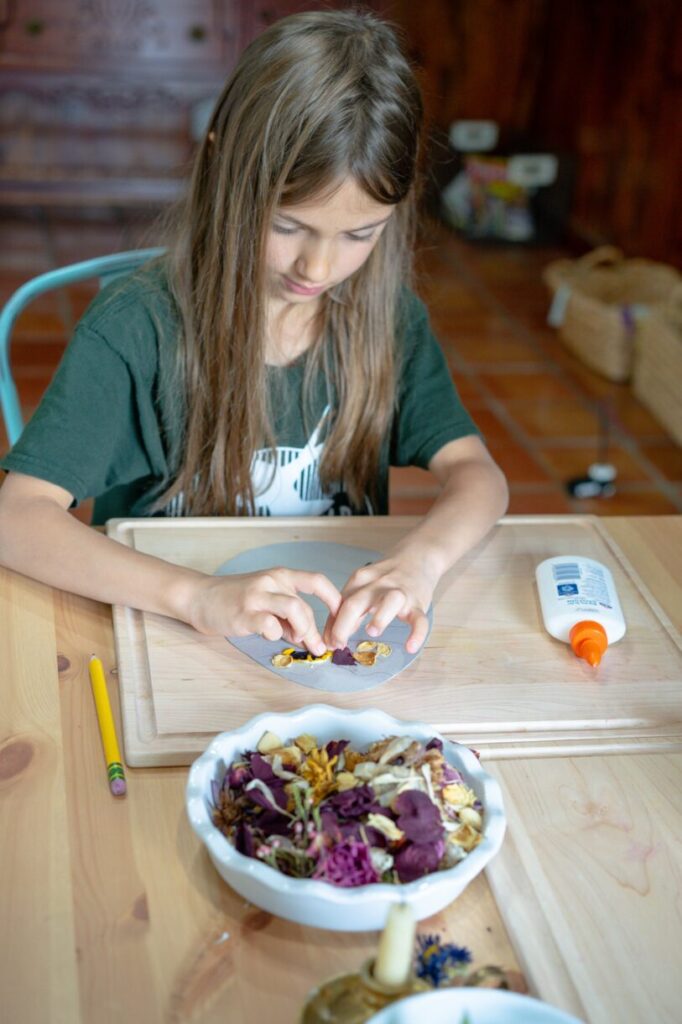
Once we collected all the materials and set up our work area, we were ready to begin!
The process is really easy because you don’t have to do anything- just leave it up to the kids!
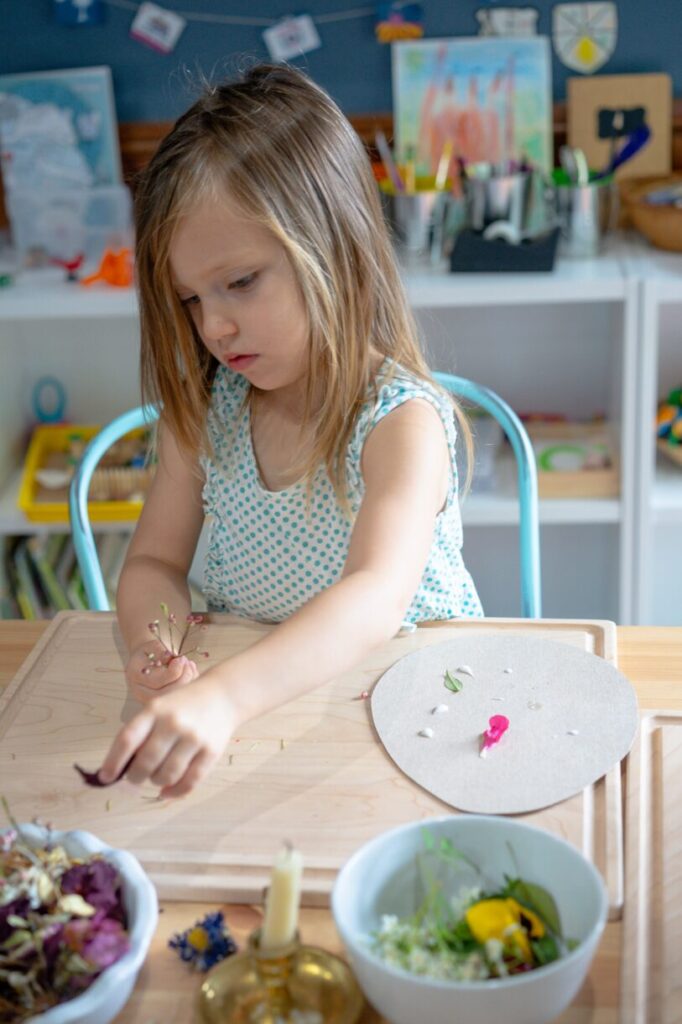
My five year old requested help in drawing some lines to create a pattern, but my three year old preferred to do her craft completely on her own.
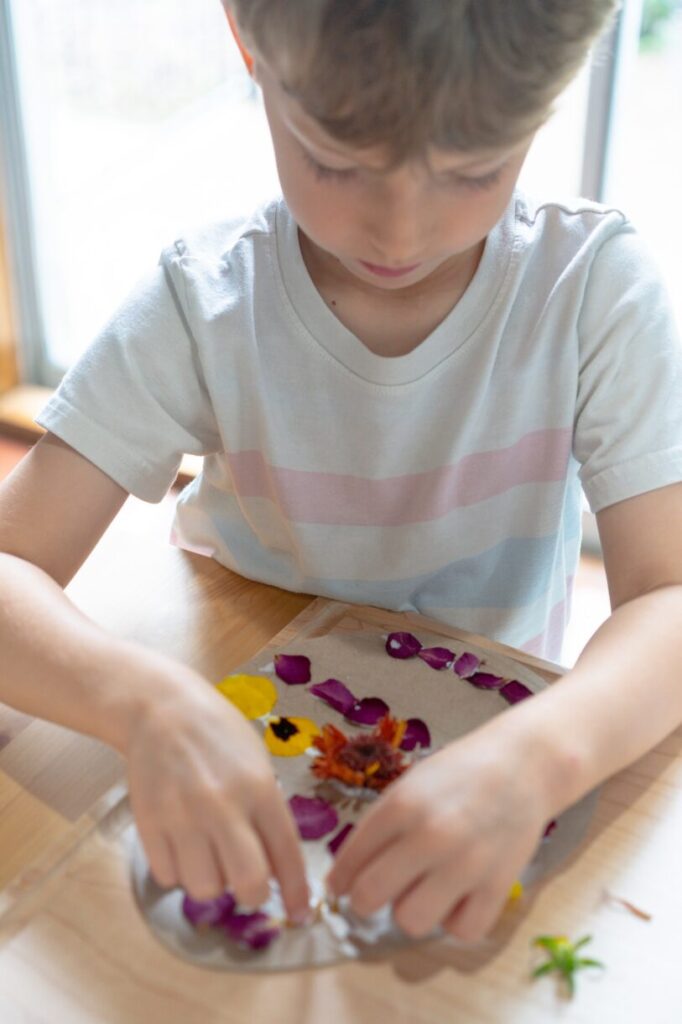
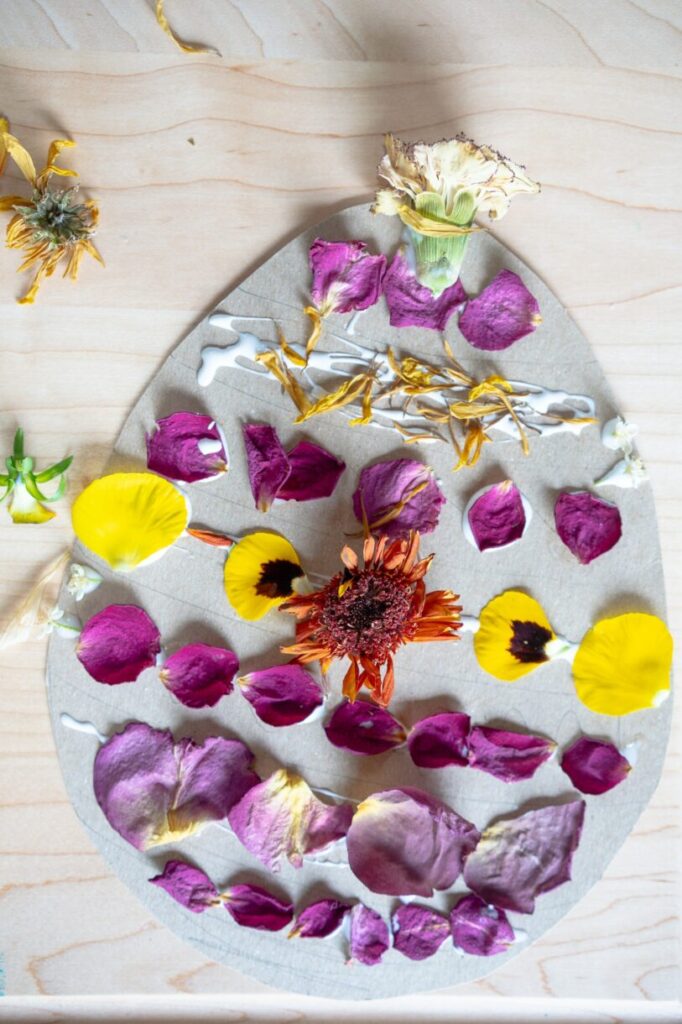
My eight year old also did the project on her own and drew in her own lines to create her own pattern.
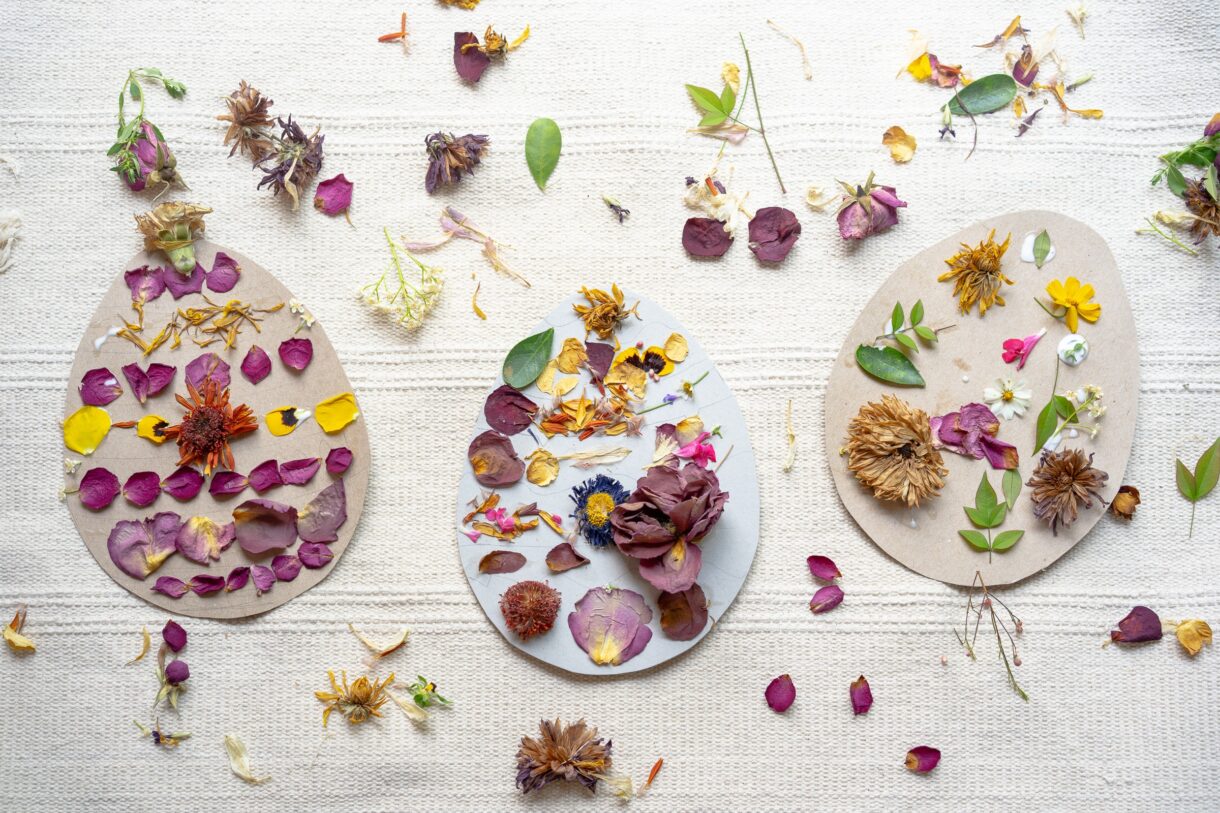
I love how each one turned out! They are uniquely beautiful and have the stamp of each child’s personality.
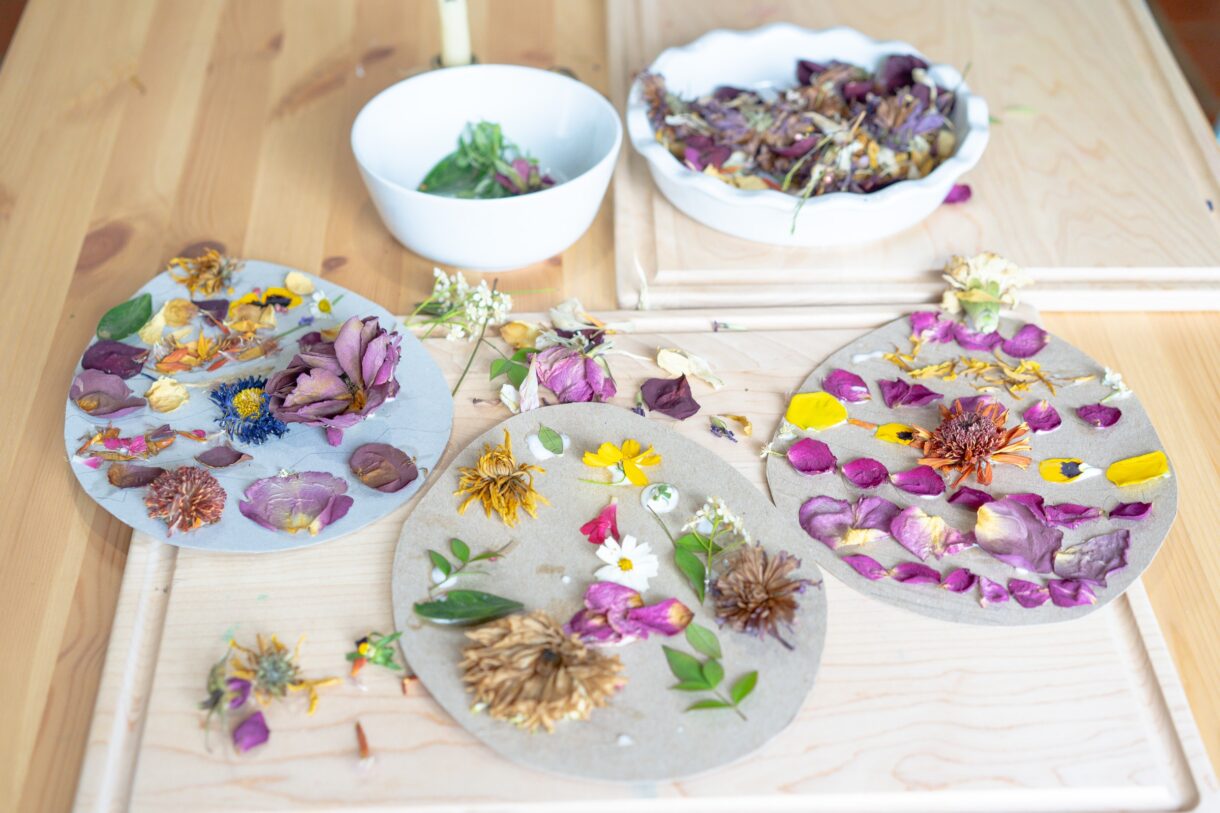

If you need a simple craft idea to celebrate spring, I hope you give this one a try!

Leave a Reply