We’ve hit the dog days of summer in South Texas. After a week of 100+ temps, we are melting and taking refuge indoors during the hot afternoons. And that means I need a plan to keep our afternoons light and cheerful instead of fussy and dragging on.
One of our favorite ways to pass an afternoon is with a handcraft.
This yarn pom pom wall hanging was especially fun because it was a family affair and all three of my kids (ages 6, 4, 18 months) could help.
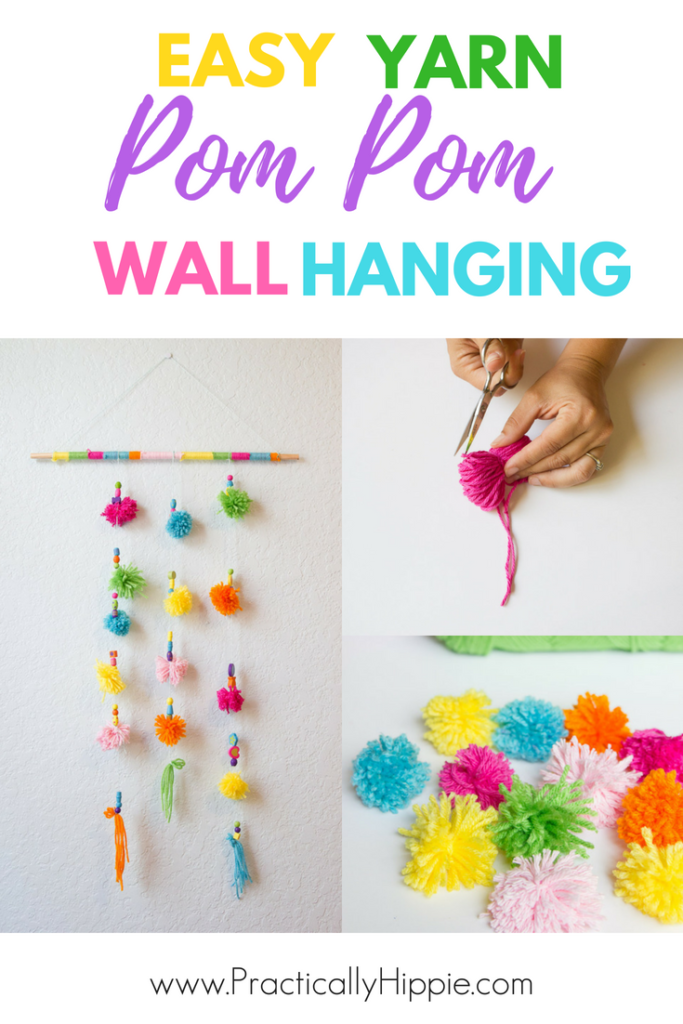
Materials
Wooden dowel or stick
Yarn
String (optional)
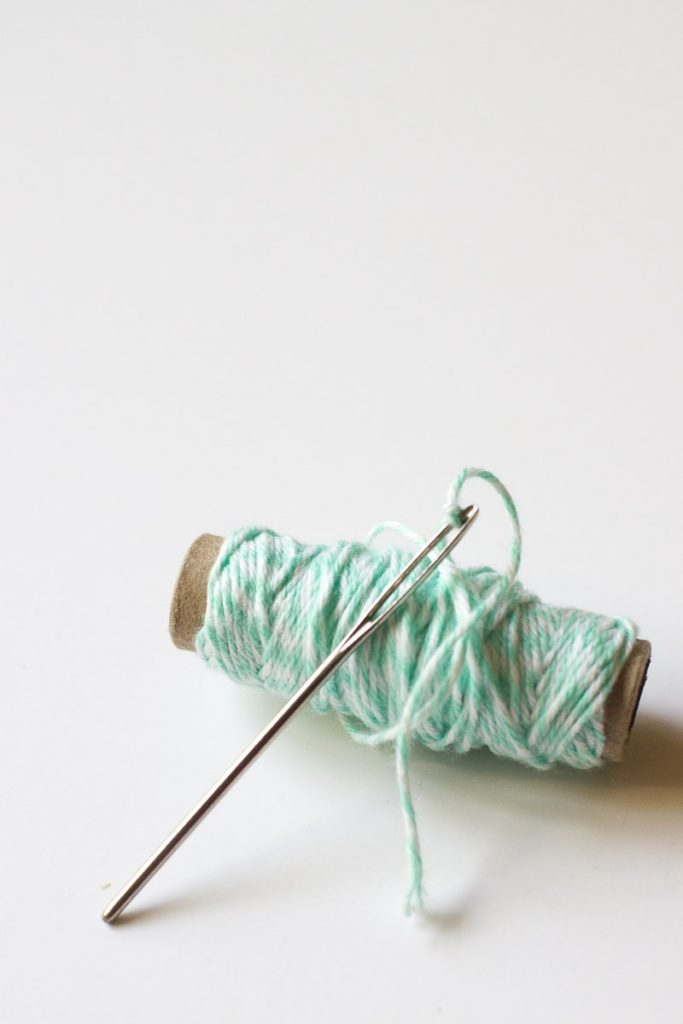
Tapestry needle (or other needle with a large eye)
Making the Pom Poms
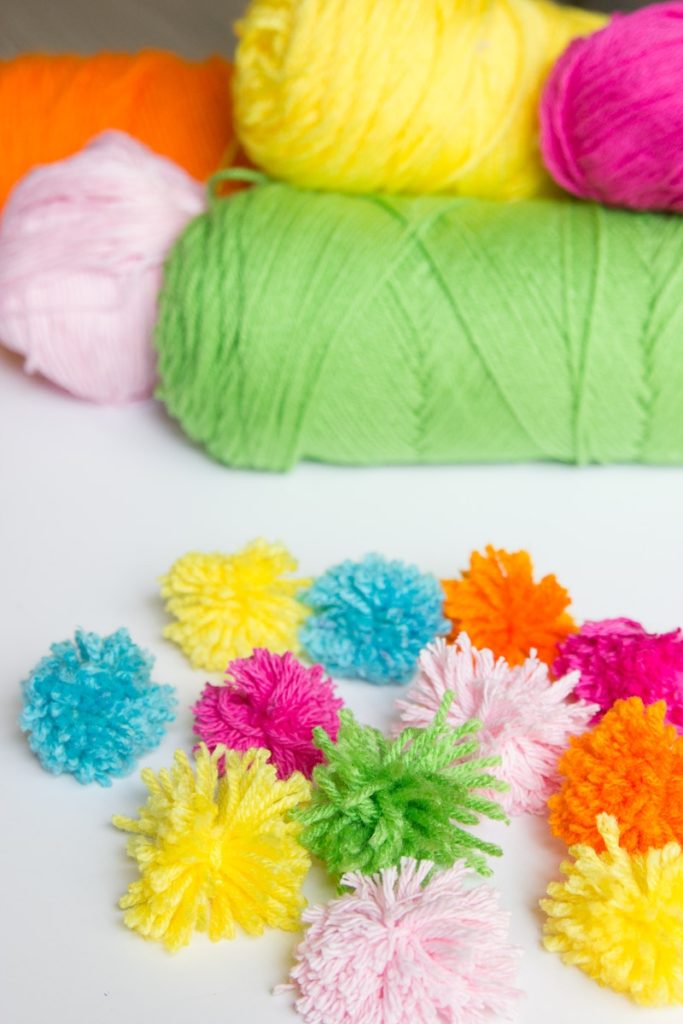
We went a little pom pom crazy and made pom poms of all colors and sizes for days on end. We tried out several methods for making the pom pos, but making them with our fingers was the clear winner for little hands.
WikiHow has awesome instructions with video for how to make them. See the instructions here.
First, cut a length of yarn about 12 inches.
Then, start with the end of your yarn between your thumb and the palm of your hand. Wrap the yarn around your fingers. For our smaller pom poms, I wrapped the yarn around my pointer and index fingers. My kids obviously have smaller hands so they wrapped the yarn from the pointer finger to their pinkies.
We wrapped these smaller pom poms about 40 times, but for larger pom poms, you may need to wrap up to 200 times. This was great counting practice!
Making sure the kids didn’t wrap too tightly was a bit of a challenge. If you see blue or purple fingertips, stop!
One your yarn is wrapped, snip the yarn and carefully pull it off your fingers. Set it in the center on top of the 12-inch piece of yarn.
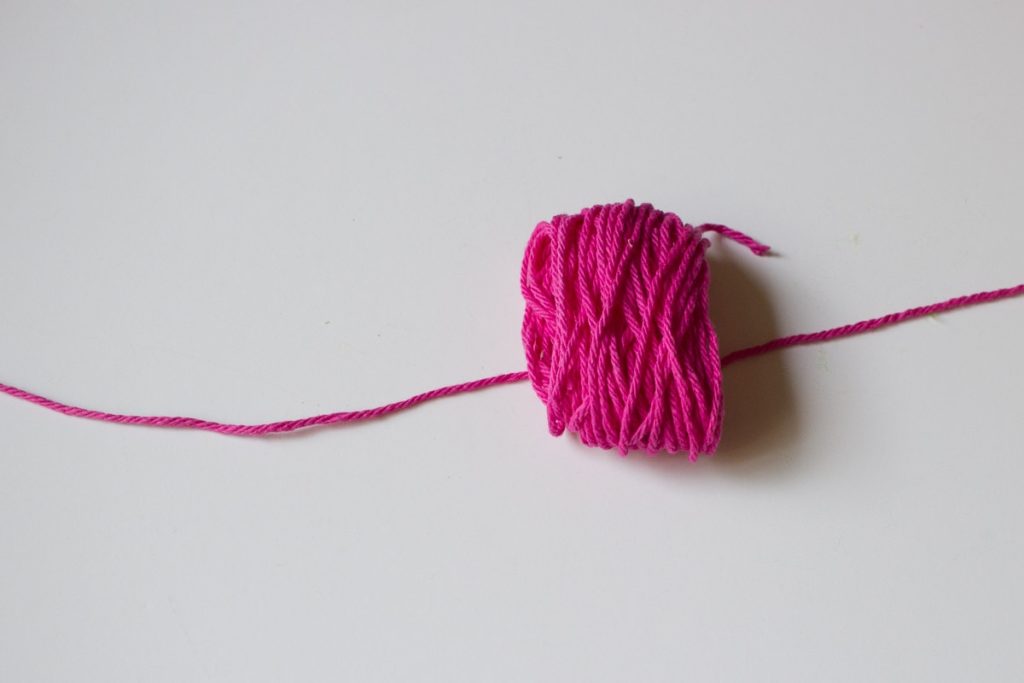
Tie the 12-inch piece of yarn around your bundle of wrapped yarn. I had to tie this 2-3 times to make sure it was really tight.
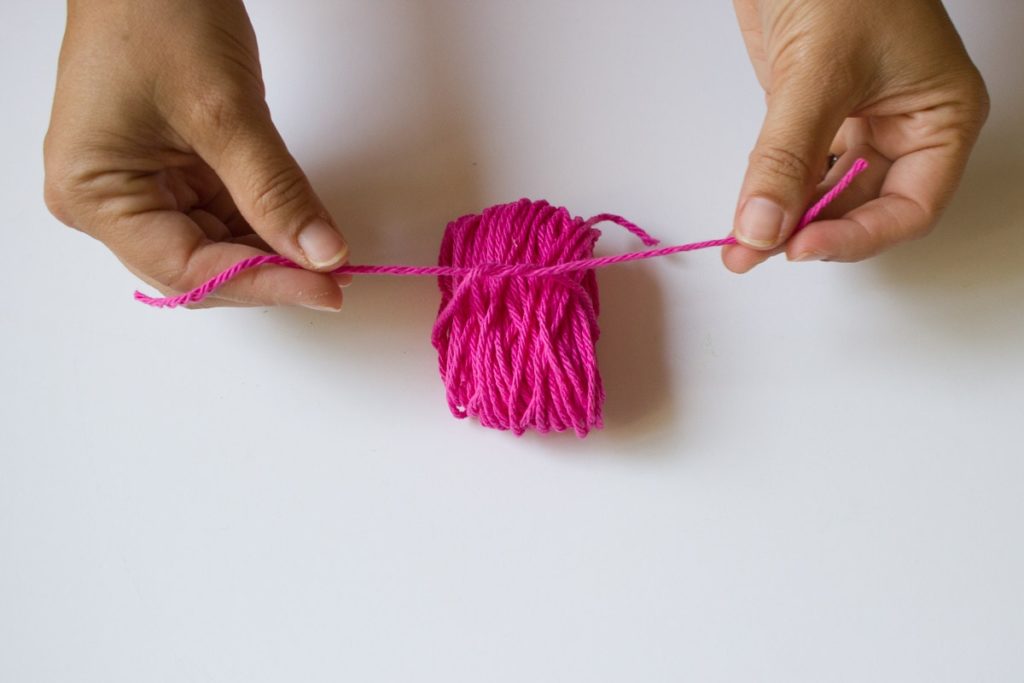
Next, cut through the loops on either side of your knot. Be sure to cut all the loops so that your pom pom takes shape.
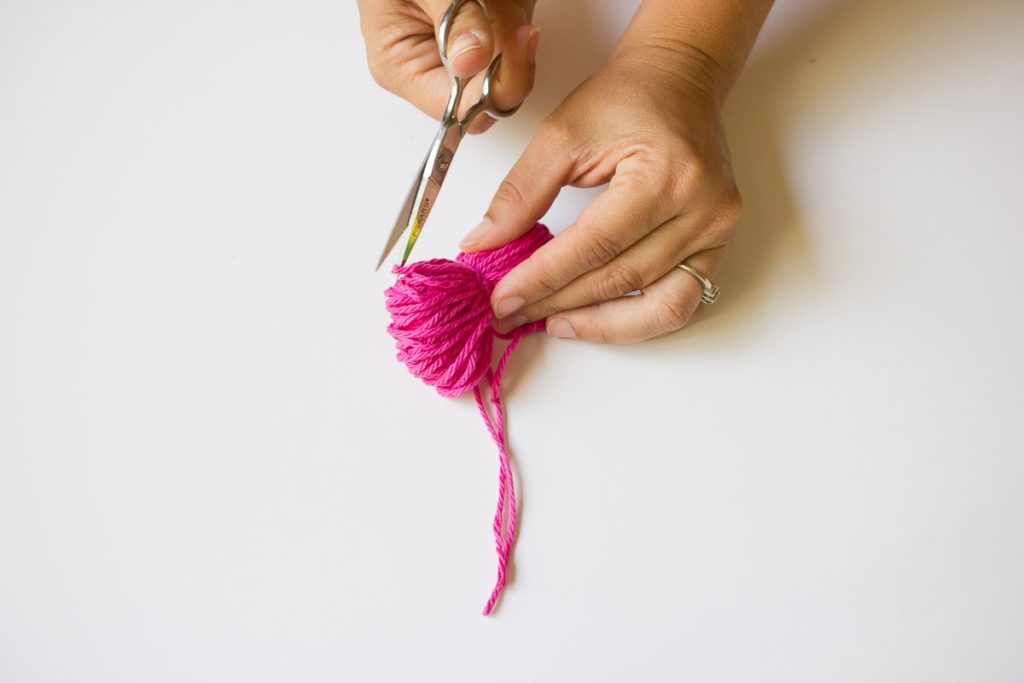
Then use your hands to gently fluff up the pom pom and trim any ends. Giving the pom poms a “haircut” was by far my kids’ favorite part of this project!
Prepping the Dowel
Cut your stick or dowel to size. I used a 12-inch dowel for this wall hanging.
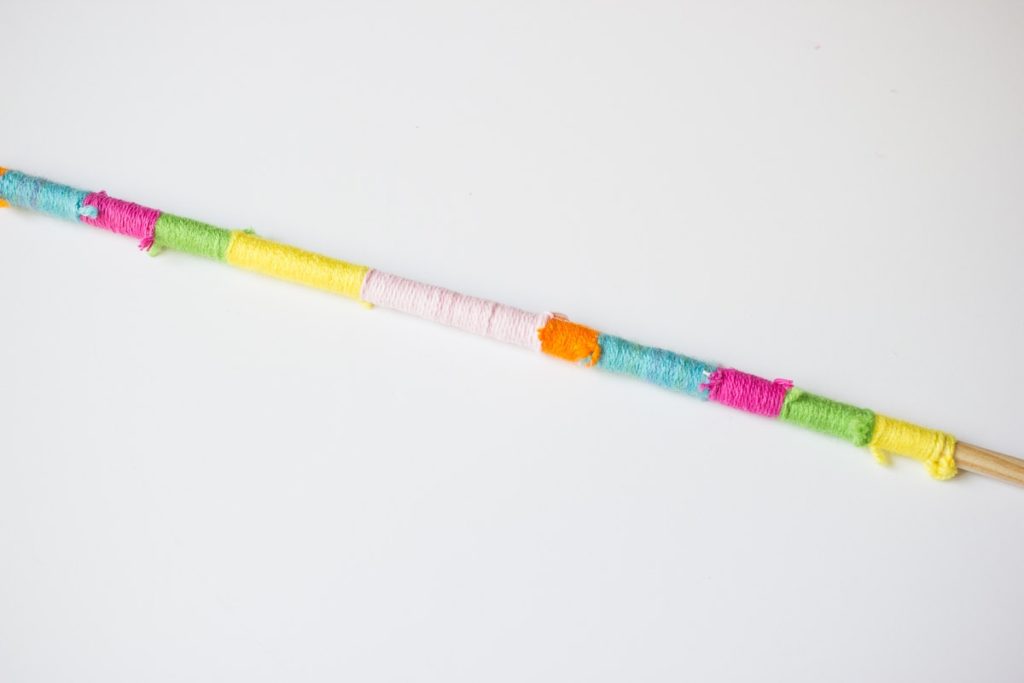
Use yarn to wrap the stick for a decorative touch. I used several colors of yarn to create a pattern, but you can get creative here.
Tie a length of yarn to the dowel, wrap it, gently push it to the side and then tie the other end when done. I repeated this process for each color until the dowel was done.
Attaching the Pom Poms
Select string to use on your wall hanging. Alternatively, you could use a complimentary color of yarn. I choose to use this colored string from the dollar store.
I used a tapestry needle to thread wooden beads onto the string.
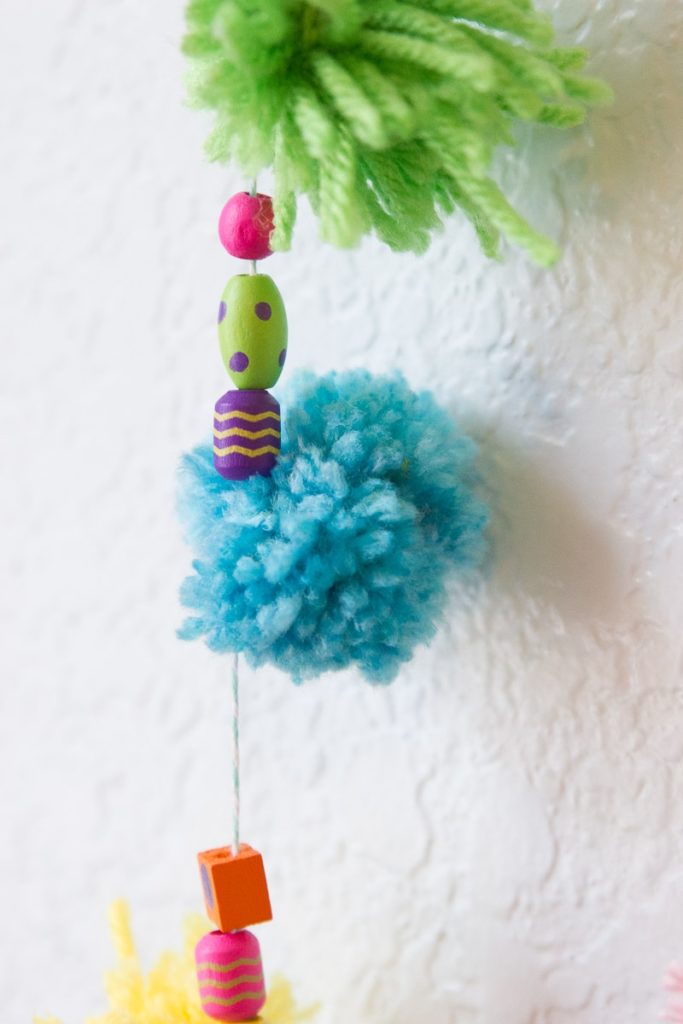
Then, I used the needle to loop the string through the pom pom and tie a knot to keep it in place.
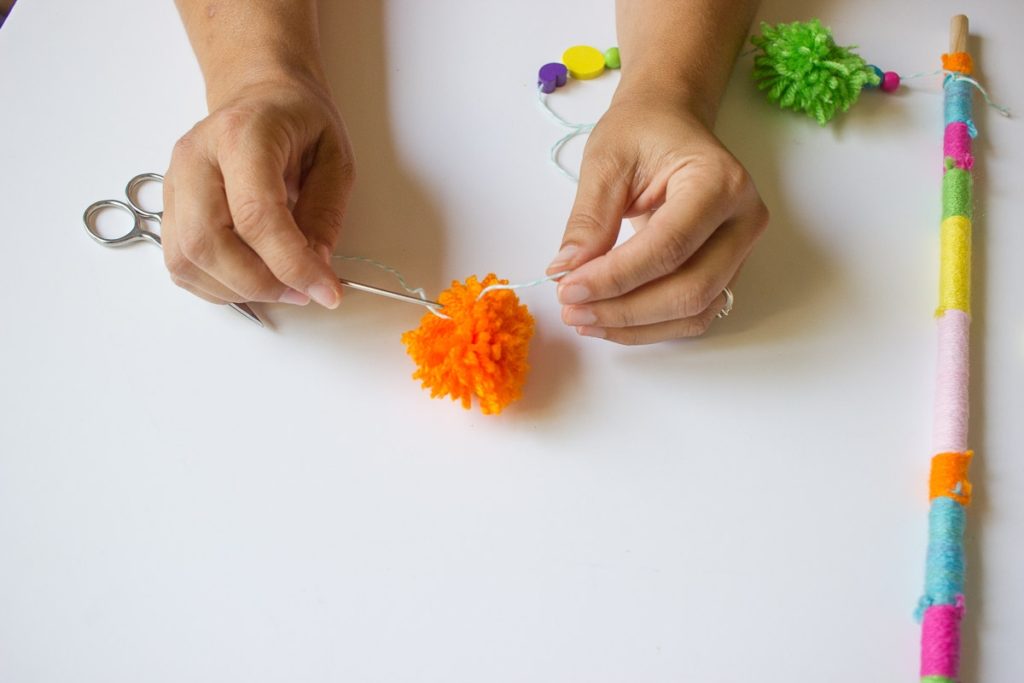
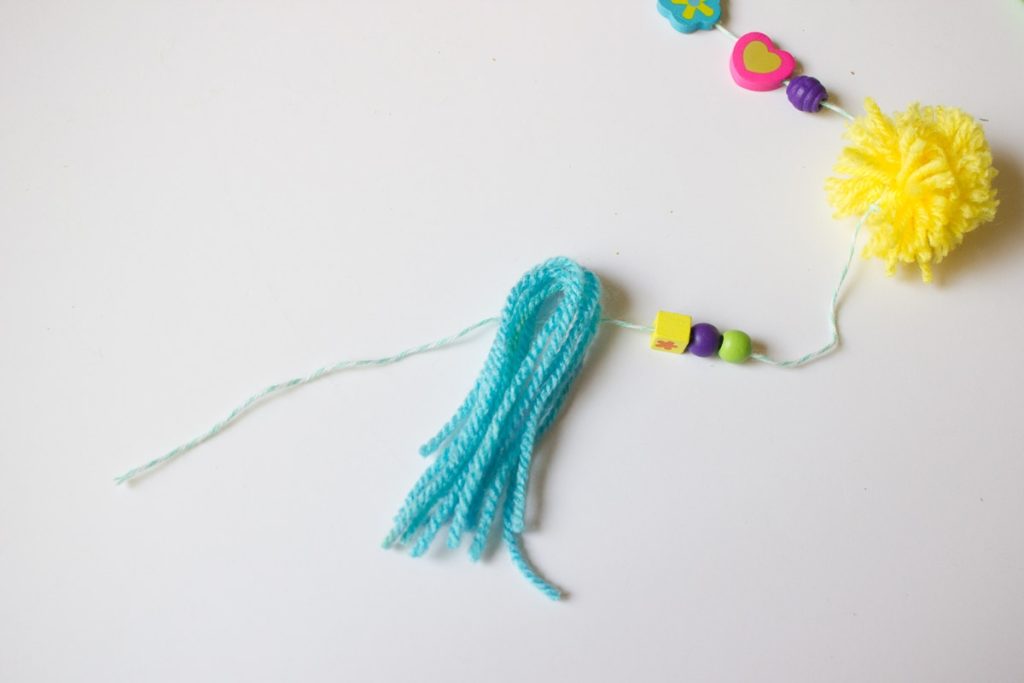
I put 3-5 pom poms on each length of hanging string and finished it off with a yarn tassel. To make the tassel, cut a few 6-inch pieces of yarn, fold them in half, and tie the string around the folded top.
Once the pom poms are in place, tie the string or yarn to each end or your dowel to create a loop for easy hanging.
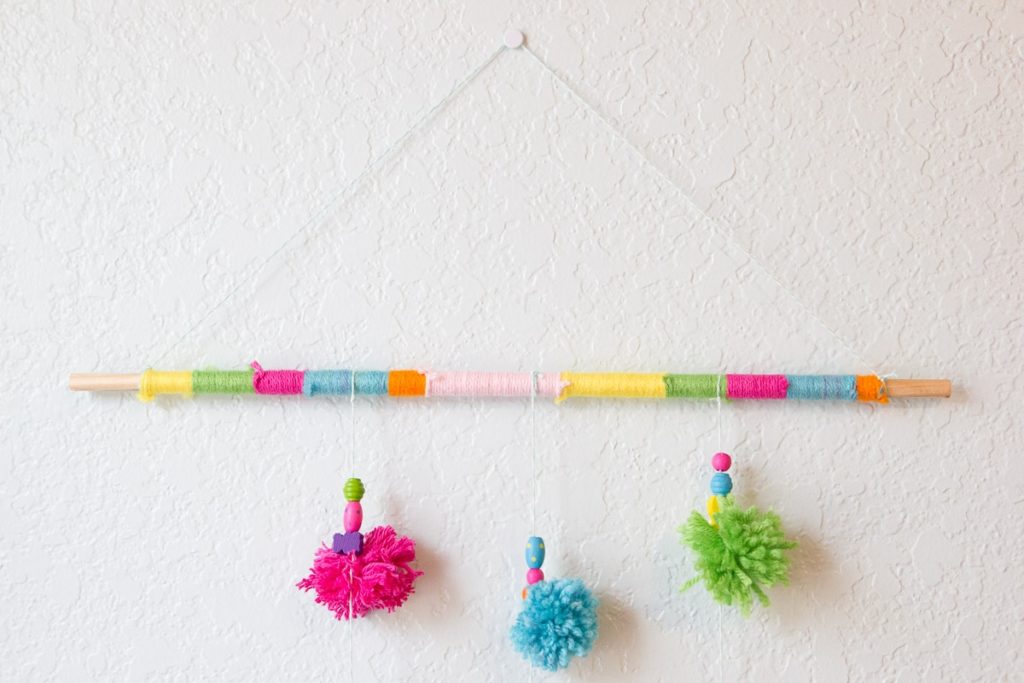
Then hang and enjoy!
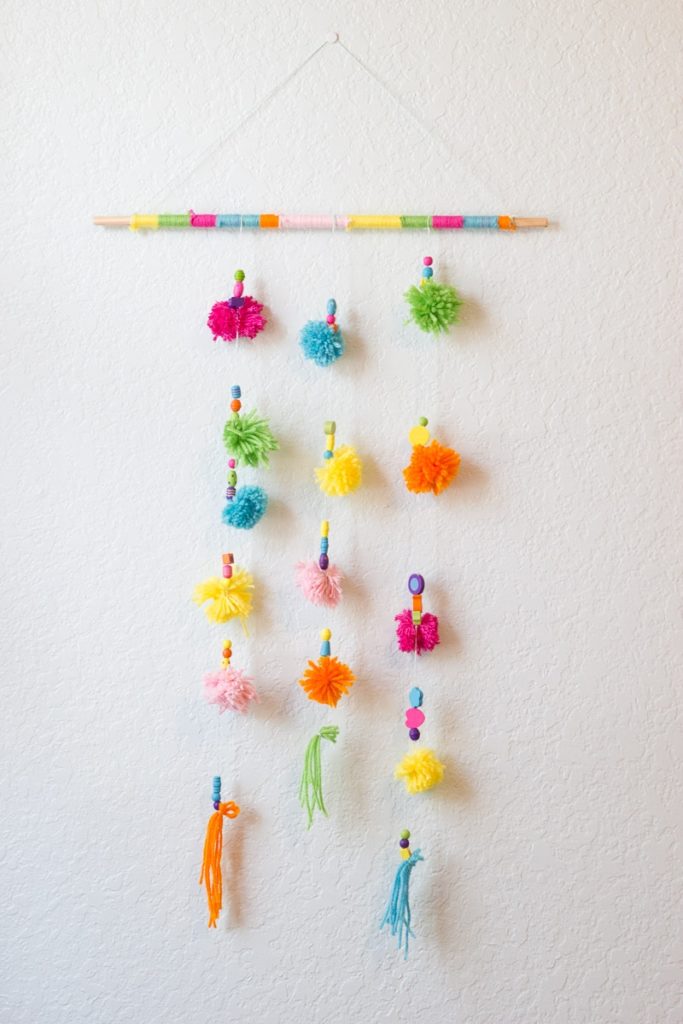
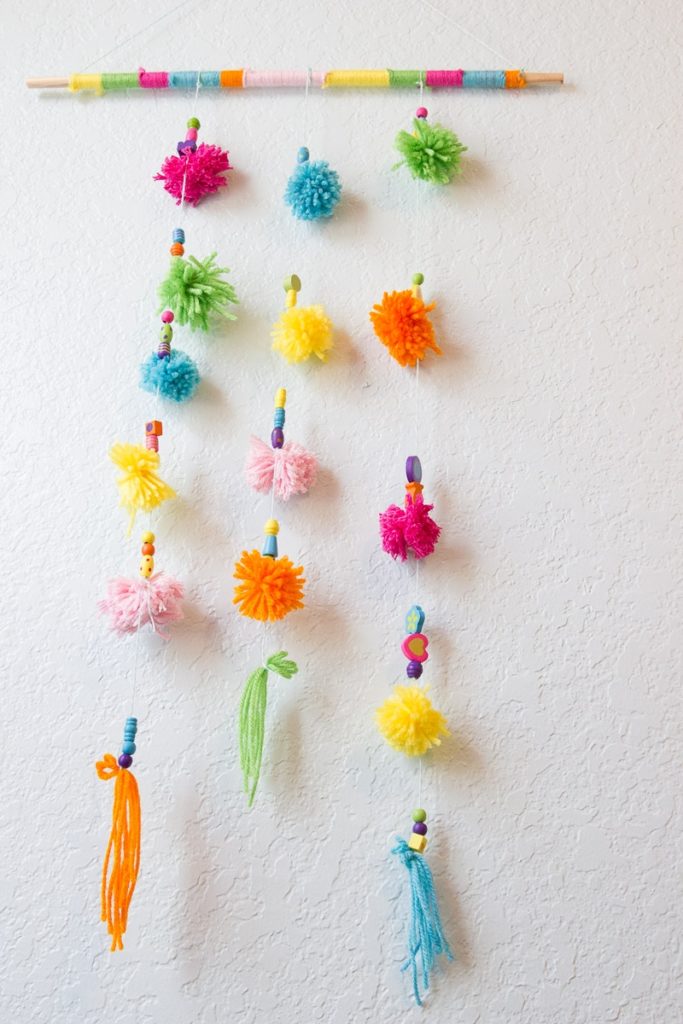
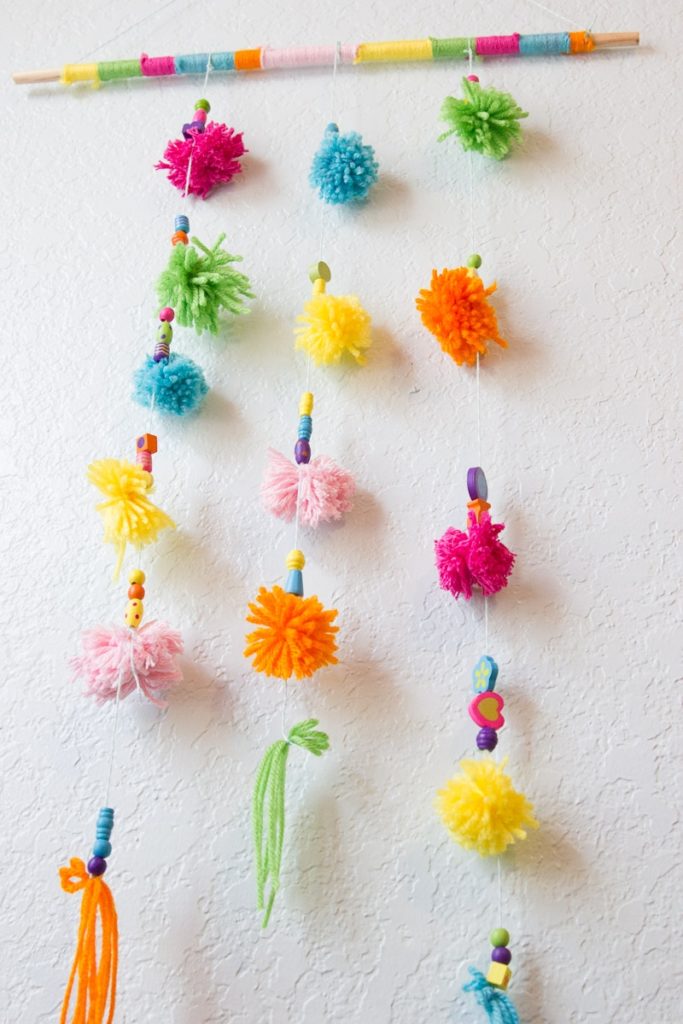
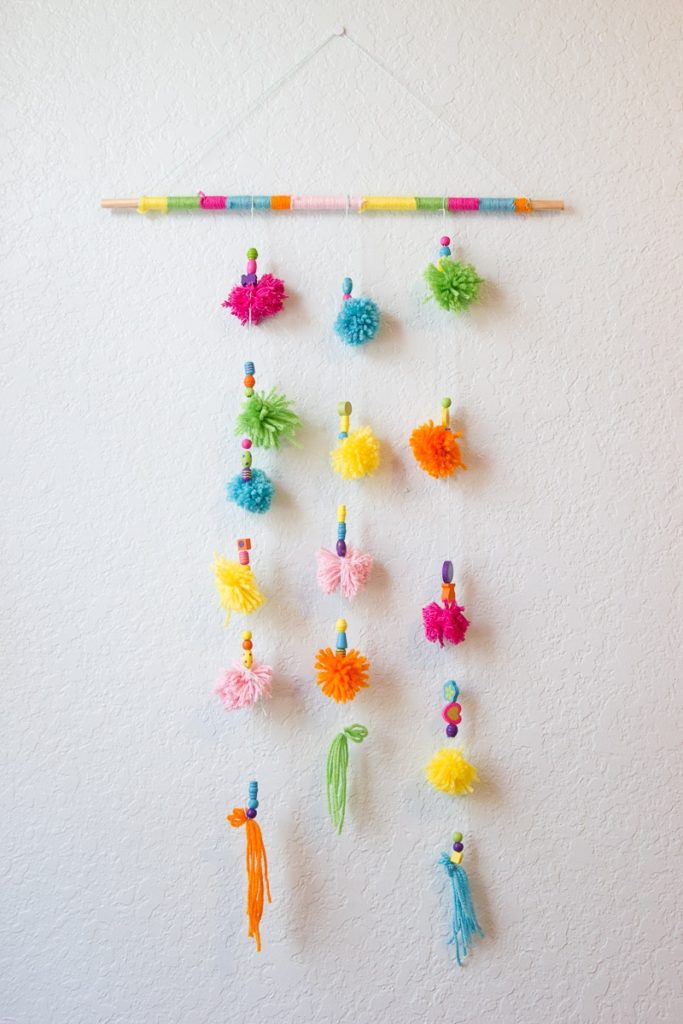
We just love how this looks hanging in my daughter’s room!

We plan to make more for a few summer birthdays and maybe change up the colors for fall or Christmas decor even. If you love this simple handcraft, please pin in for later. And if you give it a try, be sure to share your creations with me over on Facebook or Instagram.


Leave a Reply