We woke up this morning to a cool breeze and a high of 91 degrees, which is about as good as it gets for fall in South Texas!
Autumn really is such an exciting time around here when we can finally start thinking about cooling off from the brutal summer. We embrace all things fall, and fall crafts are one special way that we usher in the season!
We got our Let’s Play School book club for this month and the theme was apple orchard- so cute! Chelsea designs the most adorable printable packs with lots of fun learning games and activities. All three of my kids ages 4, 7, and 10 love them! My 10yo is usually in charge of cutting out all of the printable and setting up the games. She loves helping and playing teacher!
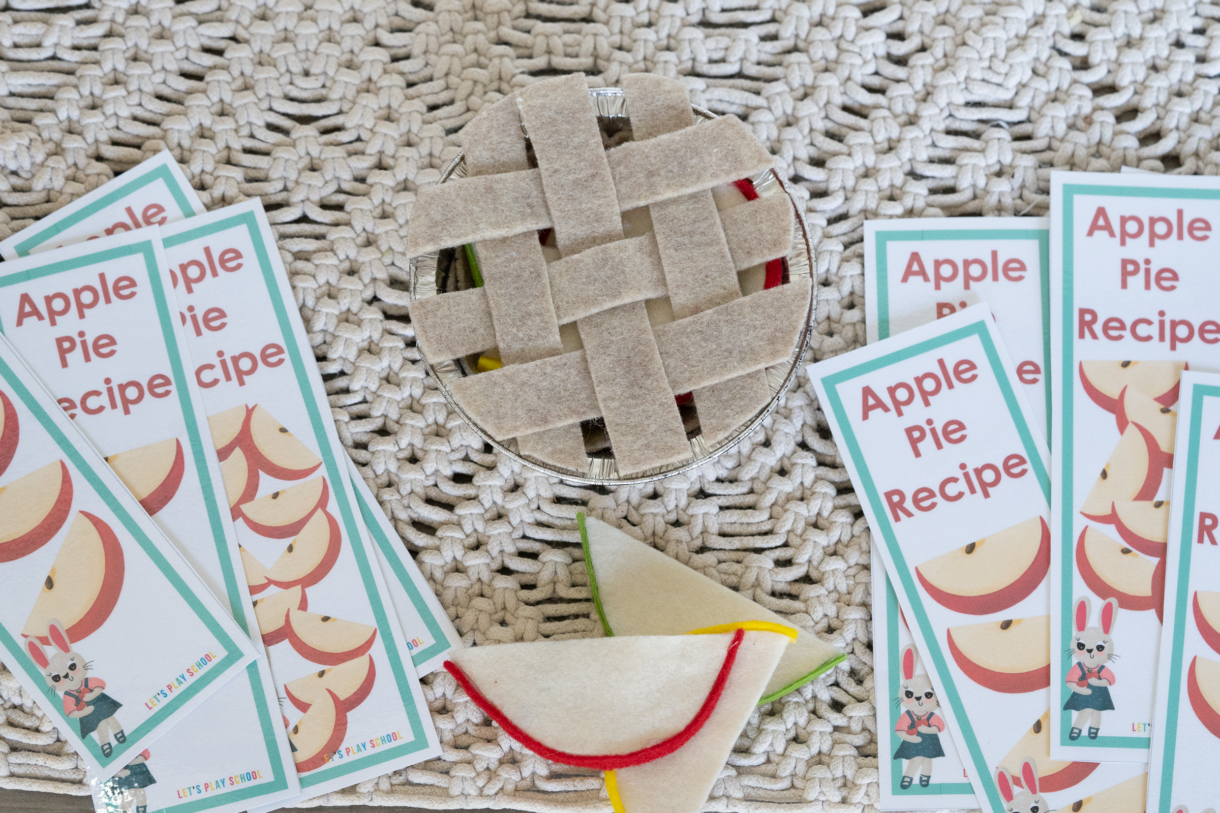
One of the games in the apple orchard pack is a counting game where the child counts the apples on the recipe card and adds the correct number of apple slices to a printable pie. I thought it was such a great way to practice counting that I wanted to make a felt apple pie to do the activity with.
My 4yo and I worked together, and we had the cutest felt apple pie in about 45 minutes!
How to Make a Felt Apple Pie
This project is simple but does require cutting with sharp scissors and a hot glue gun with hot glue.
Materials:
- Felt in tan, cream, red, green, and yellow
- Scissors
- Mini pie pan
- Marker
- Hot glue gun & hot glue
Instructions:
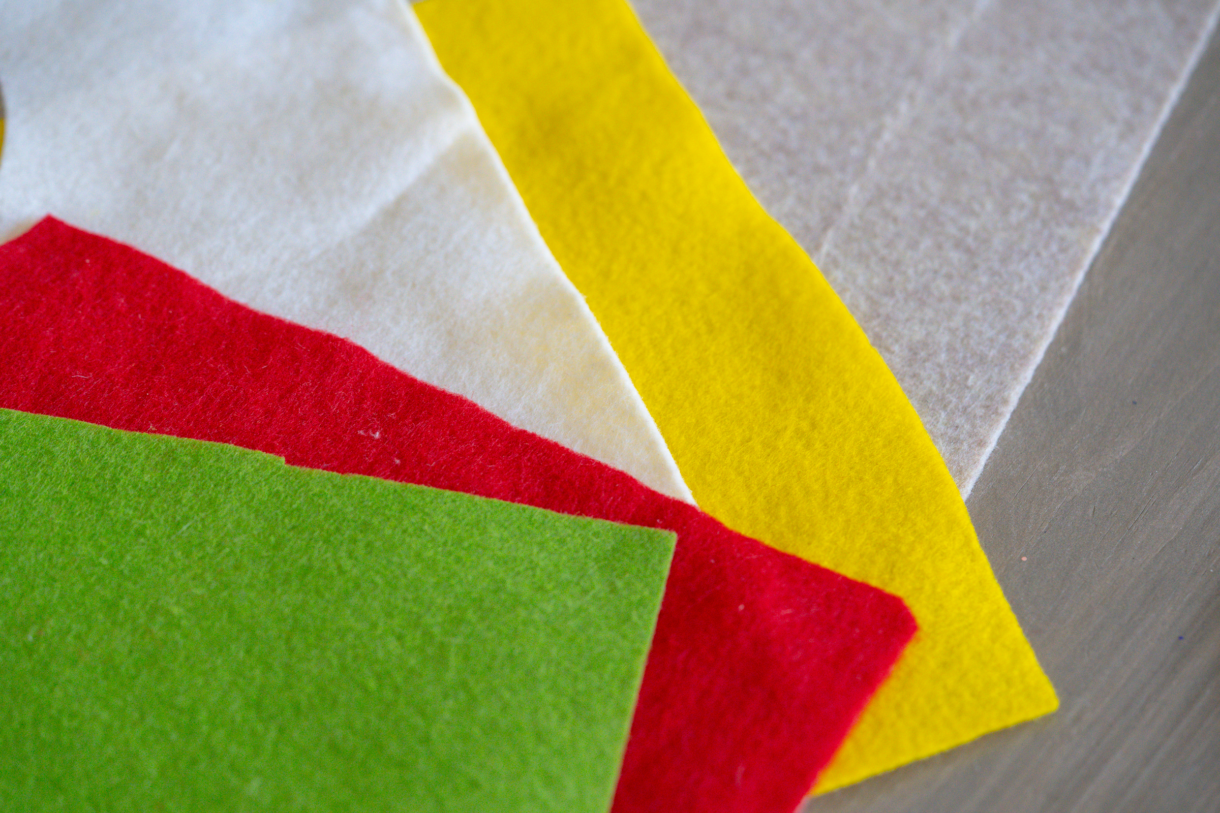
I gathered up tan, cream, red, green, and yellow felt for this project.
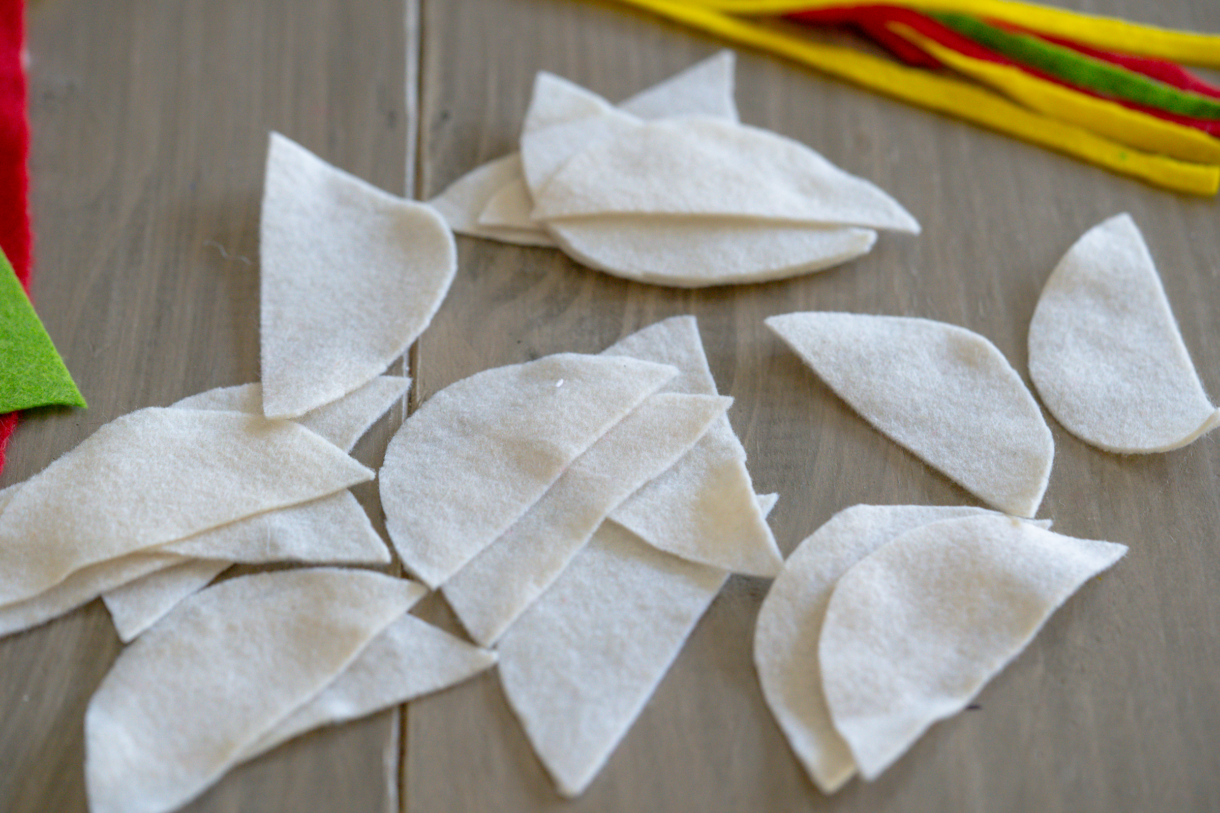
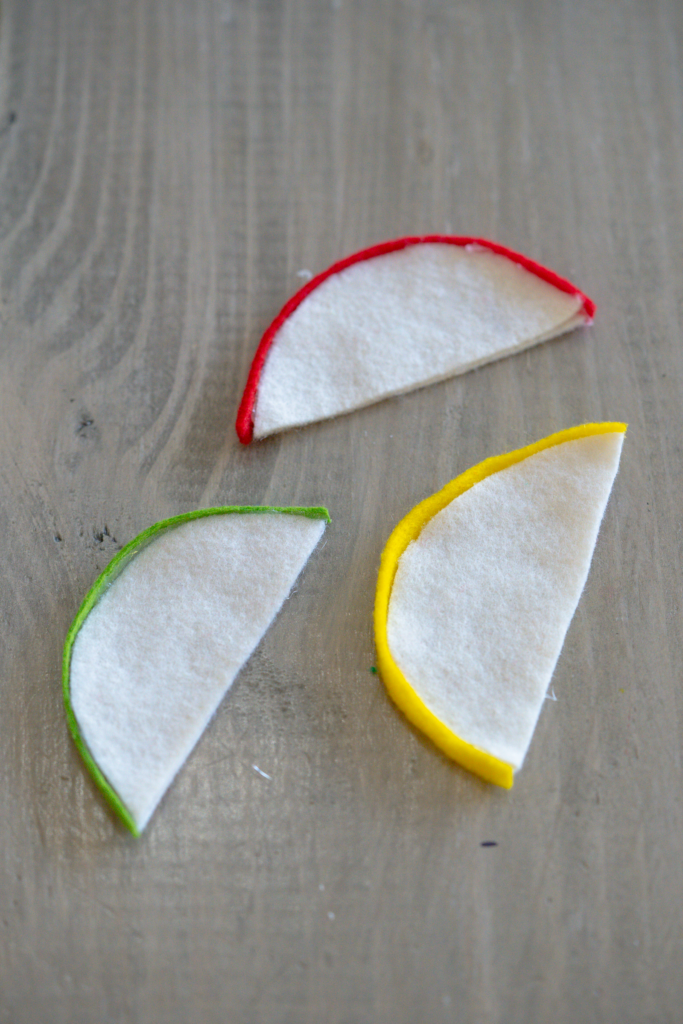
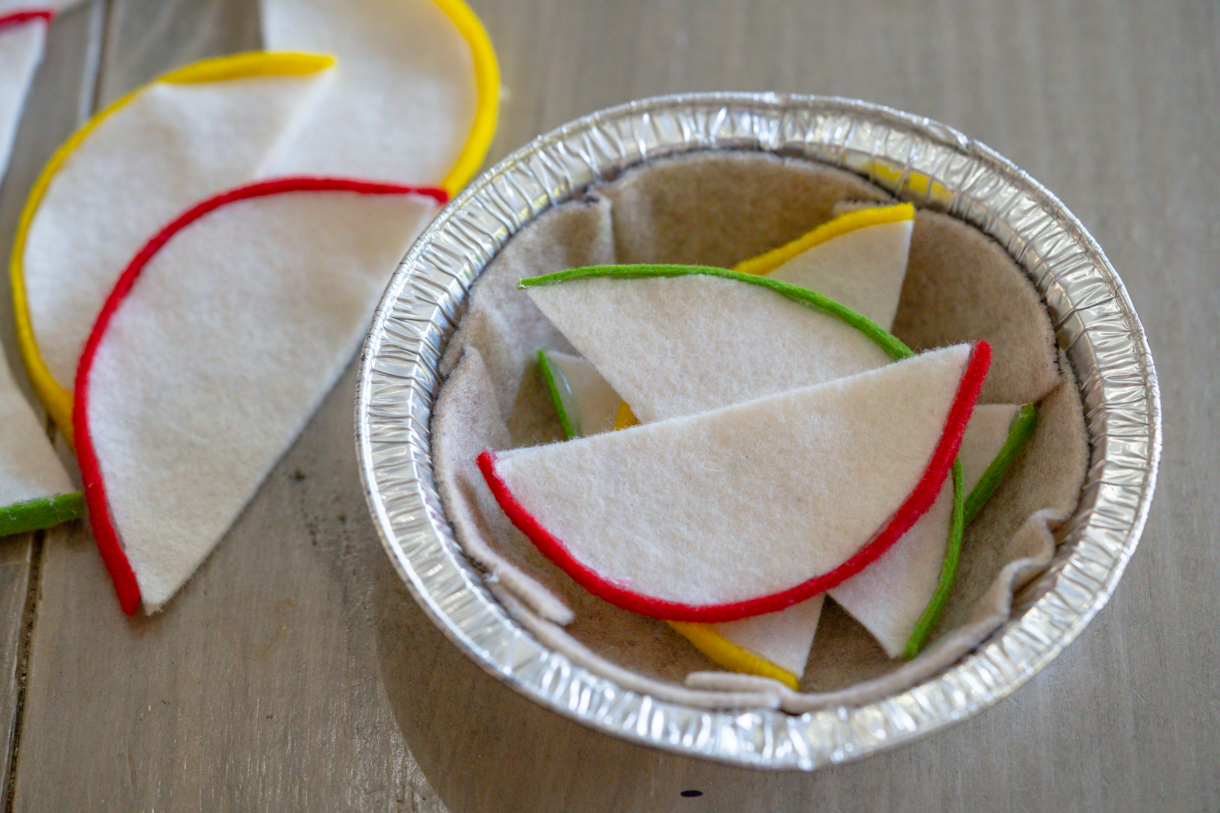
Cut the apple slices from cream-colored felt. I cut one semi-circle, aiming for about the size of a real apple slice, and used it as a template Cut two matching pieces of felt per apple slice and hot glue them together.
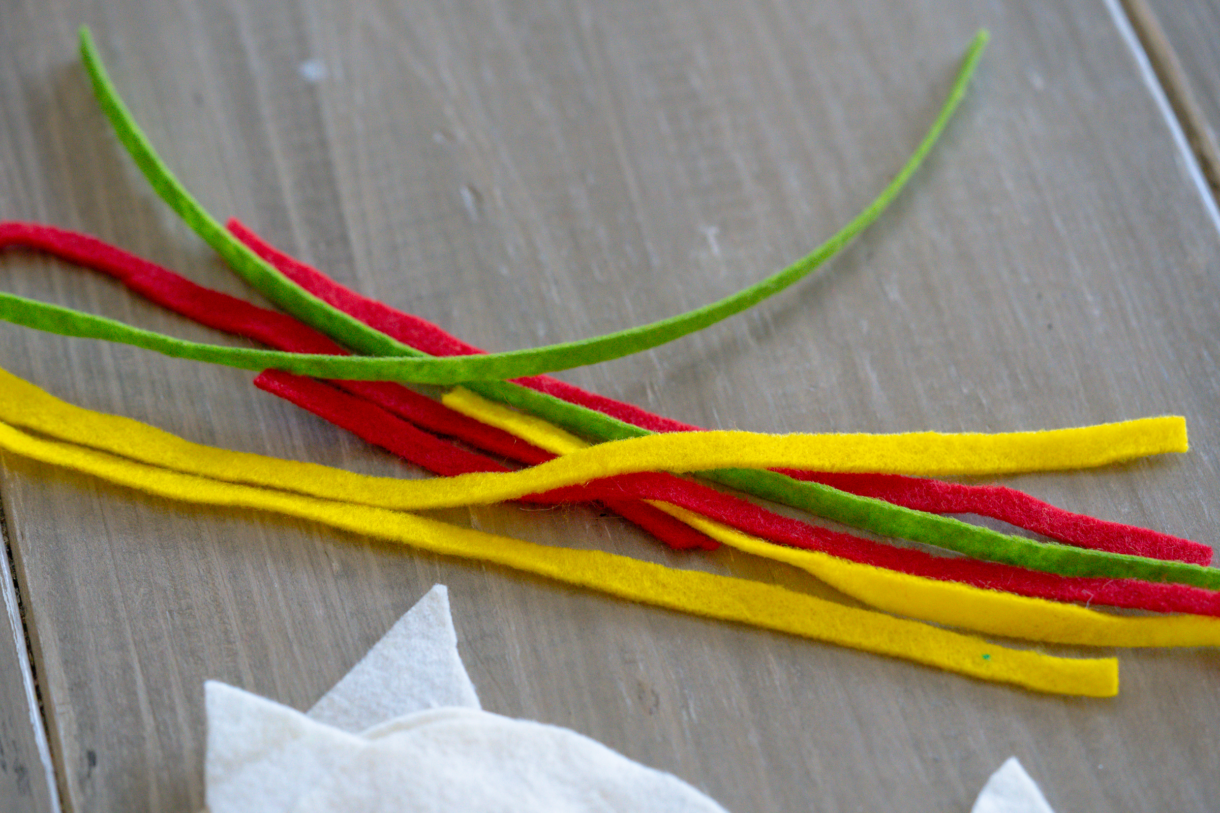
I used red, green, and yellow felt for the “skin” of the slices. Cut long, thin strips of each color.
Apply hot glue to the curved edge of the apple slices and add the thin strips of colored apple skin. Cut the colored strips to size once glued.
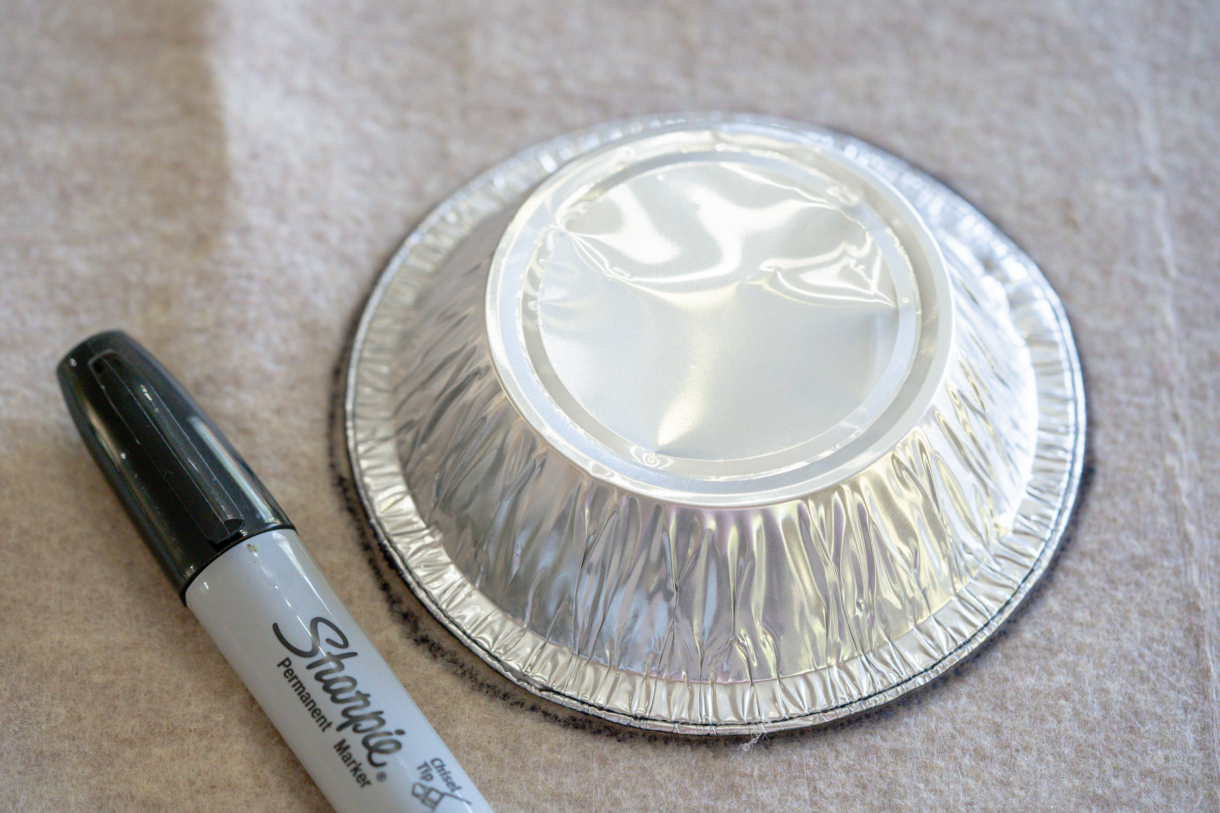
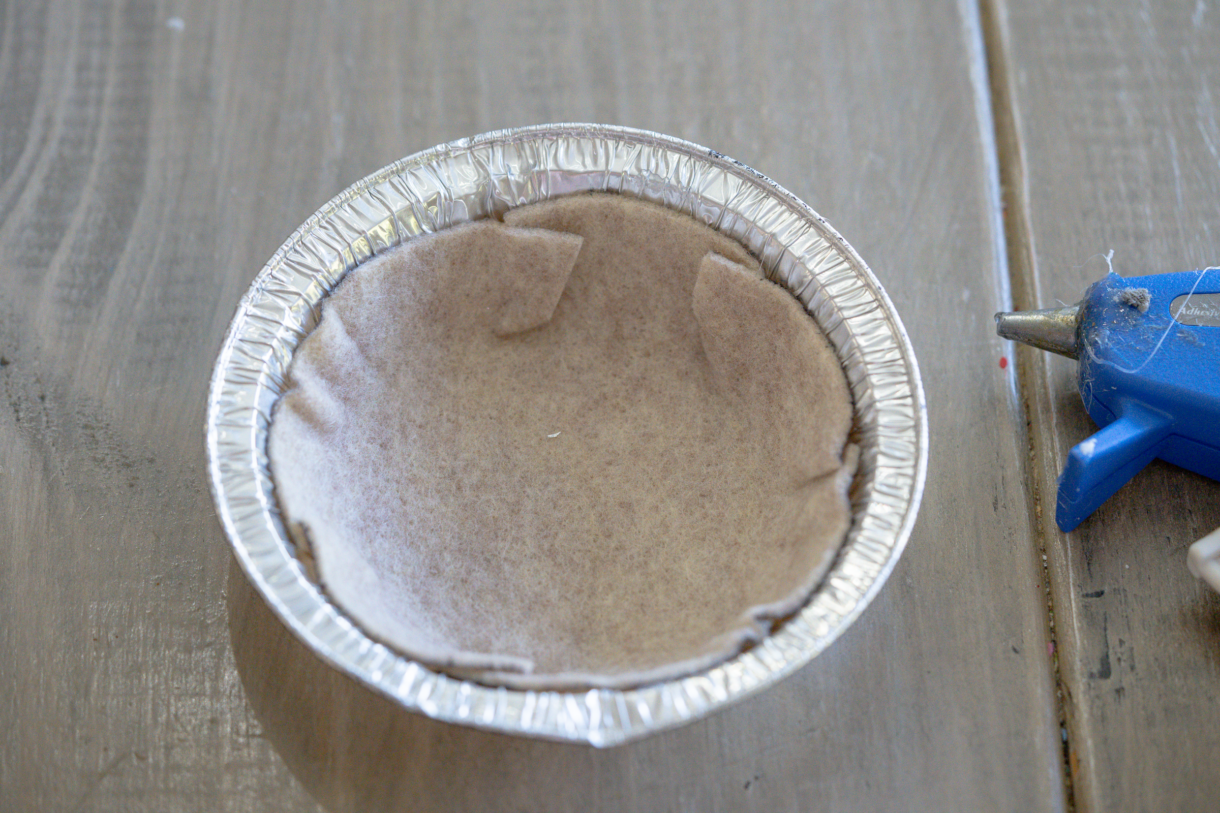
For the pie crust, I used a heather tan felt. I used a mini pie pan, but you could use a regular pie pan if that’s what you have on hand. I turned the pie pan upside down and traced around the circumference with a marker.
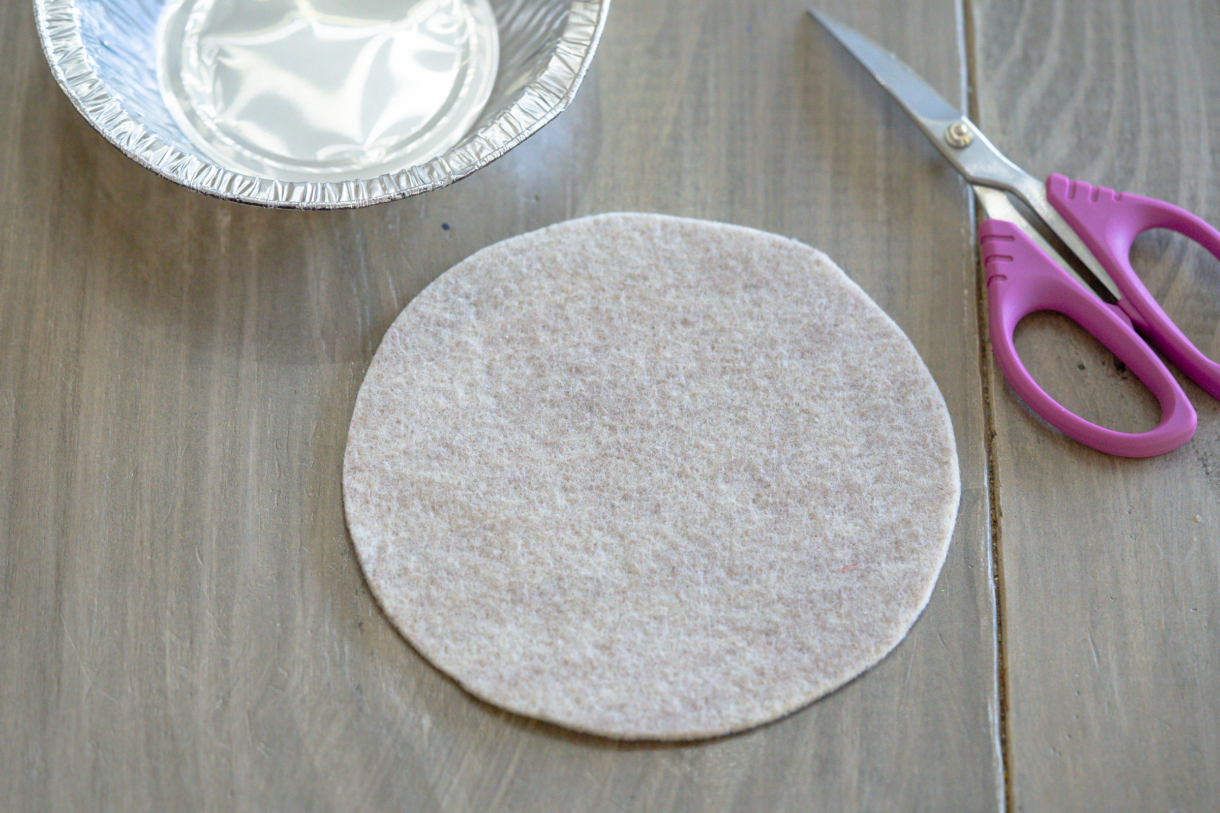
Then cut out the circle.
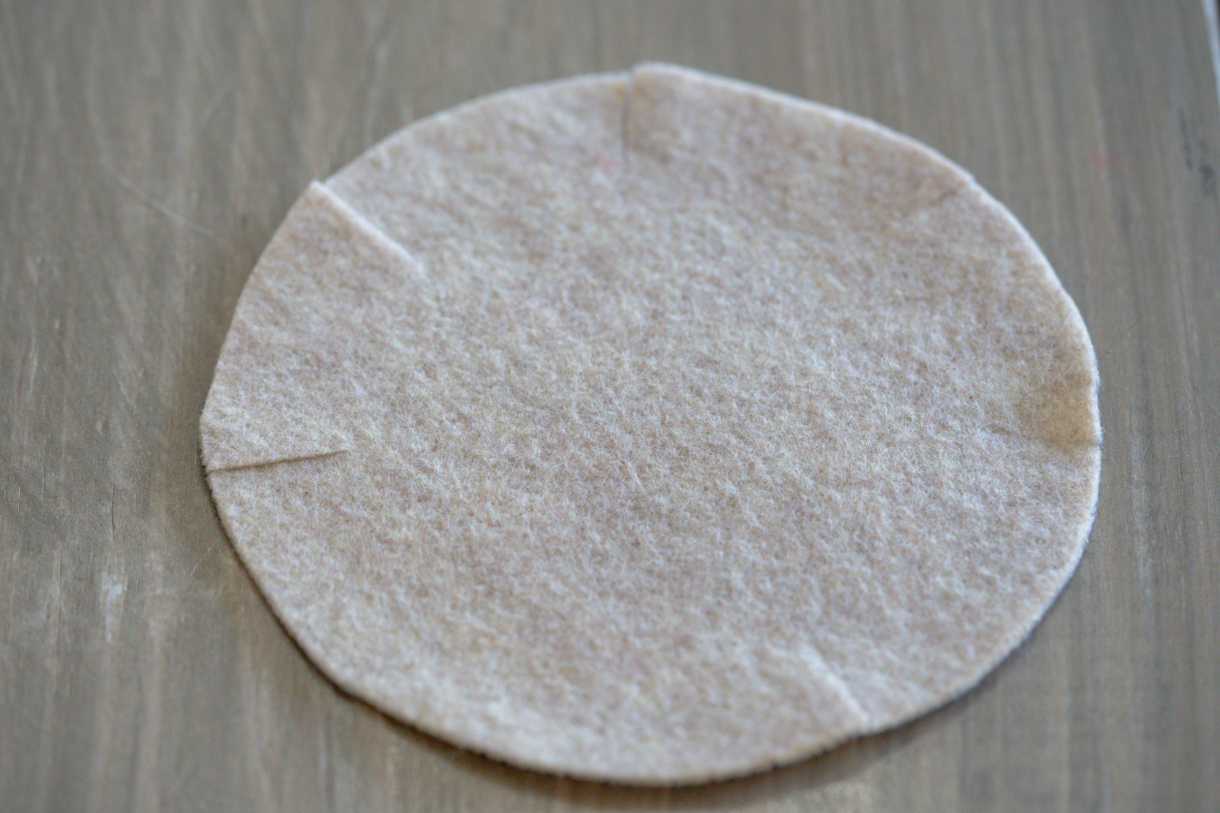
Next, I cut a few slits into the circle so that it would lay nicely in the pie pan.
Press the pie crust into the pan and make any adjustments as needed. Once you’re happy with the shape, affix the felt to the pie pan with hot glue if desired. I glued mine down because I used a disposable pie pan, but it would still be cute and functional if you leave it loose with a real pie pan.
Now check out how adorable the apples look in your pie.
And then finish it off with a lattice crust. Cut strips of the tan pie crust felt and weave them into a lattice. Apply hot glue in a few spots to secure.
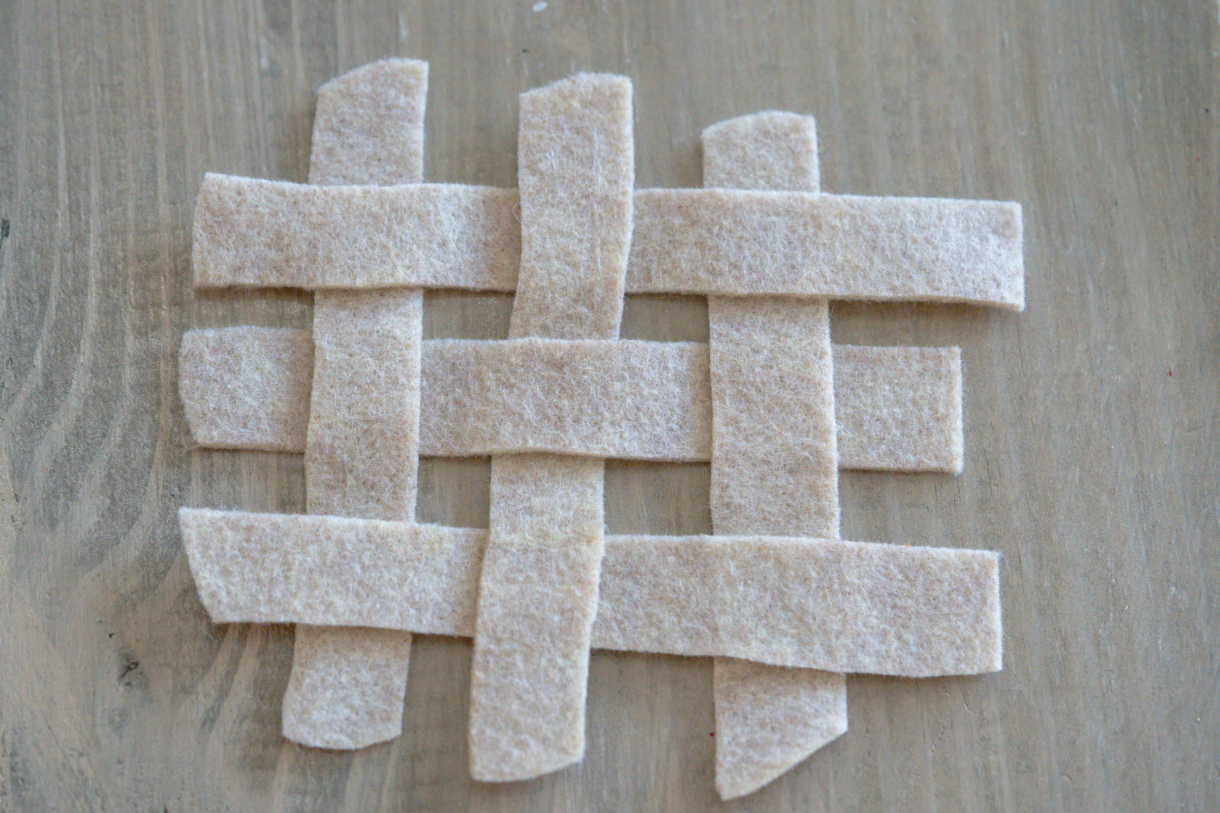
Place the pie pan upside down on the lattice and trace around the edges. Cut along the circle to ensure a good fit for the lattice crust in the pan.
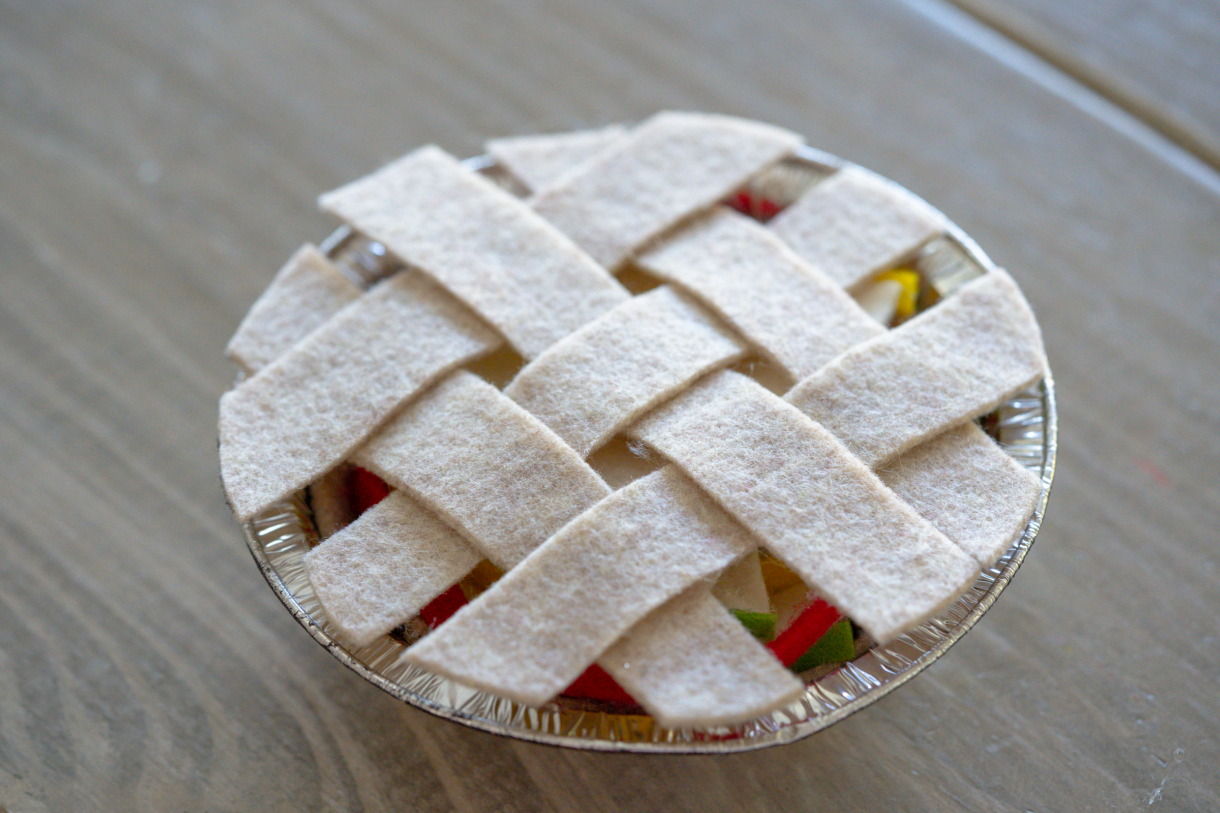
Set out the felt apple pie with a die for a simple counting game for preschoolers. Roll the die and add that number of apple slices to the pie!
Or watch your kids start up a pretend bakery…I can see lots of pies in our future!


Leave a Reply