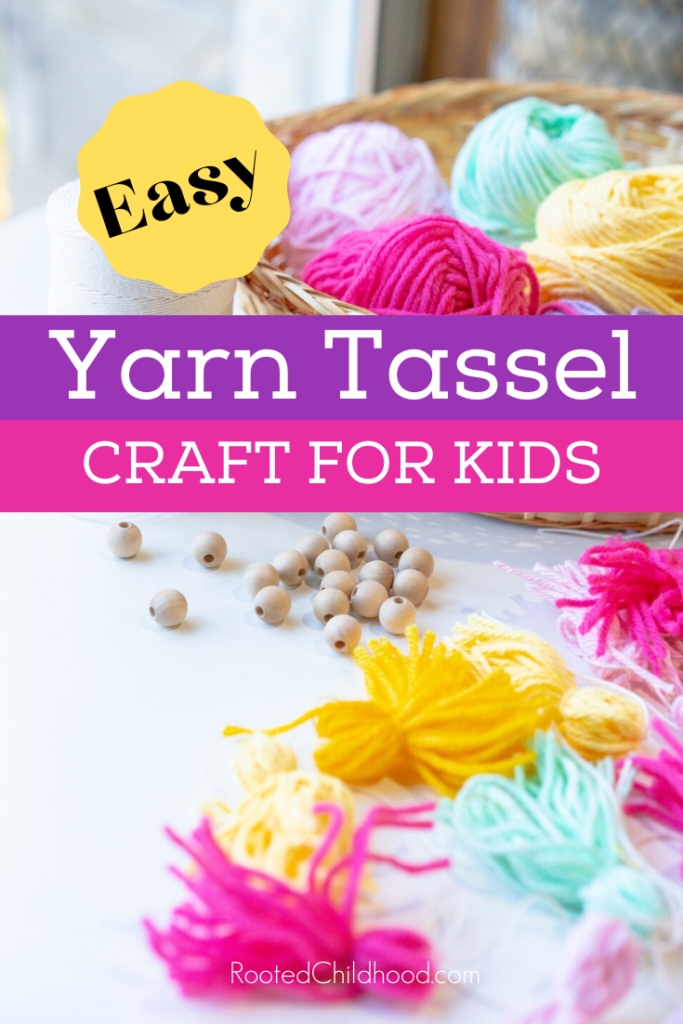
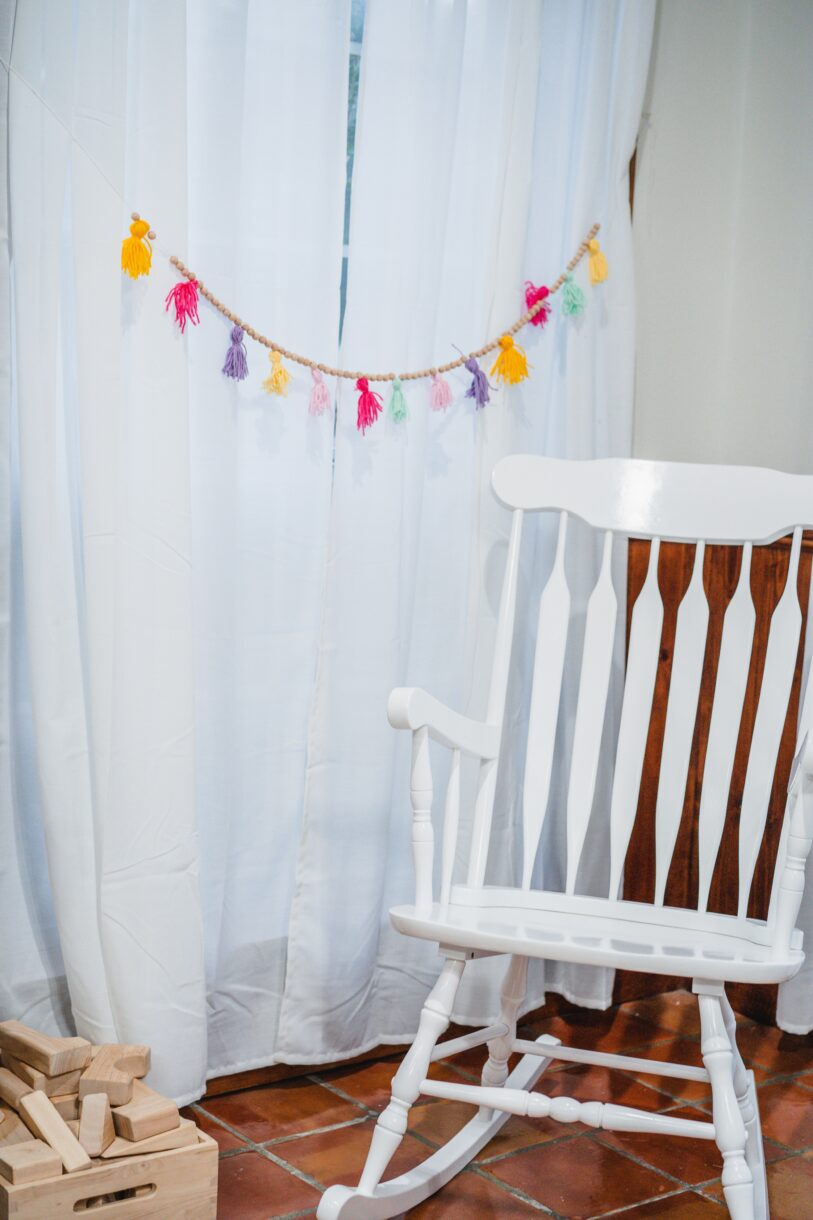
Spring is such a festive, fun time of year! We love welcoming in spring with handmade decorations, and this yarn tassel beaded garland is a great project for the whole family to work on.
With the change of each season, it’s a big tradition around here to pull out the seasonal decor.
While I totally could shop at HomeGoods or Target for decorations, I absolutely love adding pops of color and seasonal inspiration to our spaces with items we’ve made by hand. We use these decorations year after year and the memories flood back every time we pull them out.
Kids arts and crafts are often so…disposable. I mean, *I* love my three year olds crayon scribbles, but let’s be honest, she’s no Picasso.
We do display some of their work, but then it usually goes in the trash (when it doesn’t spark joy). This is why instead of cut-and-paste art projects, we prefer handicrafts- crafts that build up real skills and result in something beautiful and useful.
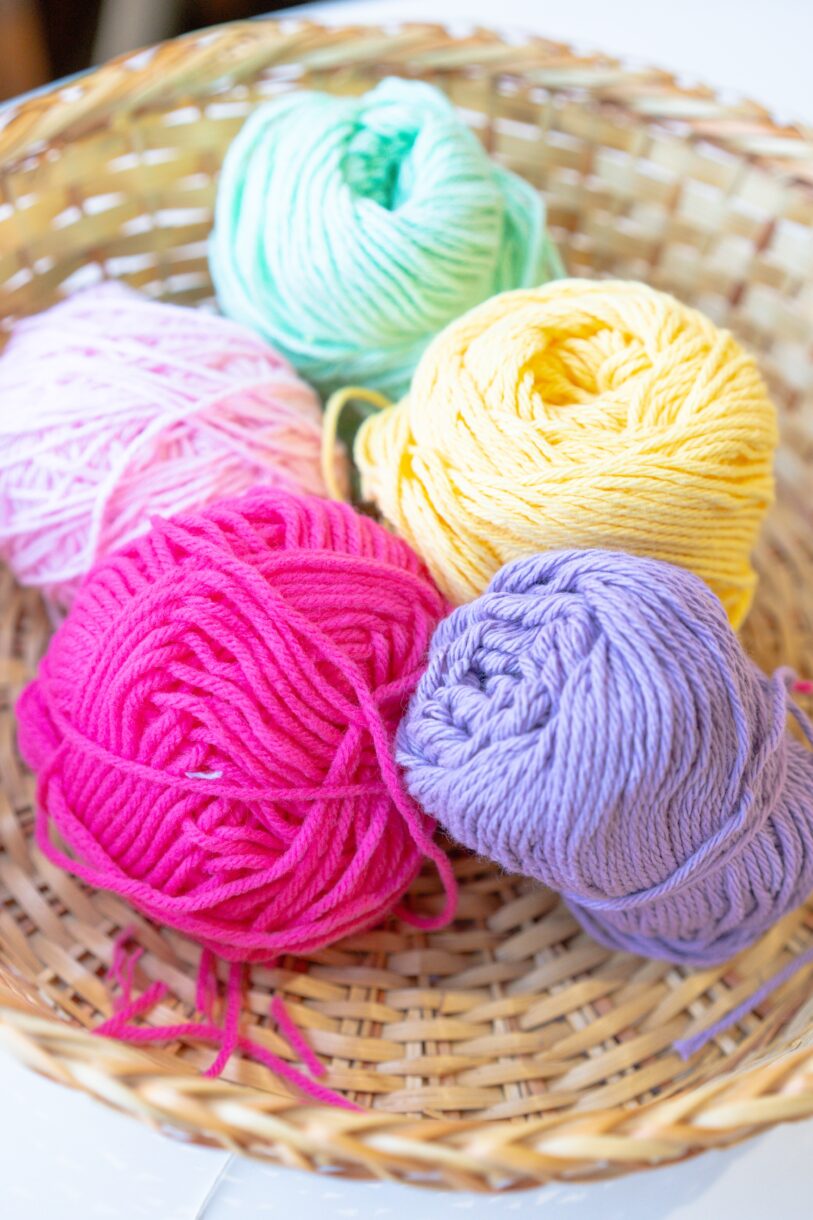
I’m a minimalist at heart and don’t love having to buy a lot of extra supplies for projects. Yarn is one craft supply we always have on hand. It’s so versatile! We love making fancy wall hangings for gifts or making yarn pom poms for projects.
This easy DIY project is great for toddlers and preschoolers to work on fine motor skills with stringing beads (use caution if your little ones still put things in their mouth!). Kids about 5+ can learn how to make the tassels- they might need a bit of help to tie them off, but they will love wrapping the yarn.
This is a simple project that can be completed in an afternoon or over the course of a week or two, depending on how many little hands you have helping and how long you want your garland to be.
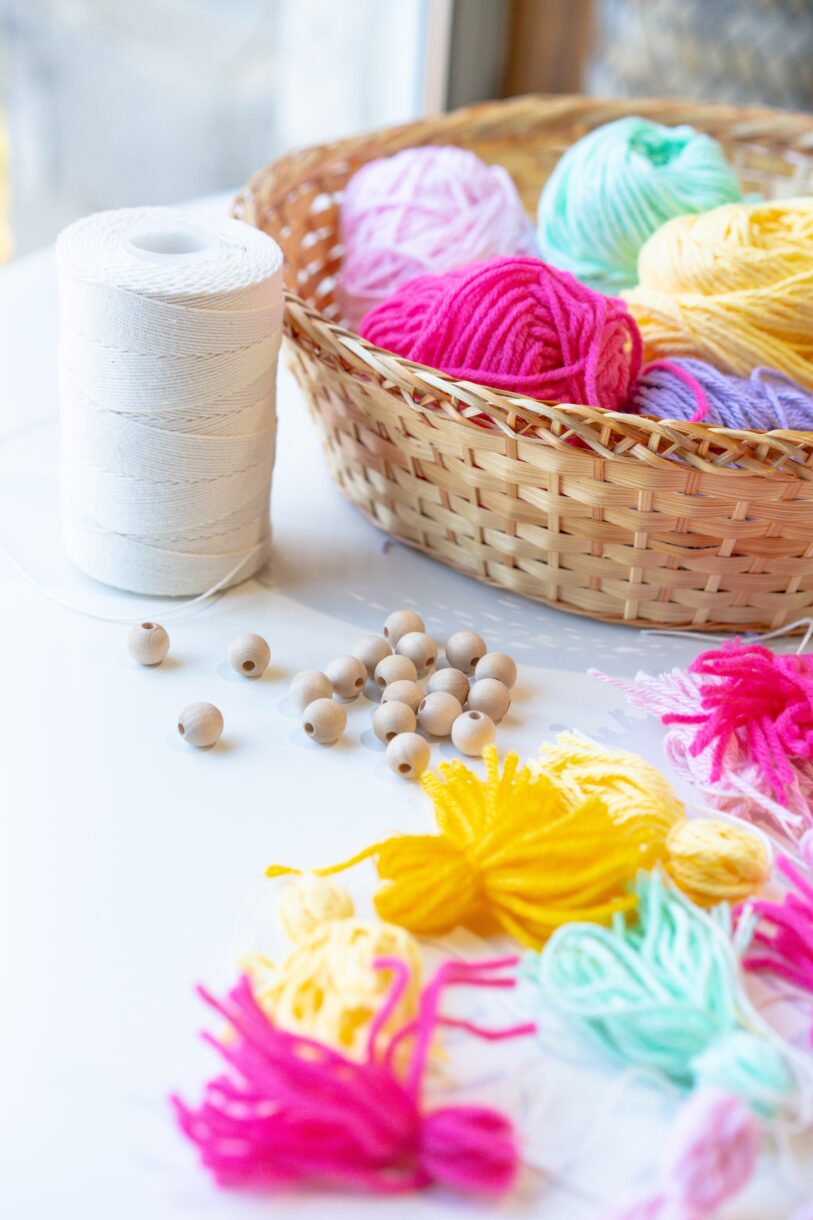
Materials:
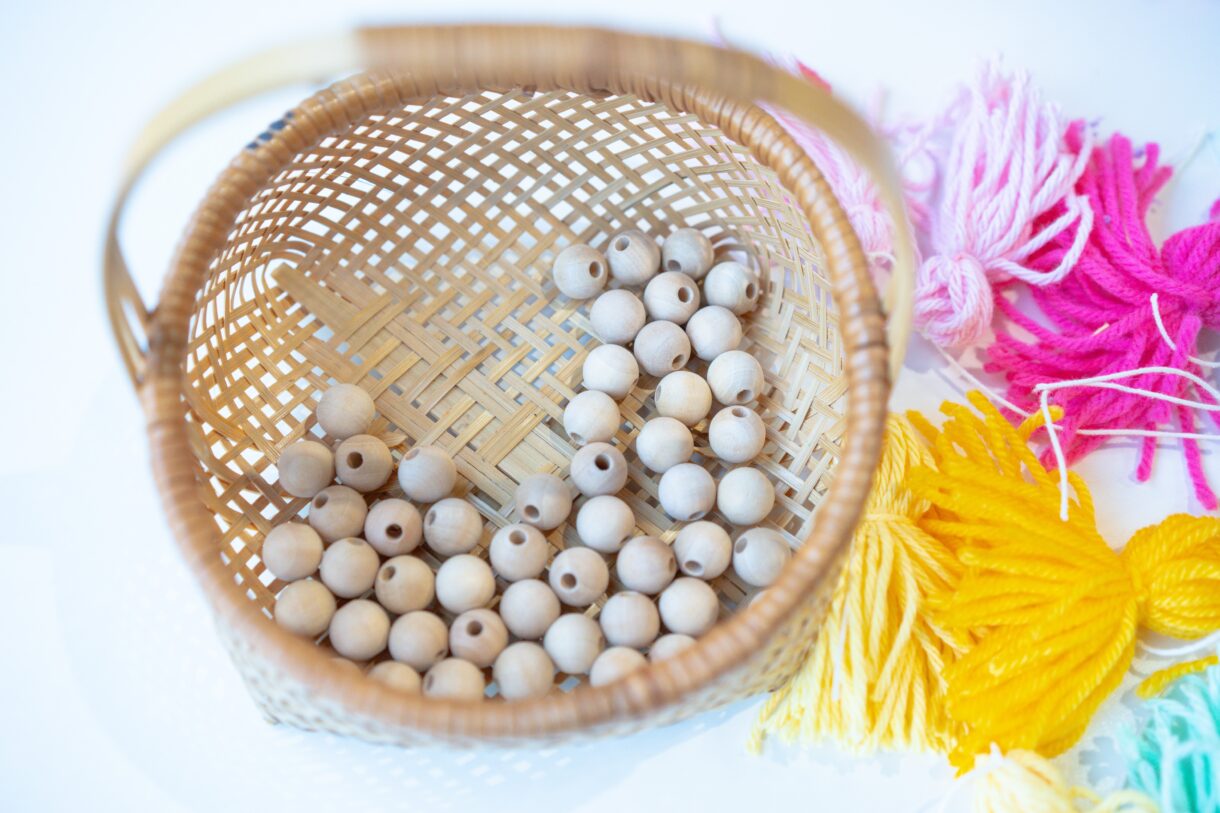
- Wooden beads
- Yarn
- String
- Scissors
- Blunt tip tapestry needle
Instructions:
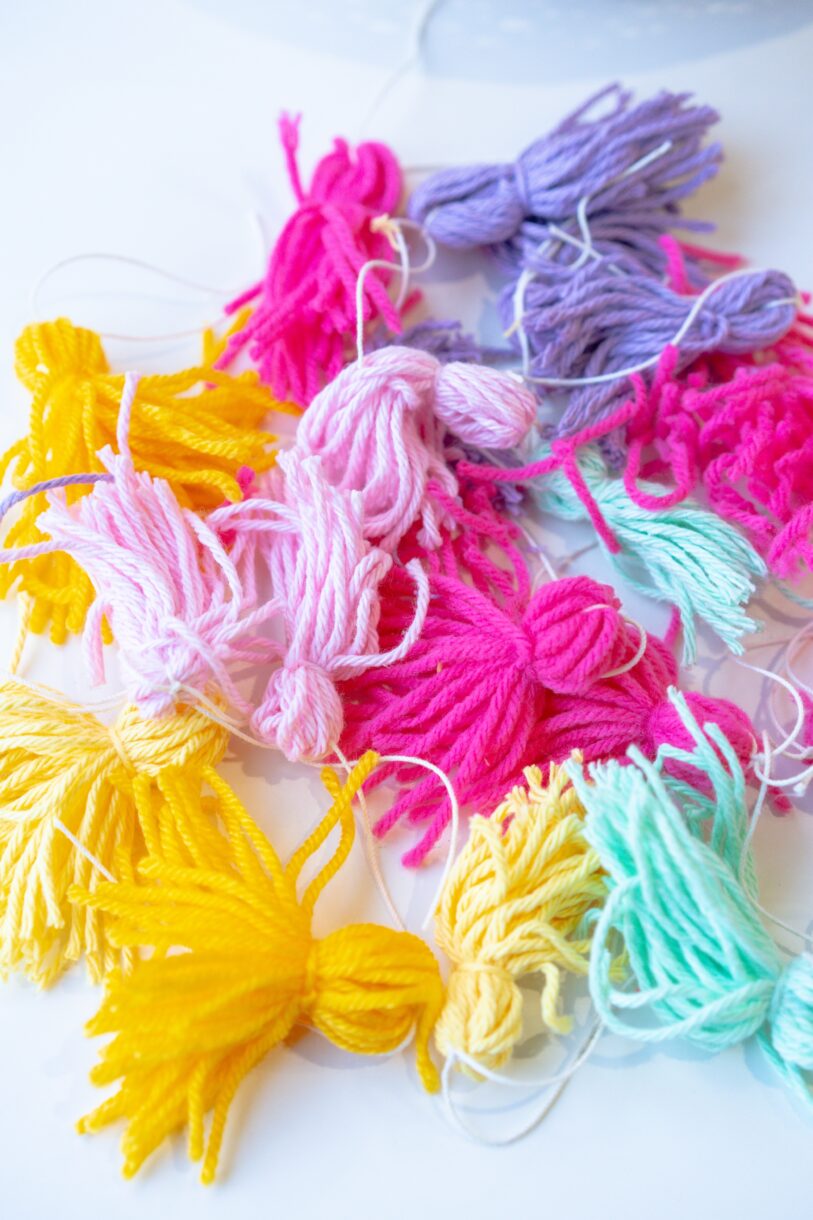
Begin by making the yarn tassels.
How to Make A Yarn Tassel
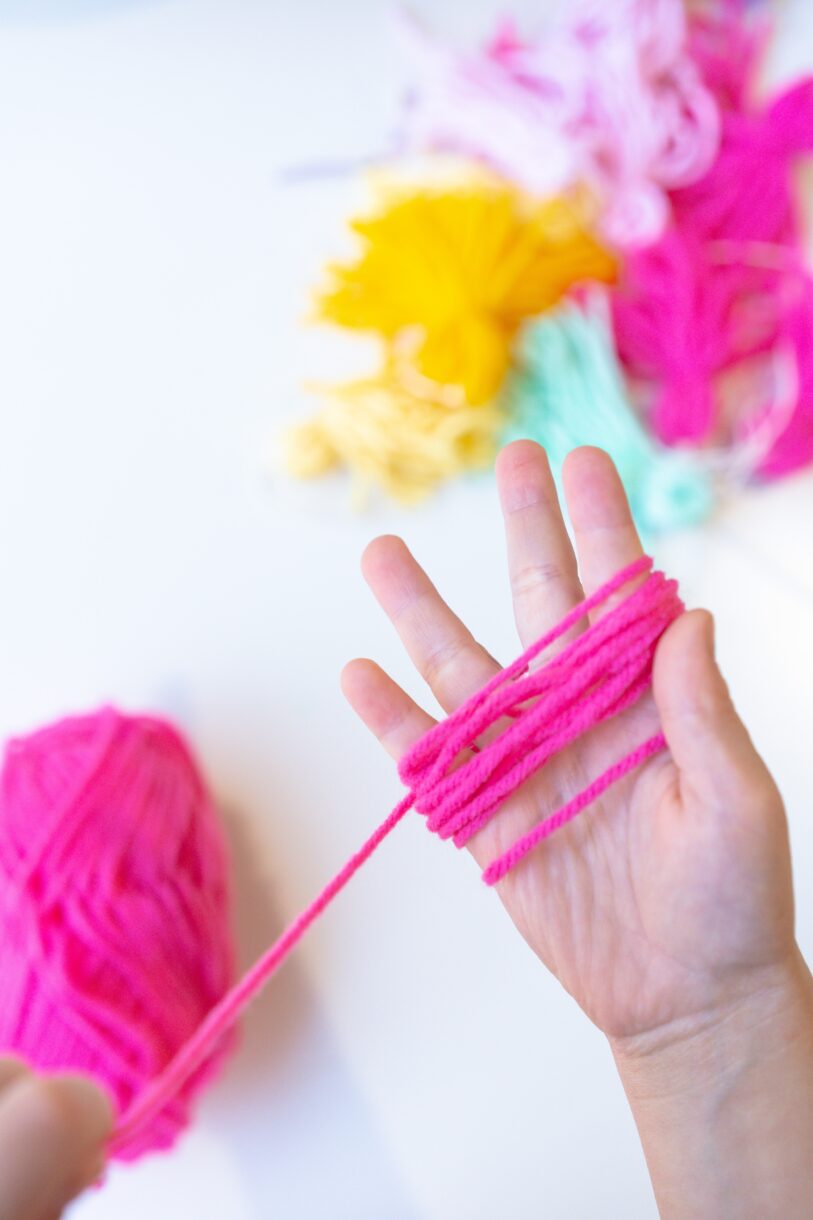
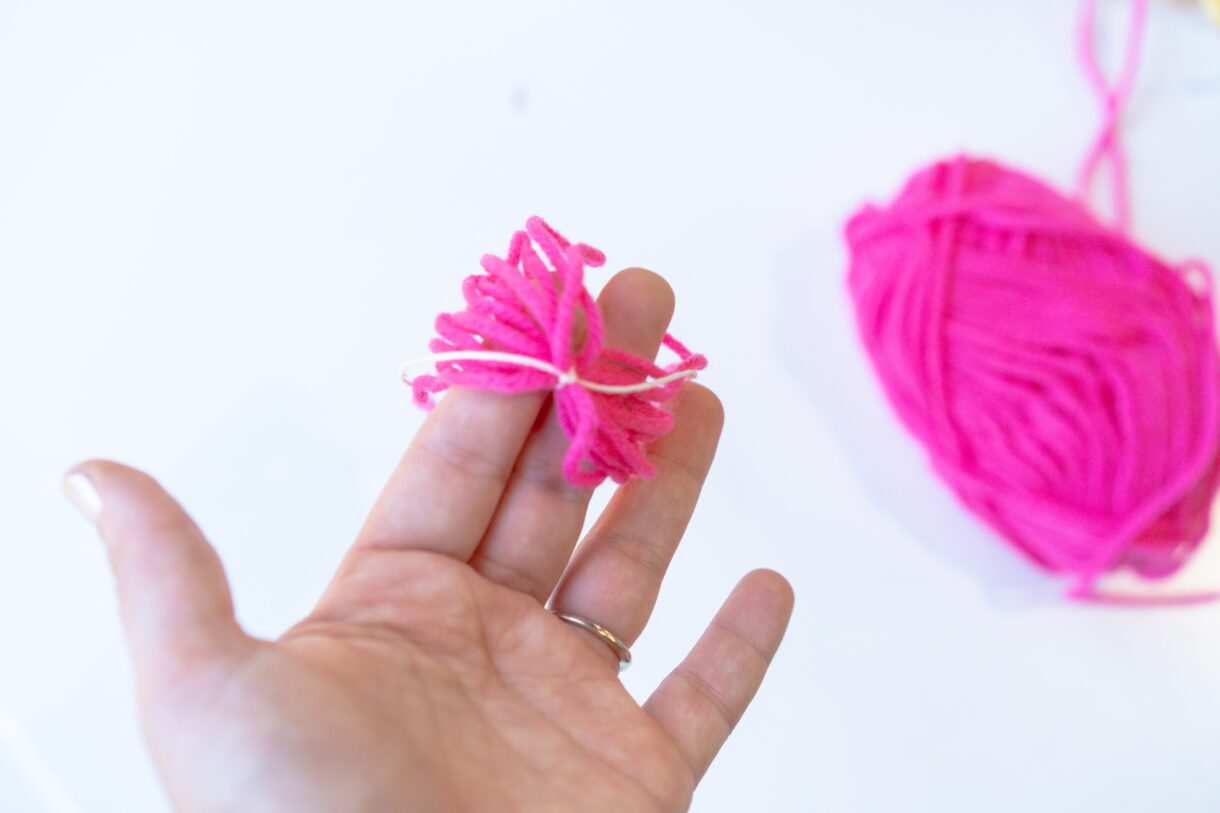
Wrap the yarn around 2-4 fingers, depending on how big the fingers are and how big you want your tassels to be. For my kids, it’s easiest to do it with four fingers.
I tell them to spread their fingers out a bit and wrap loosely to keep it from getting too tight.
You can also use a scrap of cardboard to wrap the tassels, but we enjoy the sensory experience of wrapping the yarn on our own hands.
Once you’ve wrapped the yarn at least 20 times, slide the wrapped yarn off of the fingers and thread a short piece of string or yarn through one end.
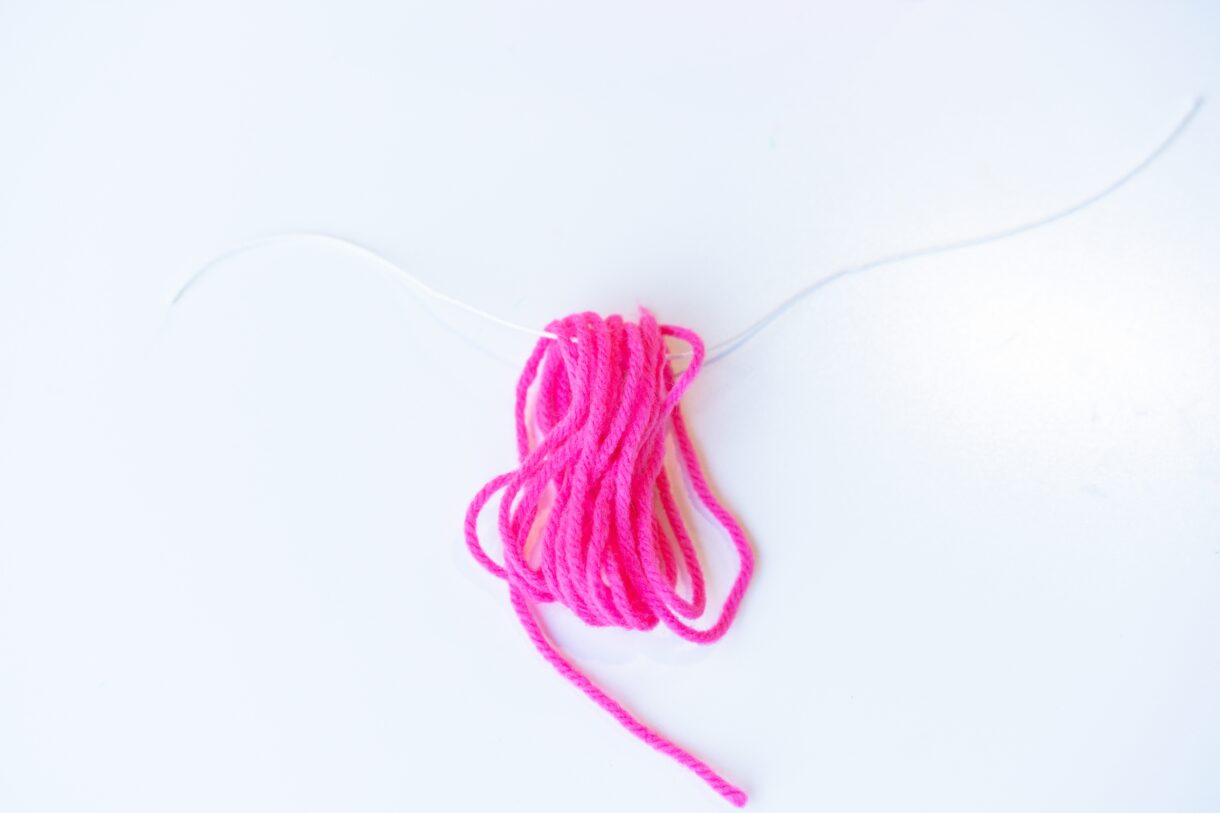
Tie to secure.
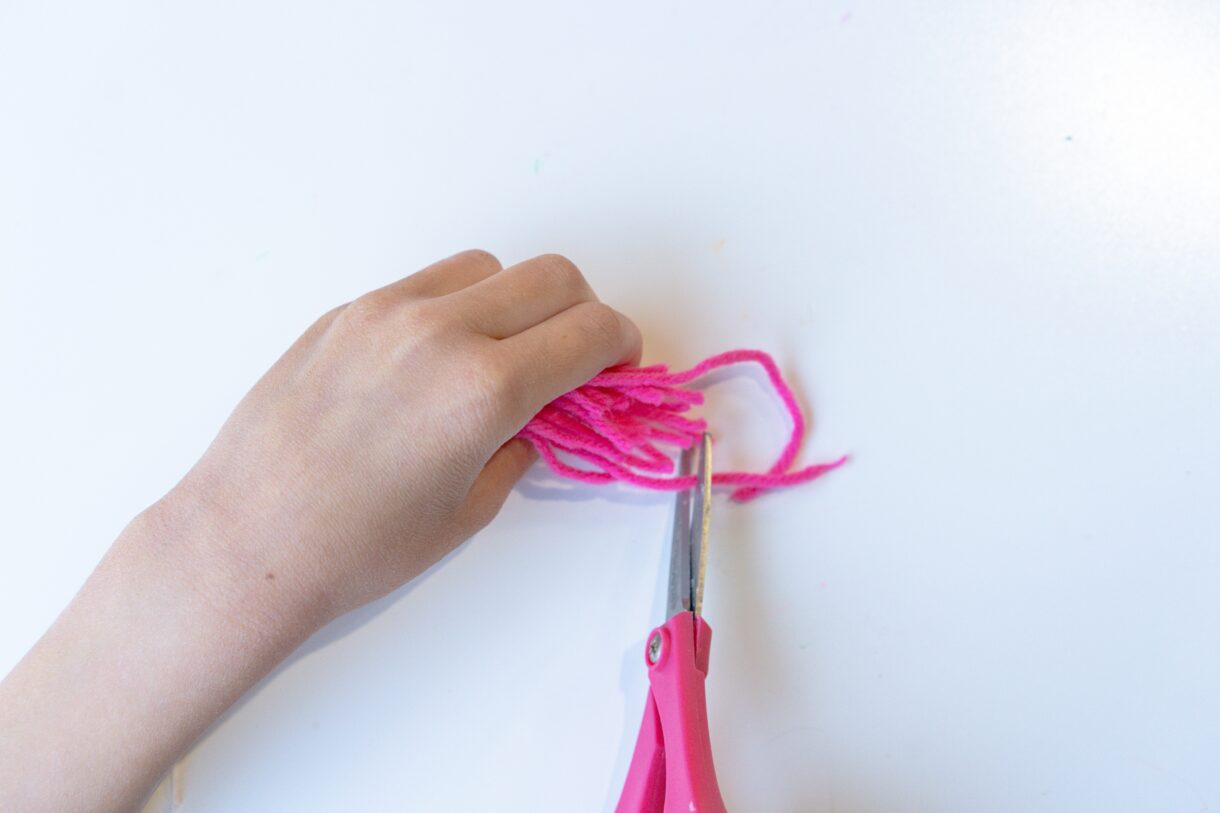
Take the wrapped yarn off of the fingers and hold it by the tied section which will be the top of the tassel. Cut through the bottom of the tassel where the yarn is looped to create the tassel.
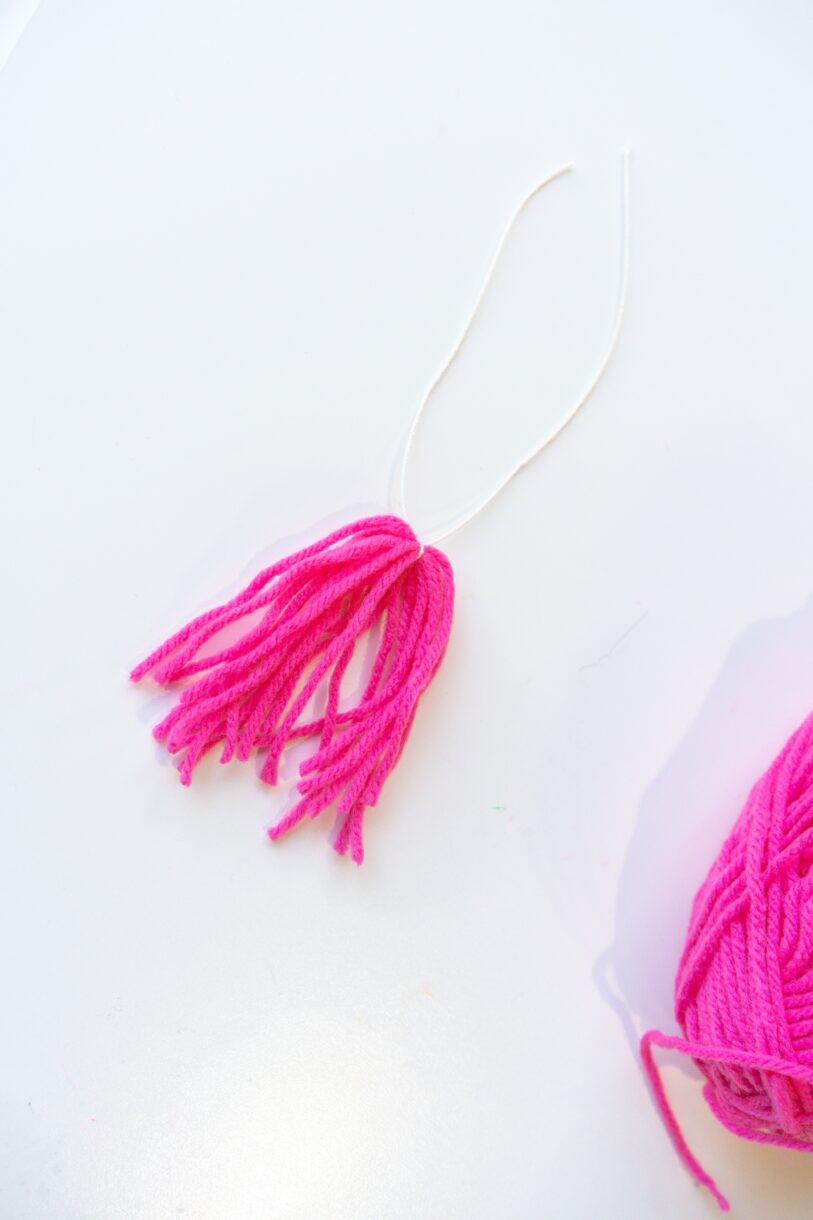
Now you should have a pretty tassel like this. You can use another short piece of yarn and tie it just below the first tie to create a rounded head or just leave it like this.
Next, get the wooden beads ready to string. Depending on the size of your beads, you might want to use a tapestry needle to string the beads. Tapestry needles are great for little ones because they have a blunt, rounded tip.
I used cotton string for the main garland string. It’s strong and smooth enough to pass through beads easily. You could also use yarn or ribbon if your bead has a wide enough opening.
Make sure to leave enough extra string on both ends for hanging.
String the beads and the tassels alternating in little sections like this or however your kids want to do it!
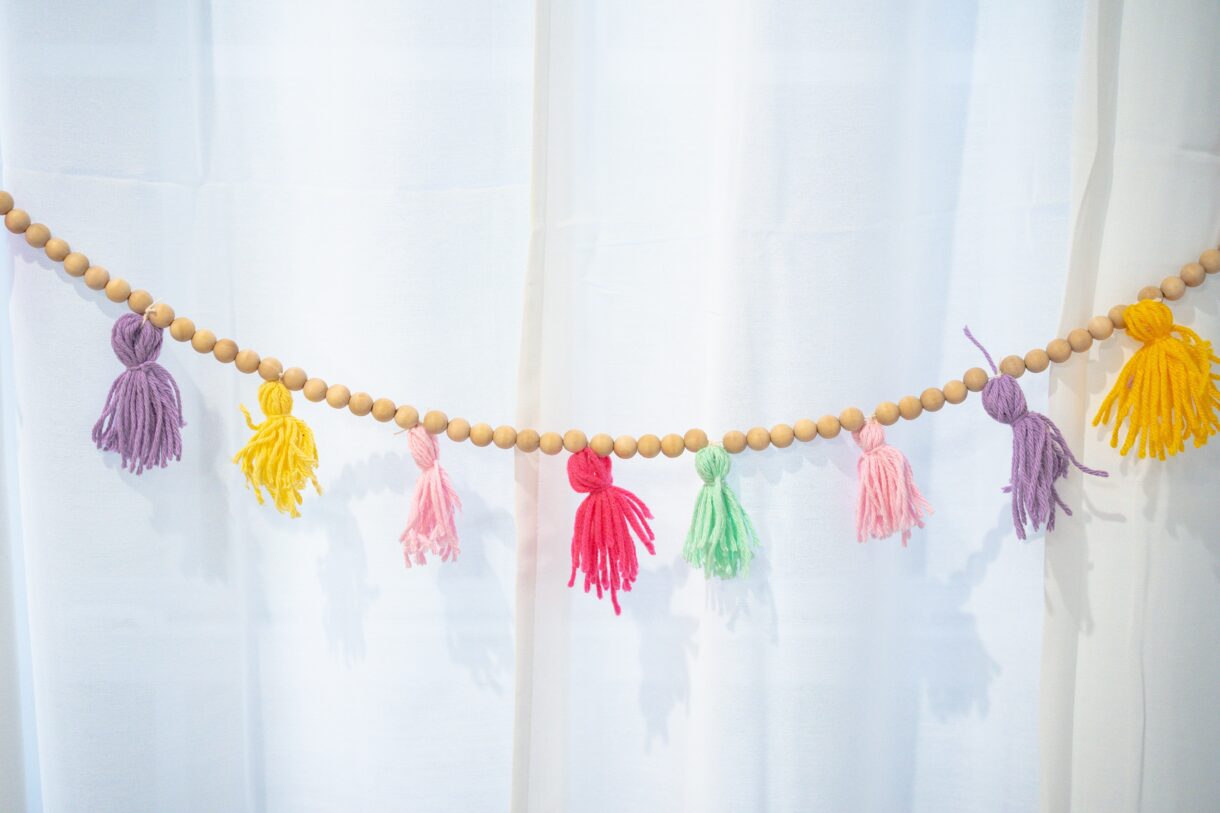
Tie off at each end and hang to display!
I hope your kids love making this as much as mine did! And that it becomes a cherished spring decoration with lots of fond memories attached.

Leave a Reply