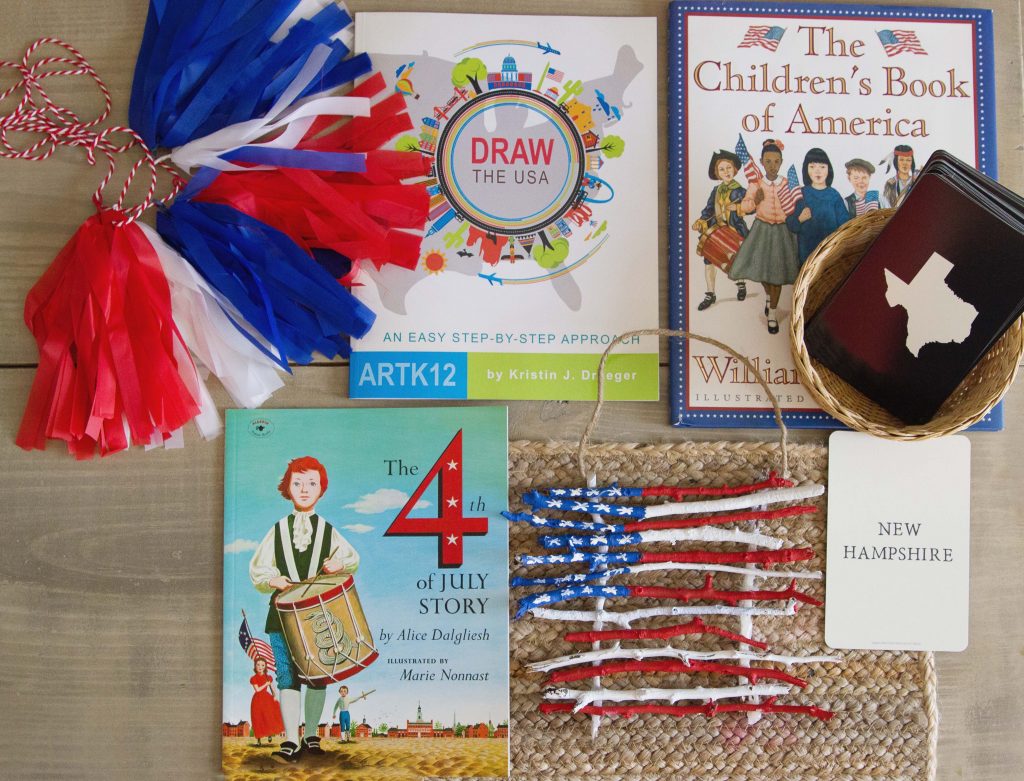
Looking for a fun idea to celebrate the 4th of July? This painted stick flag is a fun nature craft for kids and makes a beautiful decoration you can hang up and enjoy in your home.

My kids love arts and crafts of all kinds; they’re the non-discriminatory types. Me? I prefer to choose arts and crafts that aren’t just “do this” and “do that” and throw it away in a week crafts.
Some of our handcrafts have made beautiful gifts or are permanent decor in our home.
We love decorating for holidays, but I realized I didn’t have a single thing for 4th of July!
This simple, fun painted stick flag will make the perfect hanging decor to help celebrate the 4th of July.
Materials
15 sticks, similar in size and fairly straight
Paint and brushes (red, white, and blue)
Hot glue
Rope, wire, or string for hanging
Instructions
First, gather the sticks. Of course, this was the best part of the whole project! We are lucky enough to live on 6.5 acres of moderately wooded property so there is no shortage of sticks around our house.
I didn’t give my children any details, we simply went on a nature walk and I instructed them to collect 15 straight sticks that were all about the same size. For reference, my children are 6, 4, and 19 months. This little treasure hunt was so much fun!
You don’t realize how many variations in sticks there are until you start hunting for similar ones.We were able to practice counting, making comparisons, using judgment, and collaboration.
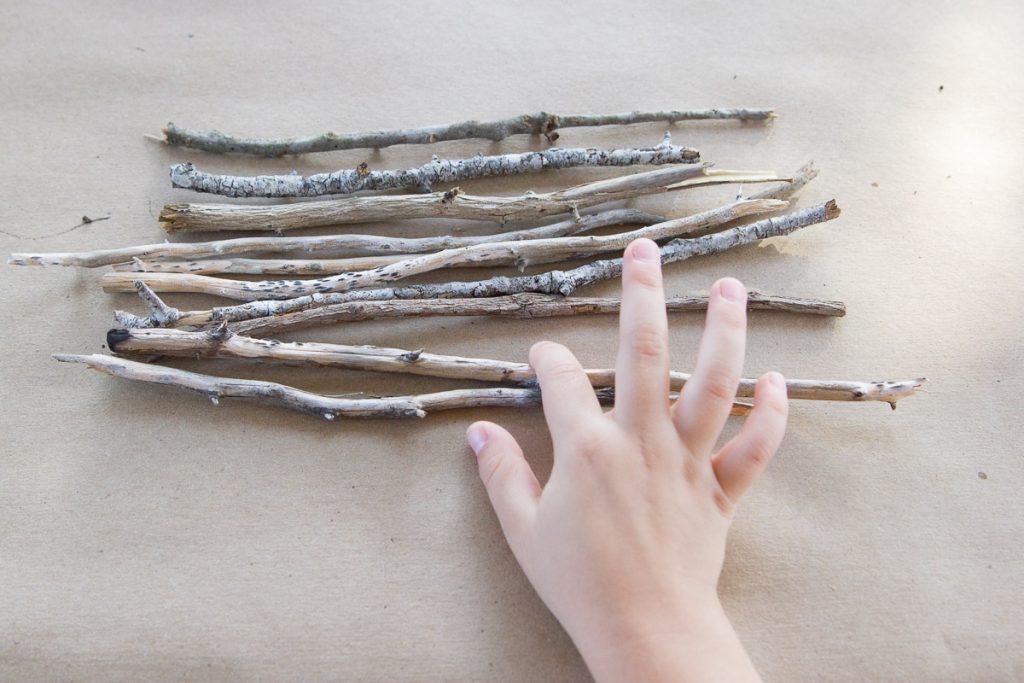
Once we had our sticks, we laid them out to determine how they fit together best to make a rectangular flag shape. Use 13 sticks for the front of the flag. The other two sticks will be used as braces to hold the flag together at the back.
Painting
Next, gather your painting supplies and set up in a location where you won’t stress about the mess. For me, this usually means outside.
Painting sticks isn’t a neat and pretty process as a 4 year old lacks some of the coordination and skill to paint a stick in its entirely while holding it without painting a god portion of his hand as well. Ask me how I know this…
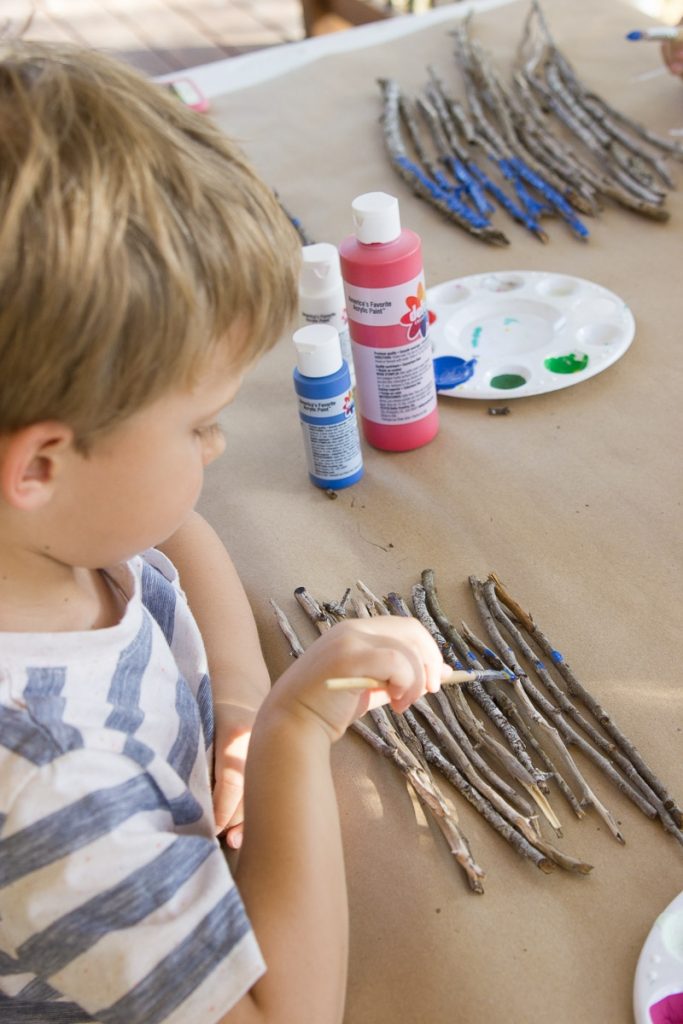
We just used acrylic craft paint and whatever paintbrushes we had on hand.
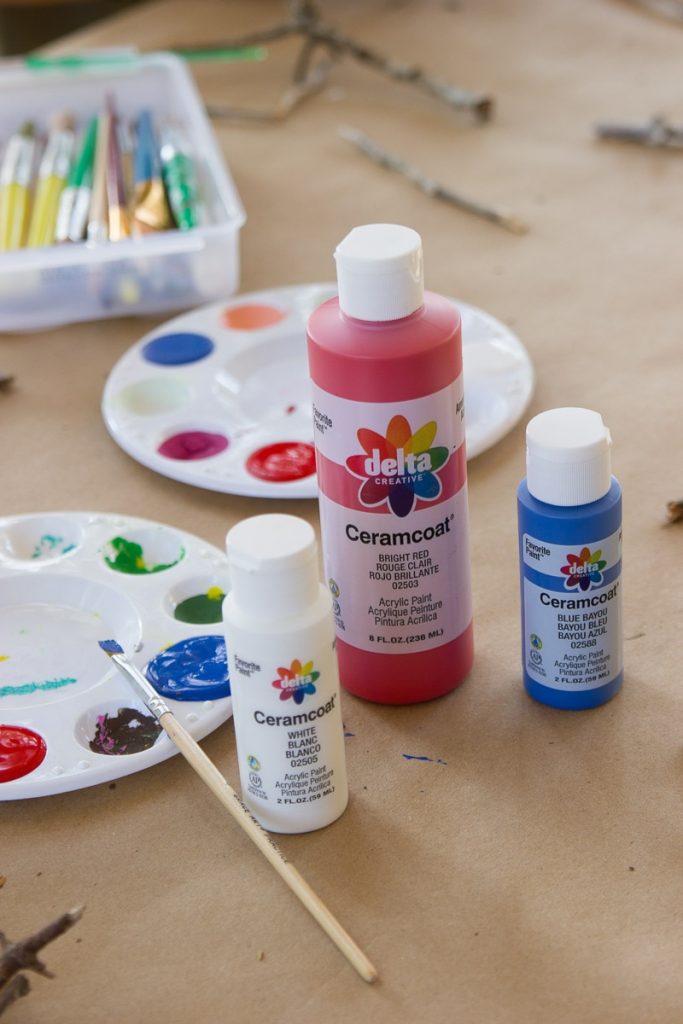
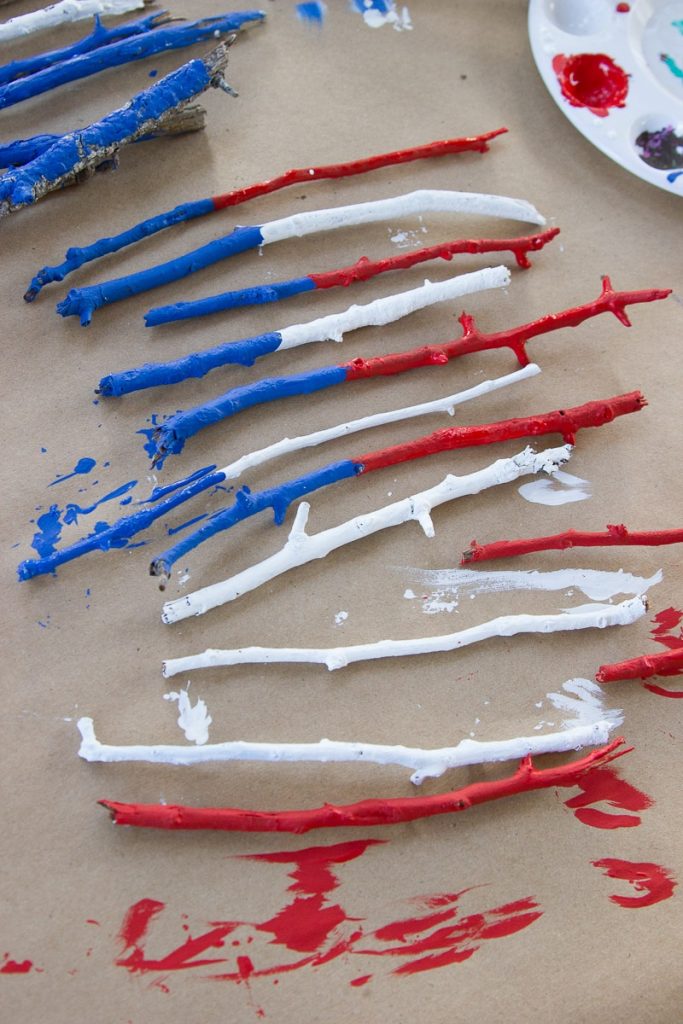
We marked off a section where the blue part of the flag would be and painted that first. Then went back and painted the red and white stripes of the flag. Start with red on the top and alternate; there are 7 red stripes and 6 white stripes on the American flag.
Paint the two bracing sticks as well. I painted mine white, but you can take liberty here and go wild with any color.
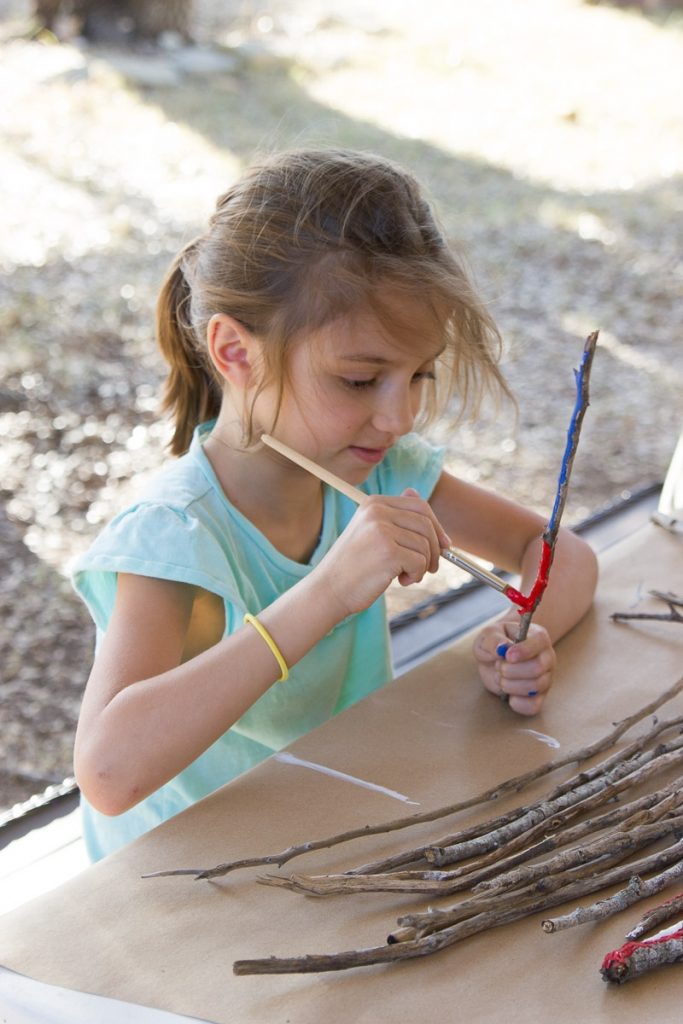
Let the paint dry thoroughly.
Assembly
Next, hot glue your flag sticks to the two bracing sticks. I put a small dab of glue on the bracing sticks and placed the flag sticks on top beginning with the top row.
We use a mini hot glue gun that my 6 year old can easily hold. You can find low temp ones that are great for little hands.
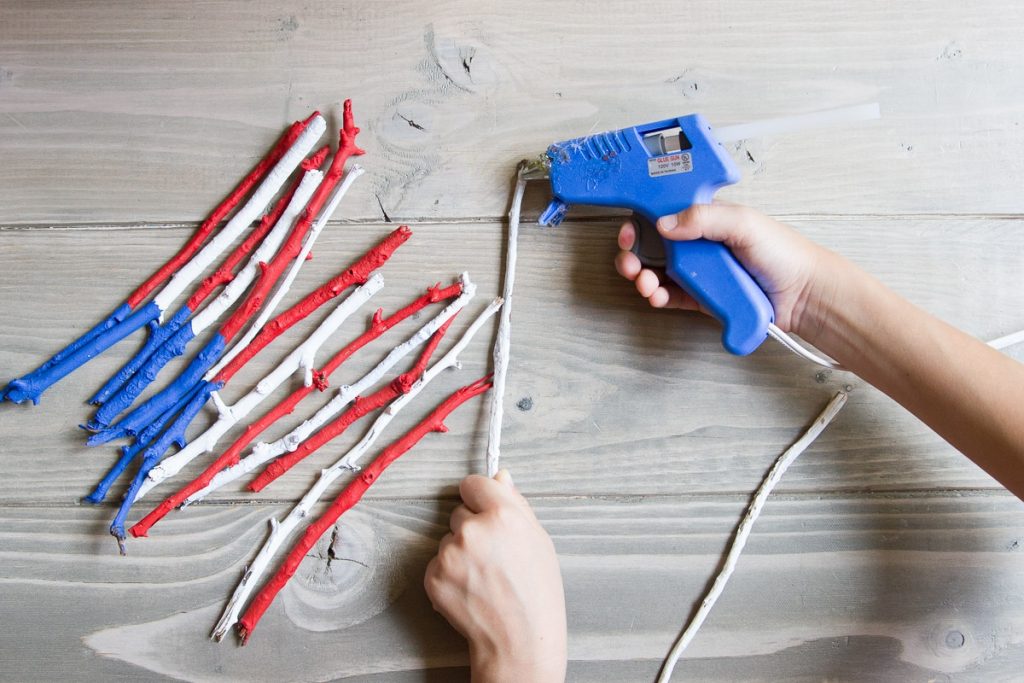
Continue until all of the flag sticks are glued to the bracing sticks.
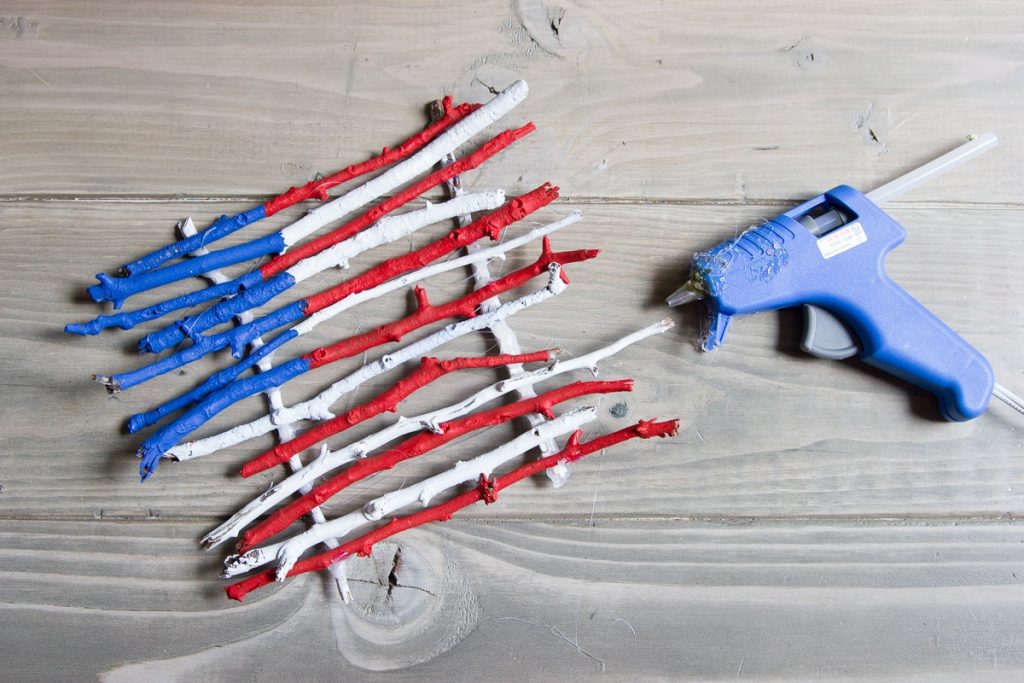
Next, cut a short length of your rope or wire and hot glue it to the back of your flag to form a hanger. I used this vine covered wire that I found at the craft store.
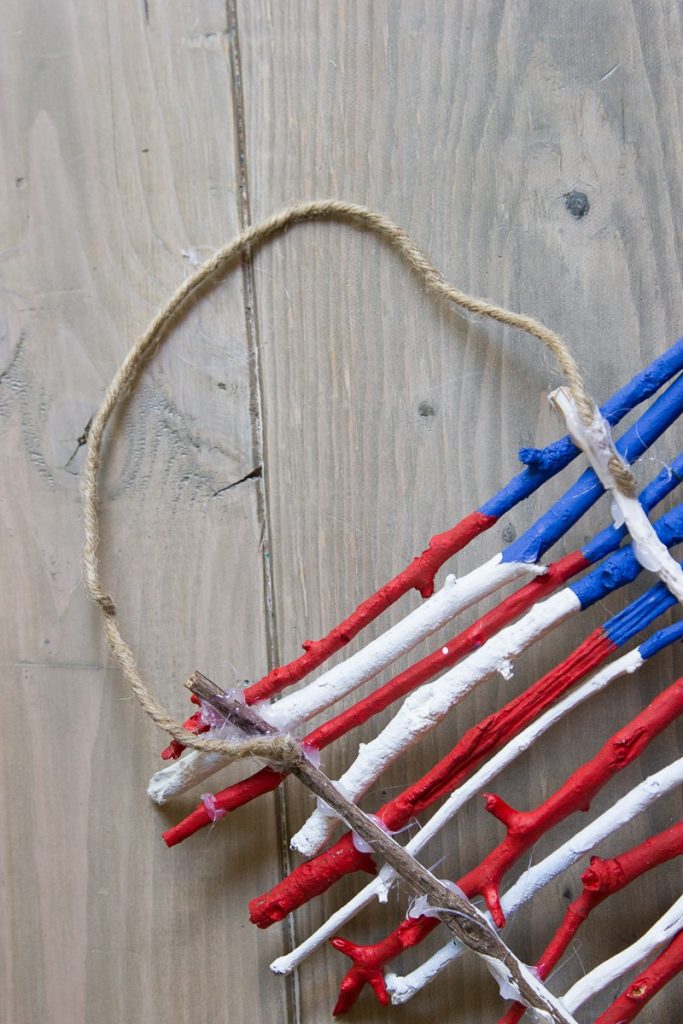
Now the structure of the flag is complete. Isn’t it adorable?!
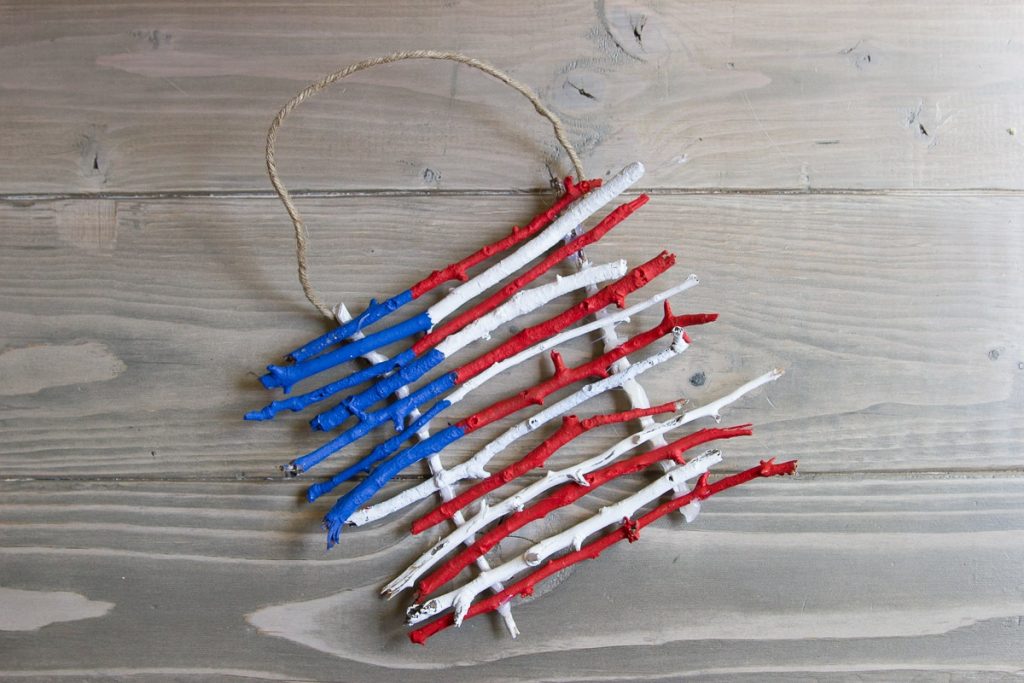
I went ahead and added some stars for a final touch. They didn’t turn out great, but if you can find a tiny paint brush I’m sure it would be easier.
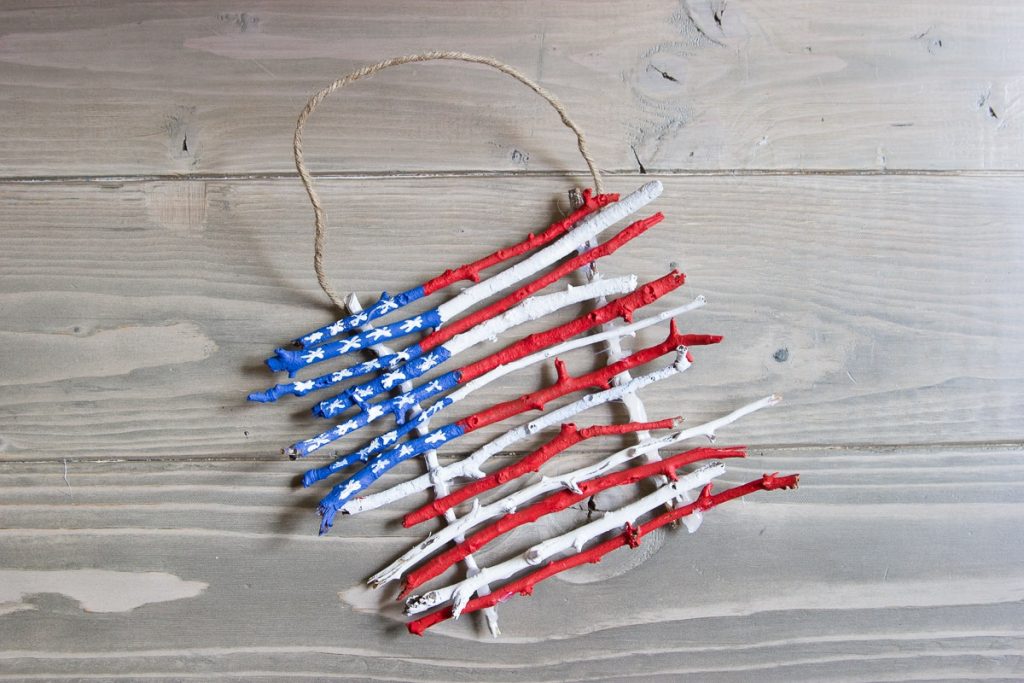
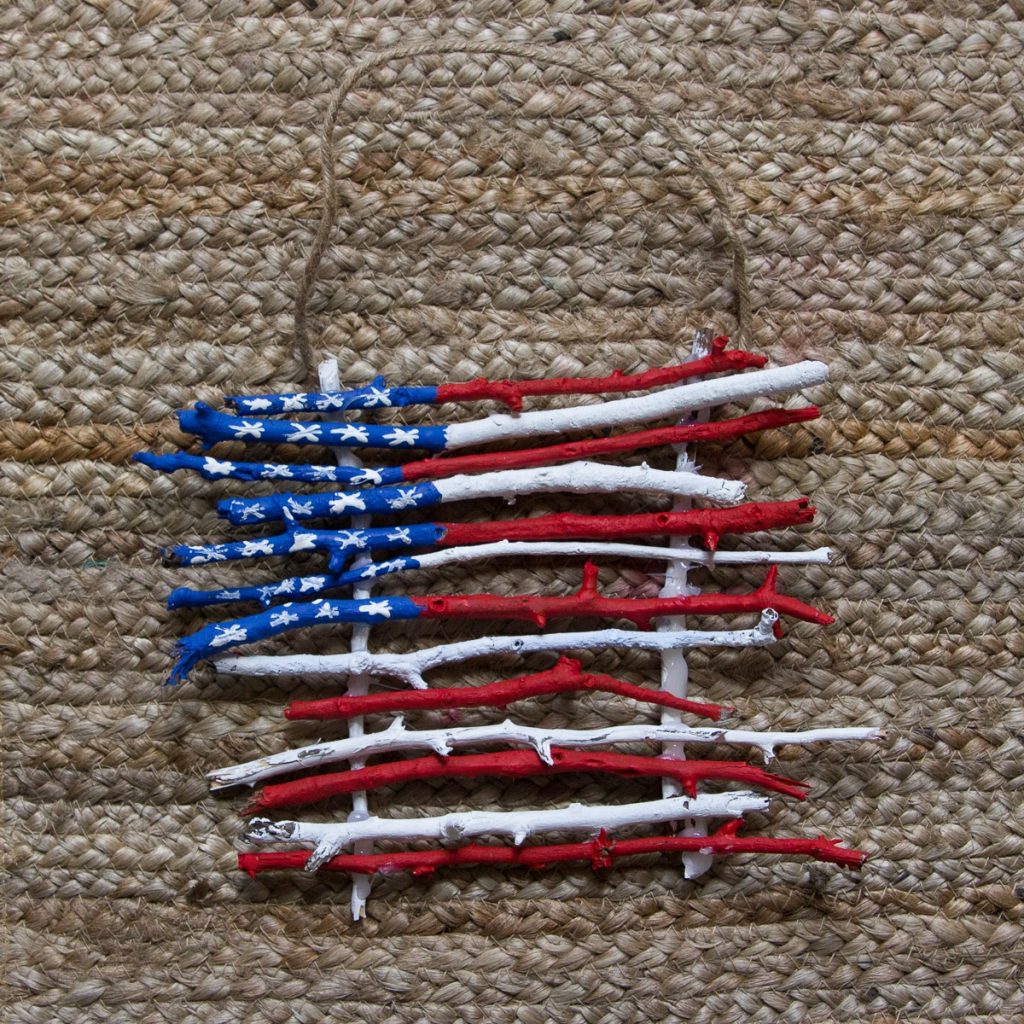
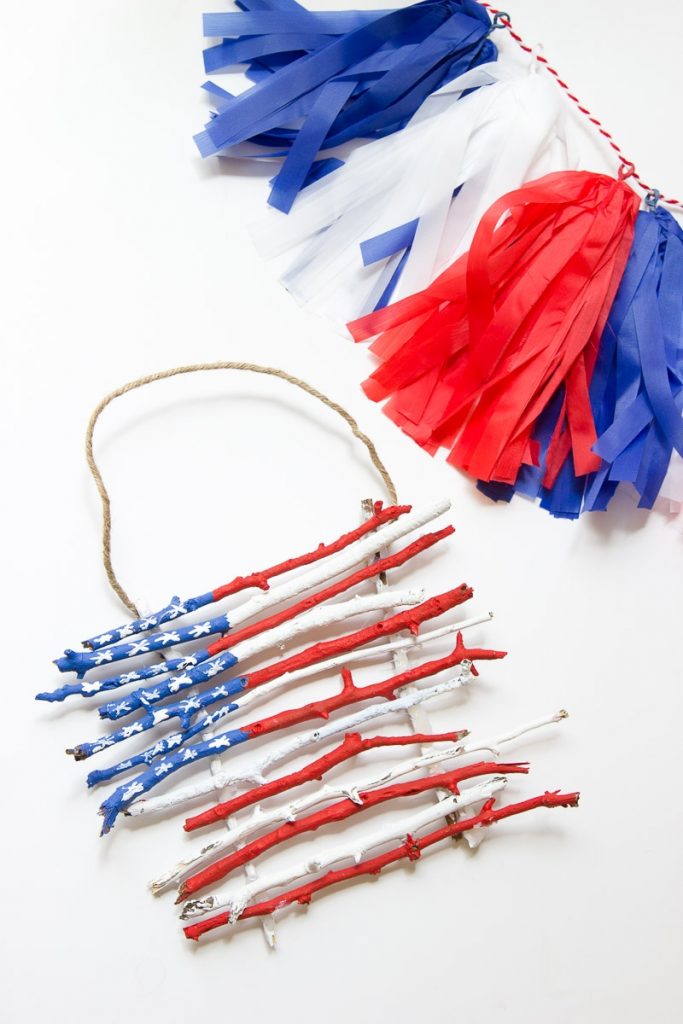
We love how this simple project adds a touch of celebration to our home for 4th of July! If you try out this project, I’d love for you to share with my on our Facebook page or on Instagram. Happy 4th, friends!


Love this!
Thank you, Ginny!