Years ago I received a beautiful gift from a client’s mom when I was a wedding planner. She gifted me a beautiful shadow box with my business card in it that was decorated with tiny paper shaped into flowers, butterflies, and stars. It was so dainty and delightful, and I was so intrigued by it.
I learned that it was an art called quilling, and now 15 years later, my kids and I love quilling as a handicraft.
What is quilling?
Quilling, or paper filigree, is an art form that uses strips of paper that are rolled, folded, and glued into shapes to create decorative designs. Quilling is often used to create greeting cards, shadow boxes, and even jewelry.
The most important material you’ll need for quilling include is quilling paper that you can find online or at a local craft store. Quilling paper is a medium weight paper that comes in a large assortment of colors. You can even find textured quilling paper great for making unique floral designs, but stick with basic quilling paper if you’re just starting out.
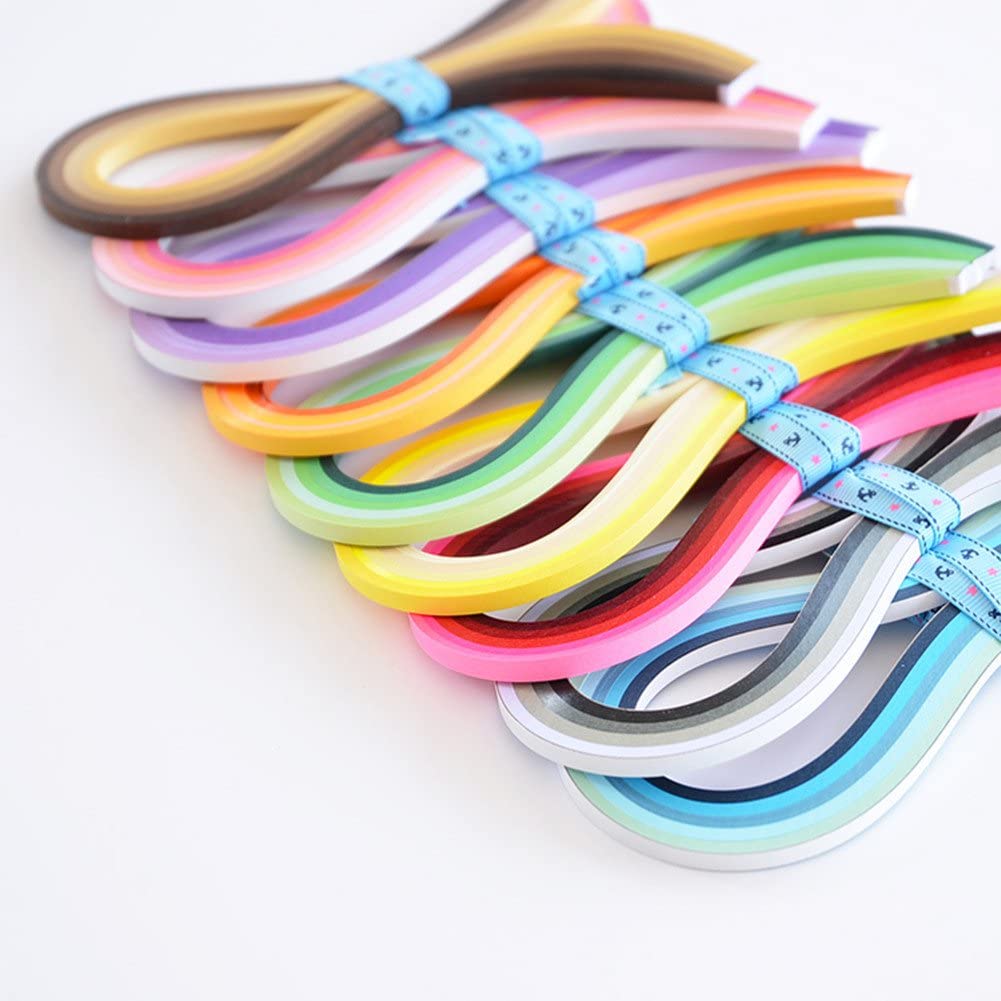
Of course you could also make your own quilling paper too. Just cut whatever text weight (not card stock) paper you have on hand into thin strips.
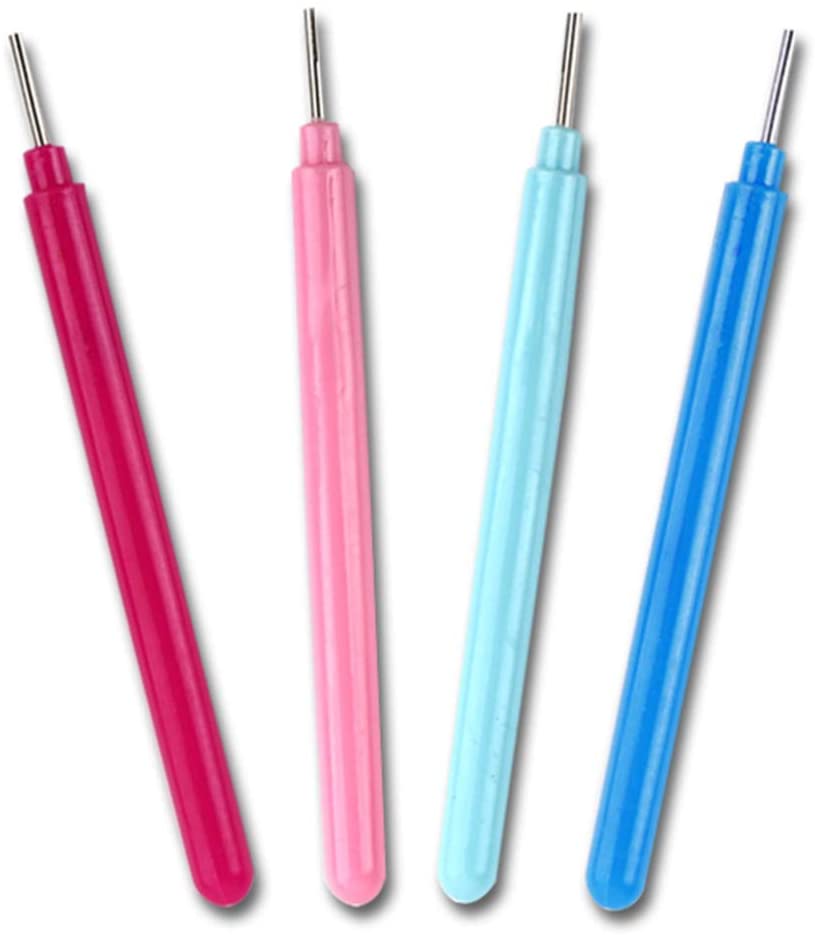
The next essential item for quilling is a quilling tool. A quilling tool has a pen-like shape with a long handle and a pointed end. The pointed end has a tiny slot to slide one end of the quilling paper as you twist and curl it into shape. If you don’t have a quilling tool on hand, you could use a regular pen, marker, or wooden dowel, but it won’t be quite as easy to manipulate because you’ll be dealing with a loose end.
I like having a set of these on hand so that my kids and I each have one and are able to work on projects simultaneously. We had only one quilling tool for a while and quilling is a pretty tedious and time-consuming handicraft so it’s really better to have a tool for everyone.
Inserting the paper into the slot is delicate work that requires some precise fine motor skills. Most children 6 and up should be able to do this, but some may require a bit of assistance to get the hang of it.
When we first started out with quilling, I bought a quilling kit. This was great because it had everything needed for a few projects, and I wasn’t quite sure what we would need. We’ve been quilling for several years now, and there are things from the kit we still haven’t used though.
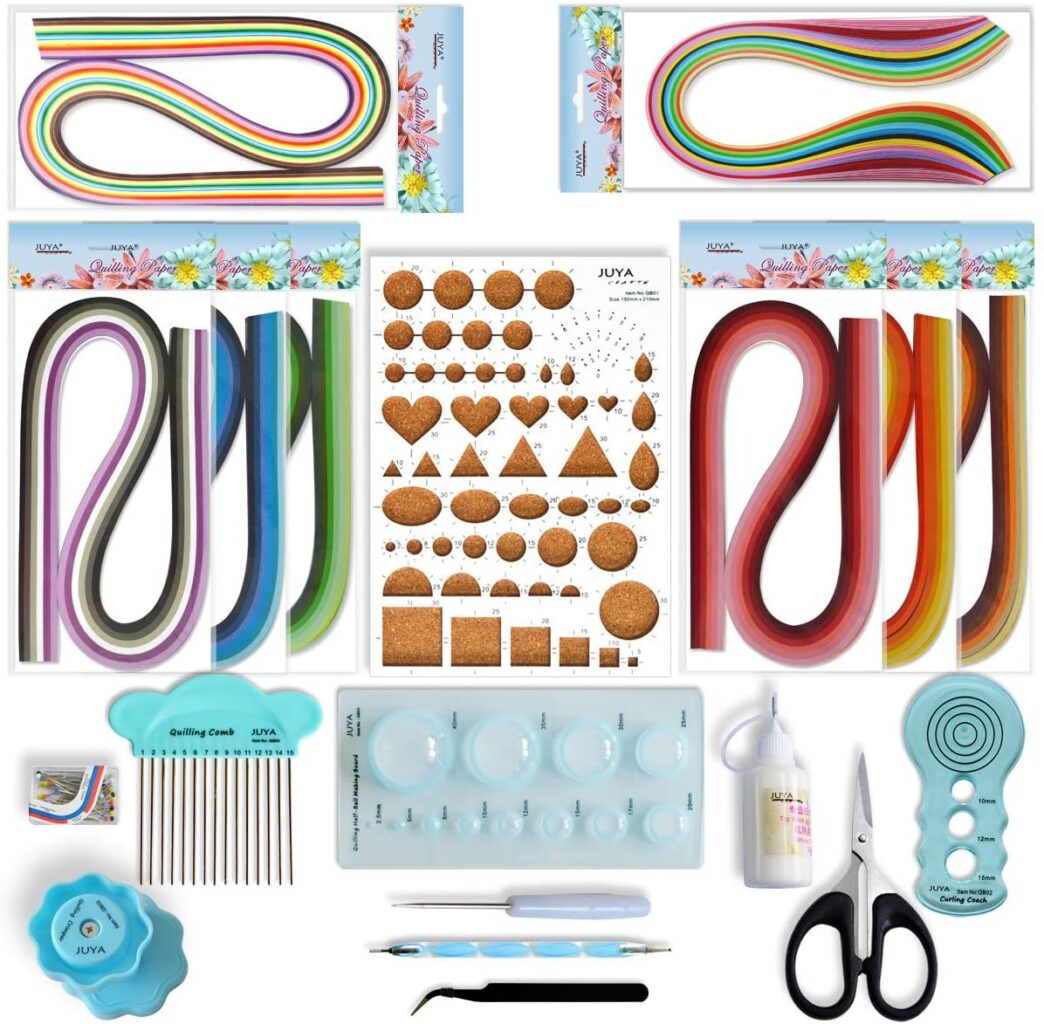
If you don’t get the kit, the essentials you would need are quilling paper, a quilling tool, glue (white school glue is fine), and a toothpick or something with a sharp tip to help apply the glue.
Getting Started With Quilling
When introducing handicrafts in our homeschool as part of our lessons, I follow a simple template that allows us to get to know the materials and the process before embarking on creative projects. We focus on one handicraft per 12-week term.
Introduce any new handicraft with these steps:
- Week 1: Introduce the child to the handicraft by looking at samples of finished works, discussing terminology, and demonstrating proper use of tools
- Week 2: Allow the child to practice the skill.
- Weeks 3-4: Continue to practice the skill by doing a small project that can be completed in one to two lessons
- Weeks 5-6: Continue practicing the skill and begin planning for a larger project that will take several weeks to complete. Create a design, outline the necessary steps, estimate the time to complete, and gather materials before beginning.
- Weeks 7-12: Work on a larger project, and repeat if time allows to focus on improvement.
You can see more about incorporating handicrafts into your lessons with my FREE Handicrafts for Homeschoolers guide.
Quilling Lesson Plan
So let’s break this down lesson plan down for quilling.
Week 1
Introduce quilling paper and the quilling tool. Demonstrate how the quilling tool can coil paper. Browse through a selection of library books with quilling projects to understand what finished projects could look like. Here’s a few books we’ve enjoyed browsing:
Week 2
Let your child practice quilling without thinking about a finished product.
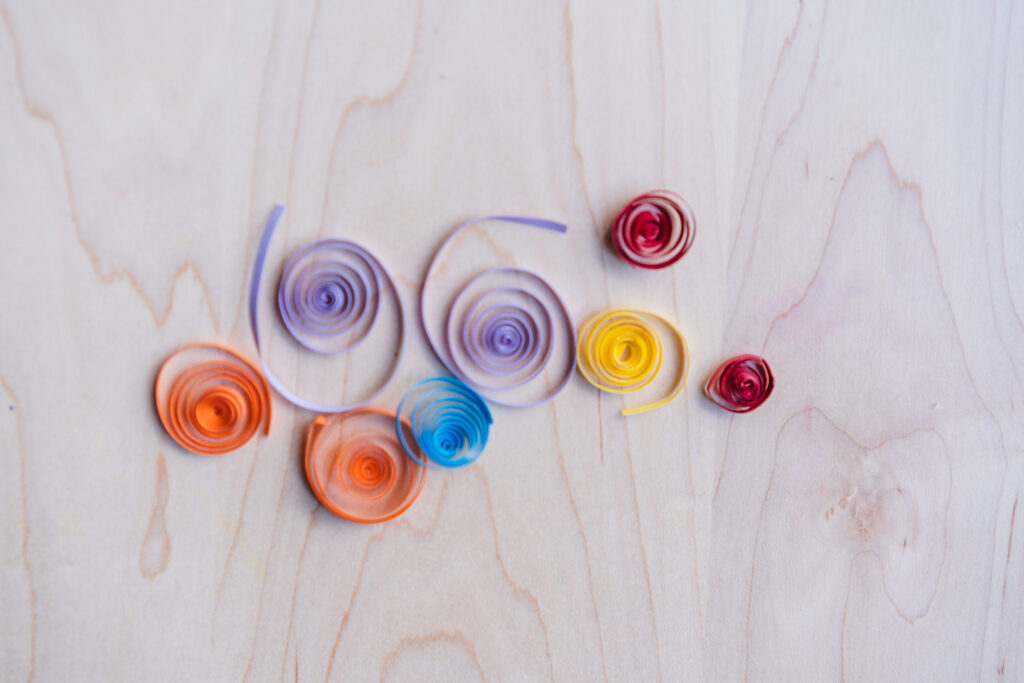
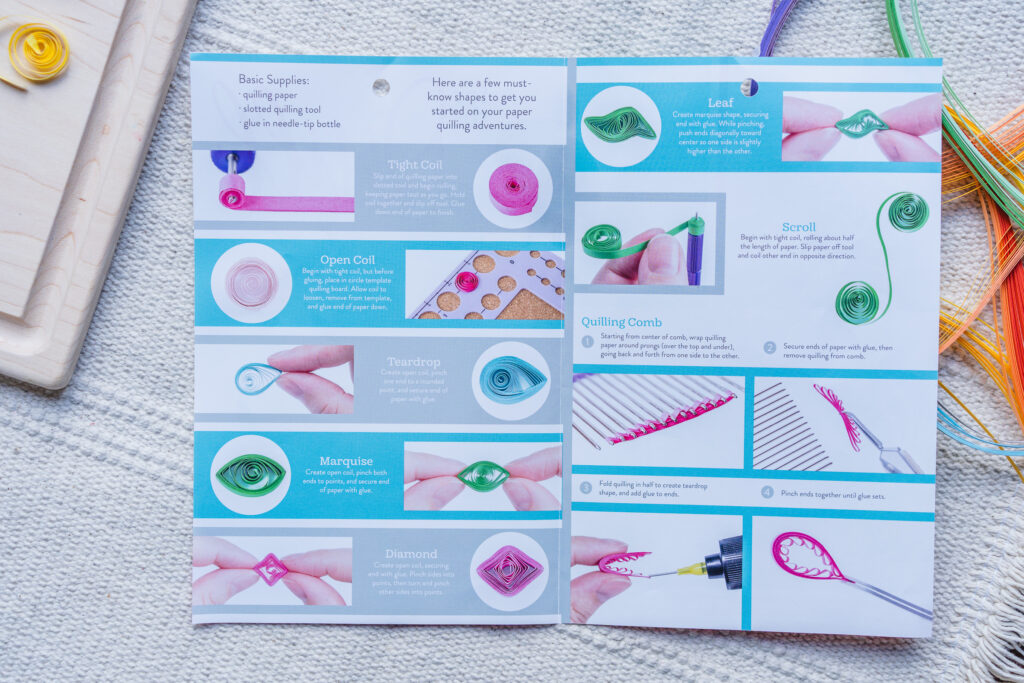
Practice making very tight coils, loose coils, shaping coils into teardrops, hearts, or leaves. If you have a quilling board, you can practice adjusting coil sizes with the board. Practice working with glue to attach the coils to paper. I picked up this free pamphlet from Hobby Lobby that has some fun inspiration for shapes to try.
Week 3
Work on a small project designed to make use of basic quilling skills. This quilling rainbow is an excellent starter project because it doesn’t require a lot of detail work, but practices consistency with size and shape.
To do this project, you’ll need:
- quilling paper strips in 7 colors, red orange, yellow, green, blue, purple, and white
- glue
- medium paint brush
- cardstock
- quilling tool
To begin, cut thin strips of colored paper approximately 1/8” wide or use precut quilling paper. You will need spirals in all 7 colors, red, orange, yellow, green, blue, purple, and white.
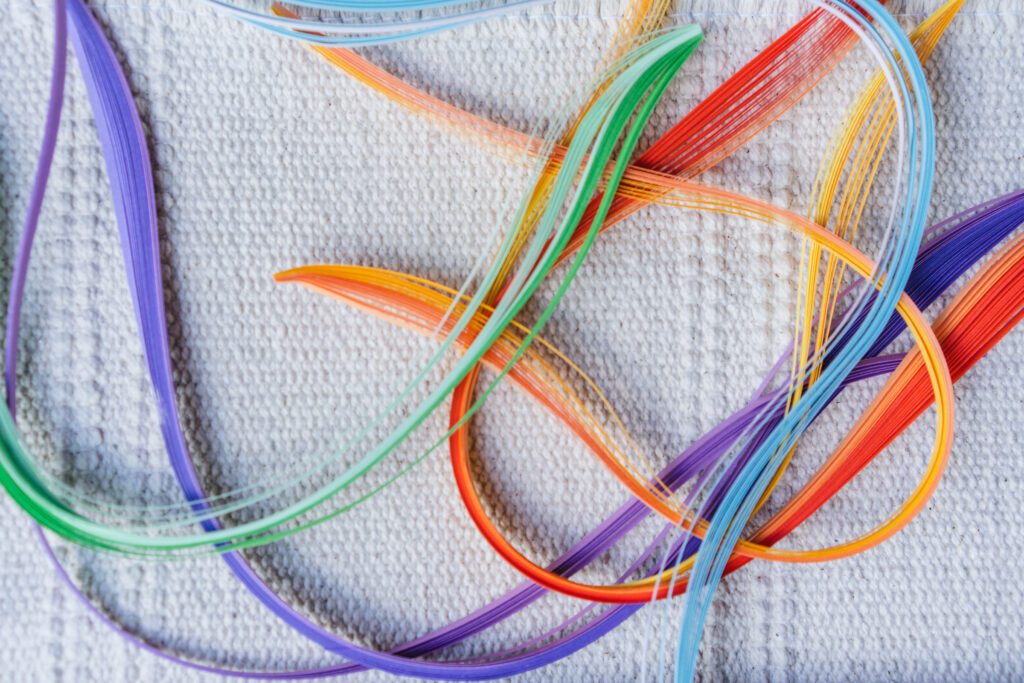
There are a variety of quilling techniques which can be used to create a wide variety of different shapes for quilling. For this project, we will be using a basic spiral. Use the quilling tool to begin creating spirals. Once you have an assortment of spirals, glue the tail of each spiral down to create a fixed spiral.
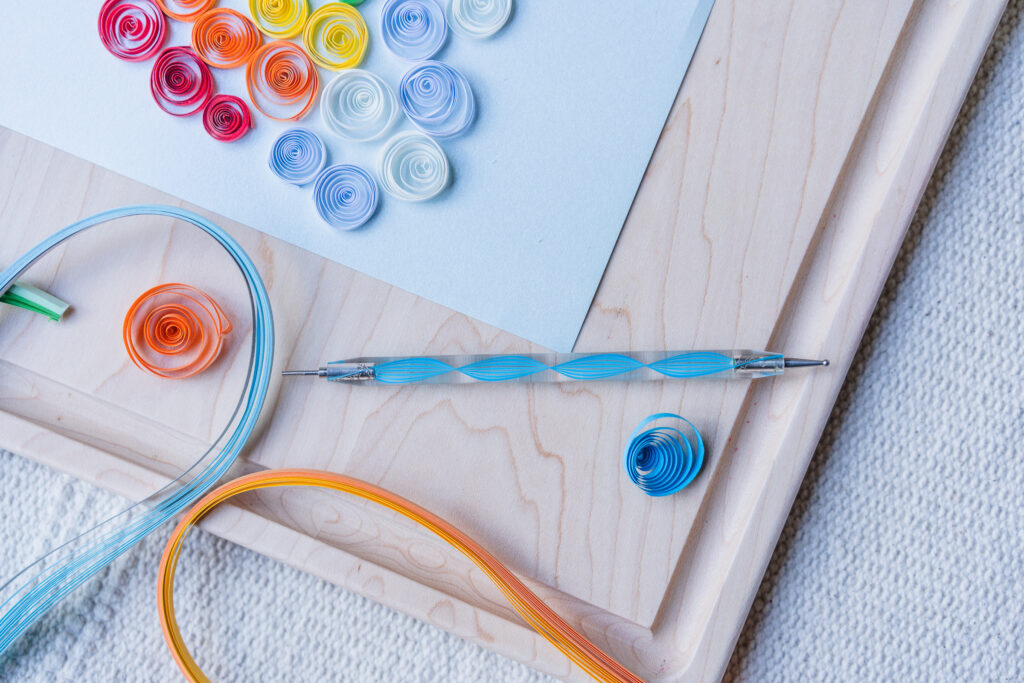
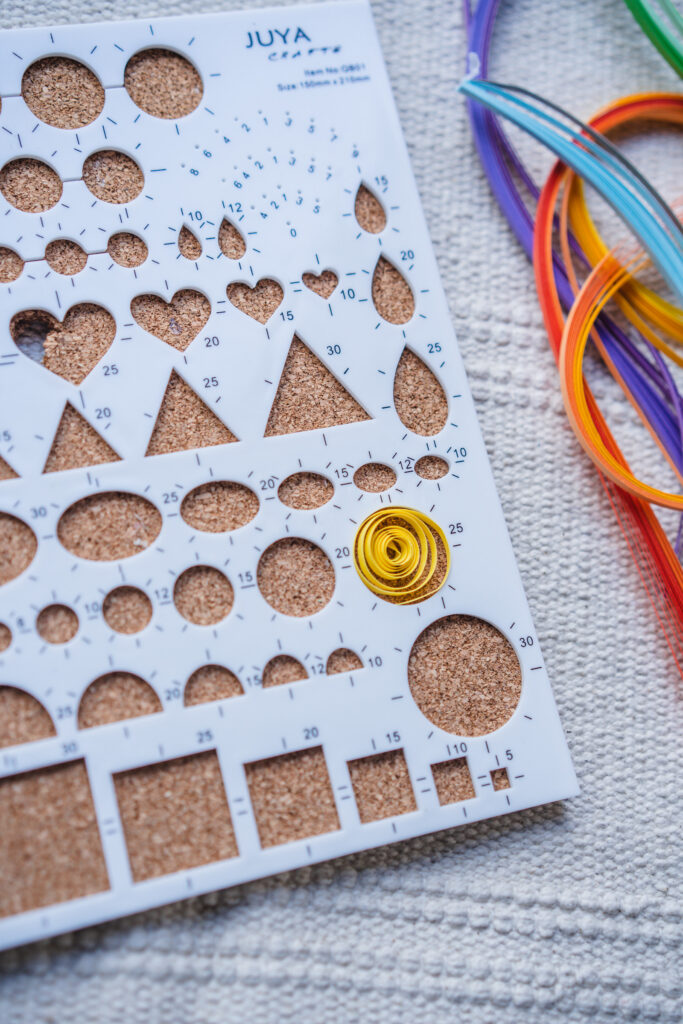
Use a quilling board to the shape in place as the glue dries.
After your spirals are completed, lightly sketch a rainbow shape onto card stock. There will be gaps between parts of the rainbow so be sure to use very light lines if you don’t want them to be visible on the final project.
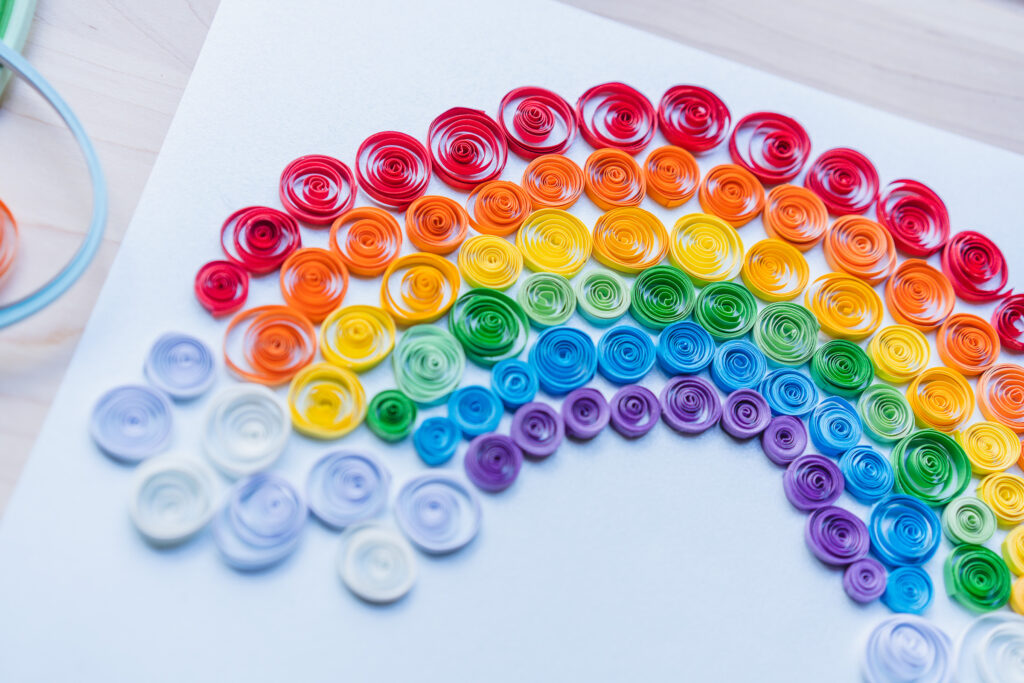
To form the rainbow, begin with either the red or the purple row. Working on one color layer at a time, paint a thin layer of glue along the line on your sketch. Firmly press the spirals into the glue, reshaping as necessary. Tuck in any loose ends as you work. Finish with some loosely grouped white spirals to create the cloud sections.
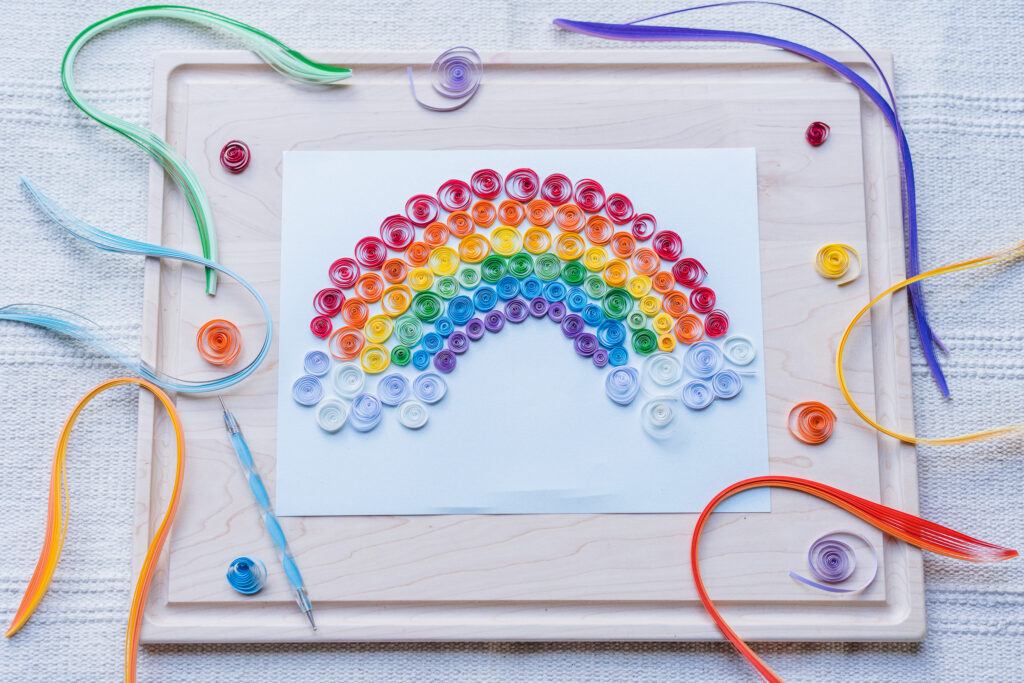
Allow the glue to dry completely and then display however you desire!
Weeks 5-6
Plan and design a larger project. Allow the child to draw from their own curiosity and inspiration to come up with a project. Some children may be interested in making greeting cards for birthdays or holidays, another may want to create a set of quilled jewelry, and yet another may want to make an ornament or decorative egg. There are so many ideas to choose from, but the key is allowing the child to own the decision.
During these planning weeks, you may have to test out some ideas, practice some techniques, and validate whether some ideas are possible.
Weeks 7-12
For the remainder of the term, the child can work on executing the design plan. A finished project can be one large project or a group of several smaller projects.
Keys to Success
Quilling is an intricate handicraft and the keys to success are patience and practice! Start with basic projects like the simple rainbow or a filled shape like a heart before embarking on more detailed projects. Enjoy the process and have fun with it!


Leave a Reply