Looking for a super simple spring craft for kids?
These egg carton flowers are a simple kids’ craft idea and so fun for all of us to make!
I love providing my children with opportunities to do real work and contribute in substantial ways to our family. While there are many things we could have bought for a centerpiece, it’s pretty special for them to get to make something and see it take a place of honor in the home for a season.
Several years ago when my oldest when to a traditional preschool, I remember her coming home with a backpack filled with papers and crafts and don’t judge me, but it all went directly in the trash. It was meaningless. It was a 2 year old learning to follow instructions and copy someone else’s work. I do think learning to follow instructions has its place, but for toddlers and preschoolers, arts and crafts should be focused on creative expression and exploration.
Since we’re at home and do things as a family, we enjoy projects like this where each person can contribute in their own special way. I cut the flowers. My 4 year old painted them. My 6 year old decided to add buttons. My 9 year old brainstormed how to finish the project and decided we should attach the flowers to sticks. We took a nature walk to collect sticks, and then my 9yo hot glued it all together, and voila!
It’s no masterpiece but the intentional effort behind each of its elements makes it a special part of our homeschool.
Making Egg Carton Flowers
We have tons of extra egg cartons because friends save them for us to store our chicken eggs so this was the perfect idea to use some of them up.
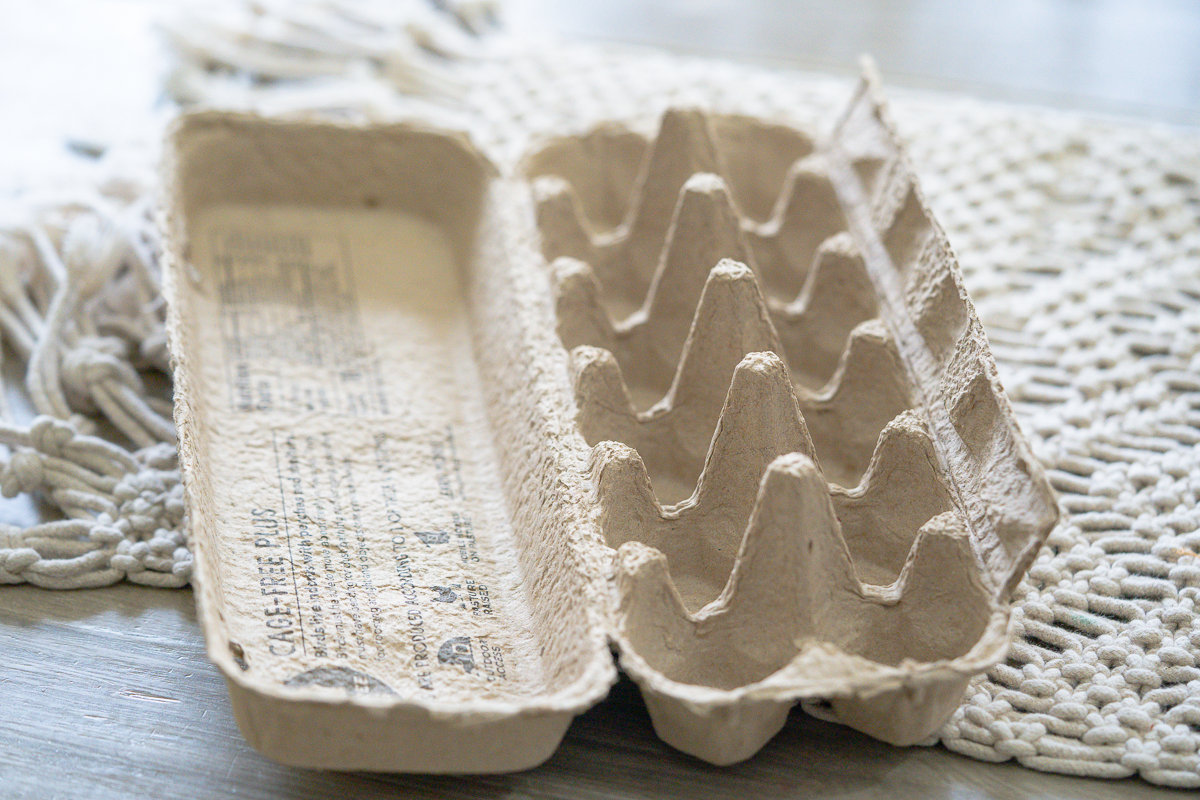
I started by cutting apart each of the egg “cups” with cardboard scissors. These cardboard scissors are an investment but for crafting they make cutting way easier!
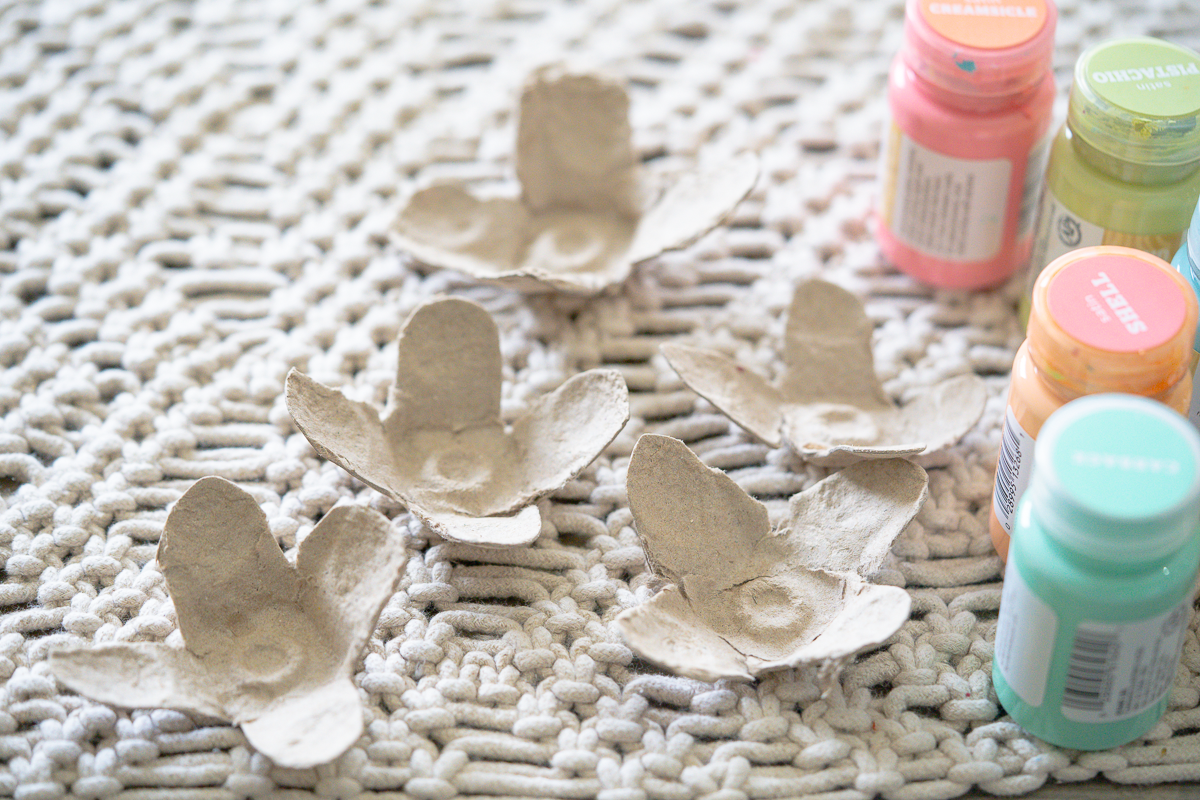
I didn’t use a template or anything to cut the flowers; I just aimed to cut out a few petals from each cup. It was a little challenging, and they’re not perfect, but my kids were thrilled.
I pre-cut these without my kids around before I set up the project. When I do crafts with my kids, I like to make sure I have all of the supplies ready to go and have things prepped so that they can jump right in. I don’t know about your kids, but mine are so eager to get creating and have very little patience to wait around once they know we’re doing a project.
Instead of trying to rush to get everything ready while they’re watching and pestering me, I like to get things ready when they’re occupied elsewhere and then surprise them with a project.
For this one, I got out plastic trays for painting on (ours are from IKEA), paint, paintbrushes, buttons, a hot glue gun, and hot glue.
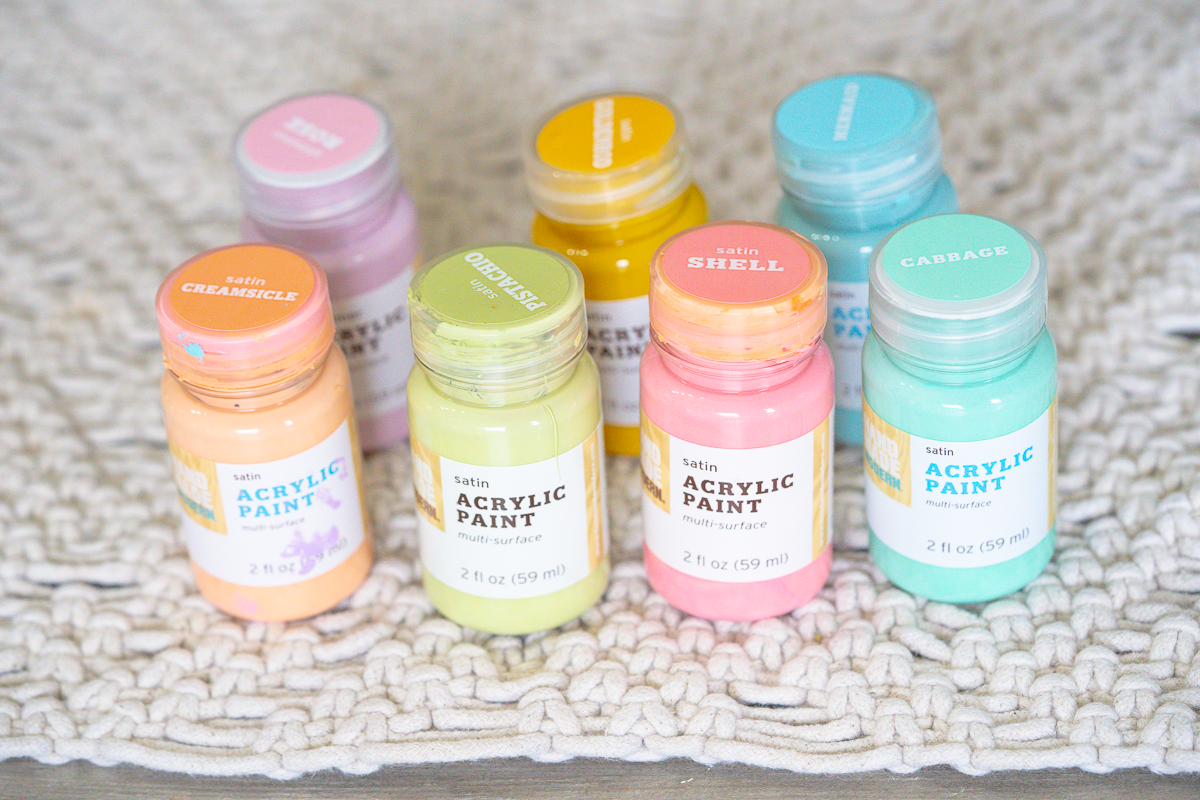
I really love these craft paints from Target. The colors are gorgeous and all complement each other so well. We have used these for tons of projects, and they’re definitely my first choice when it comes to acrylic paint.
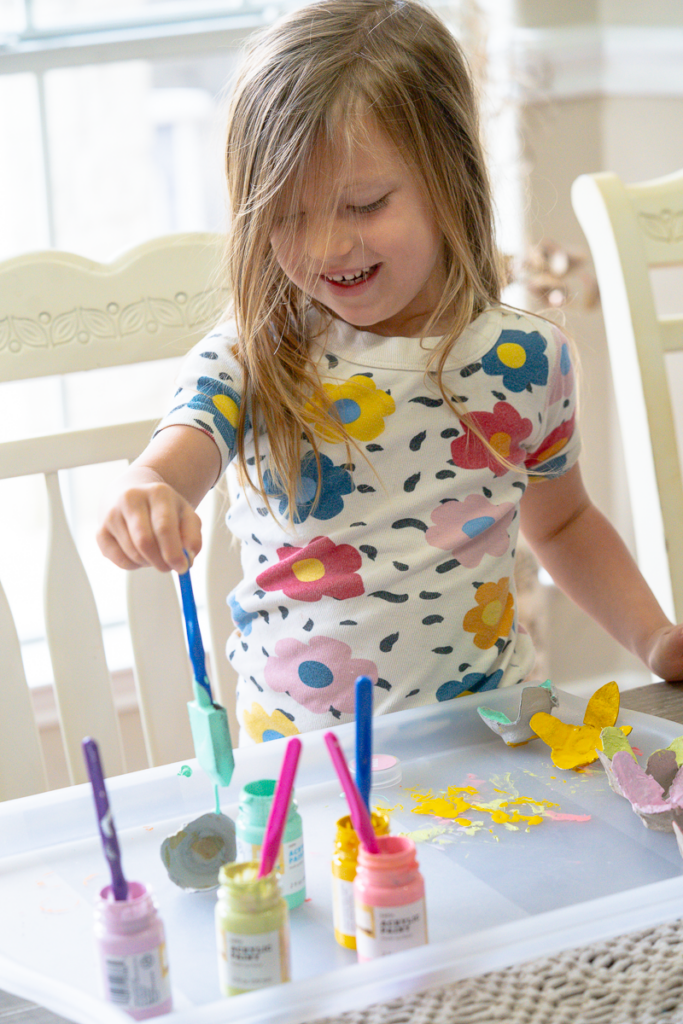
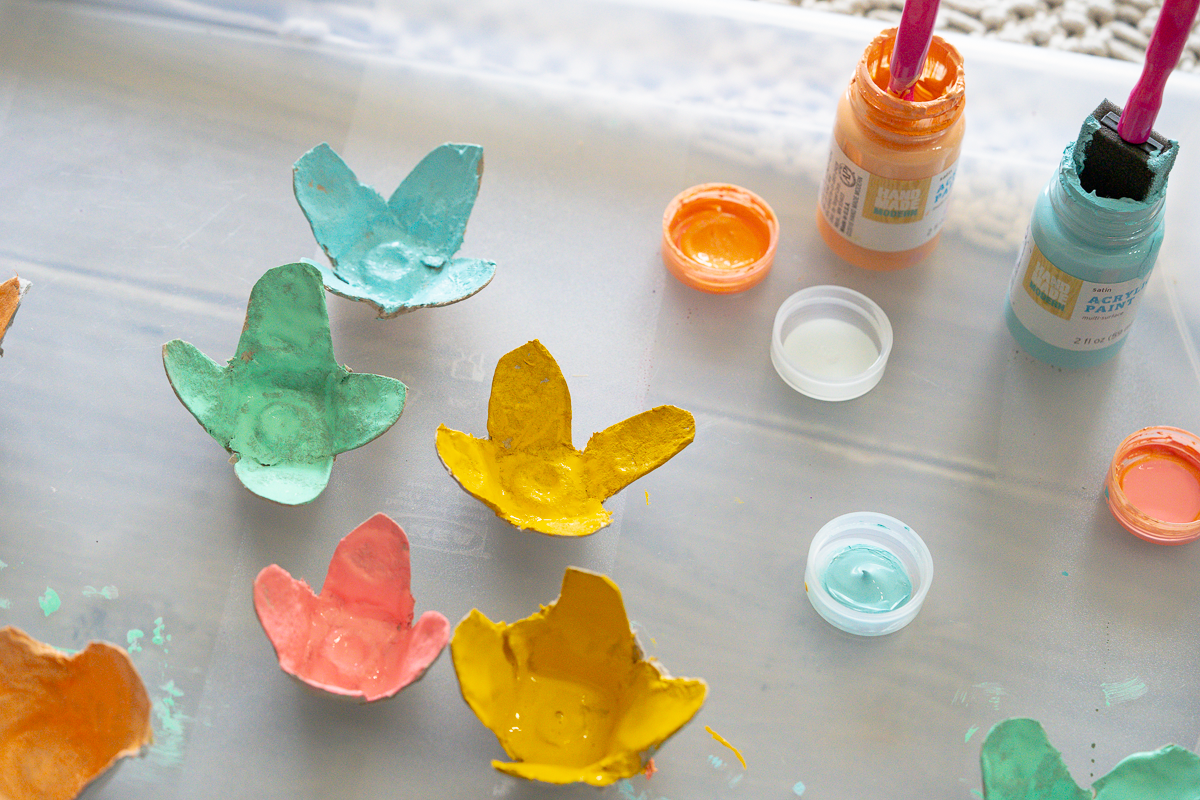
When we do painting with acrylic craft paints, I like to assign one paint brush per color to prevent mixing. I keep a few extra brushes on hand in case one of the colors gets mixed while painting, but this system works really well for my little ones.
I didn’t provide any instruction on painting the flowers. I just set out the tray with open paint and brushes and the pre-cut flowers as an invitation.
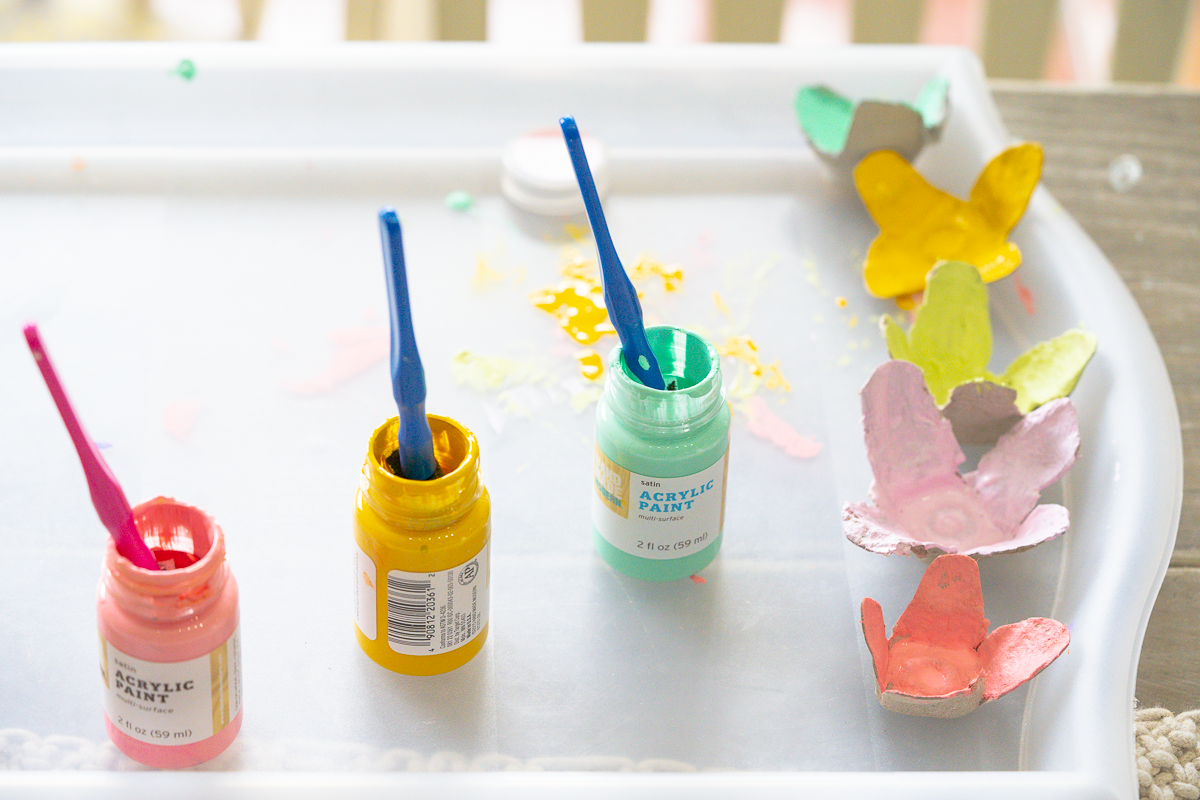
All three of my kids ages 9, 6, and 4 thoroughly enjoyed painting their egg carton flowers!
Once they were all painted, we let them dry for a couple hours.
The finished project
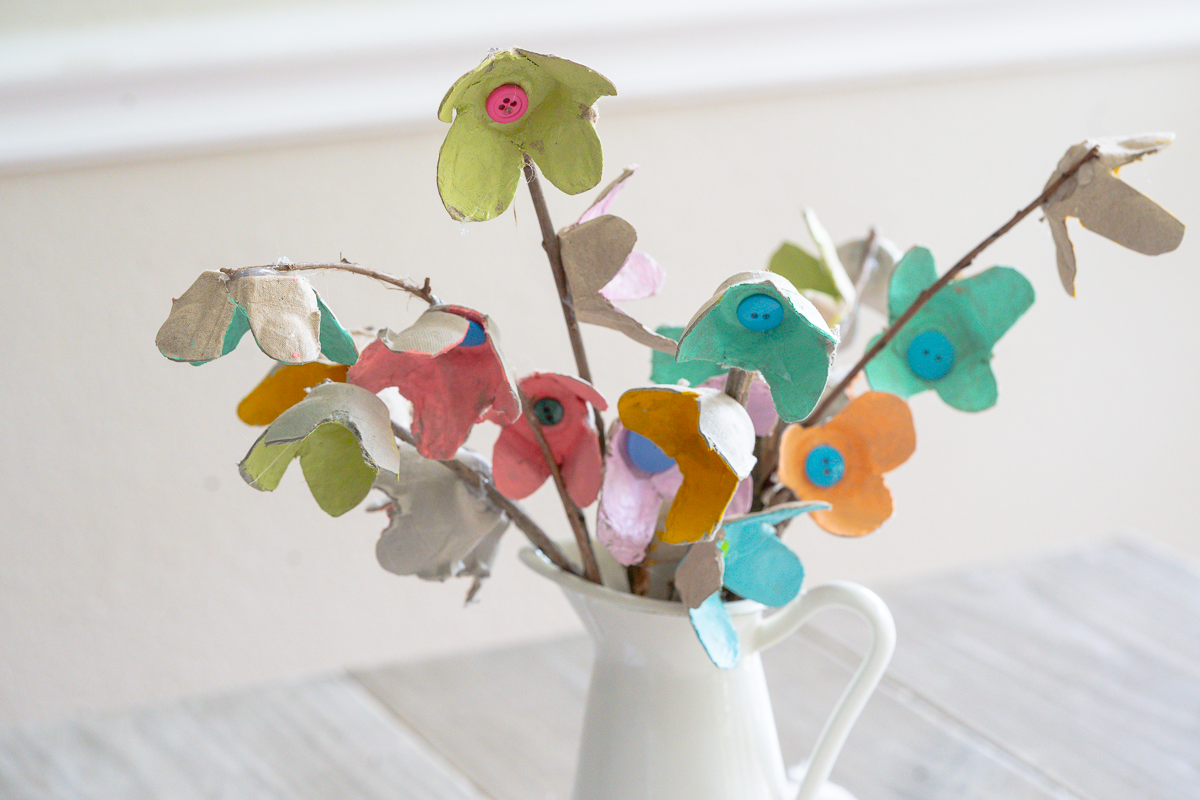
Then we added coordinating buttons to the center and glued the “flowers” onto sticks we gathered from our yard. We put our stick flowers into a tin pitcher from IKEA for a fun spring centerpiece for our dining room table.
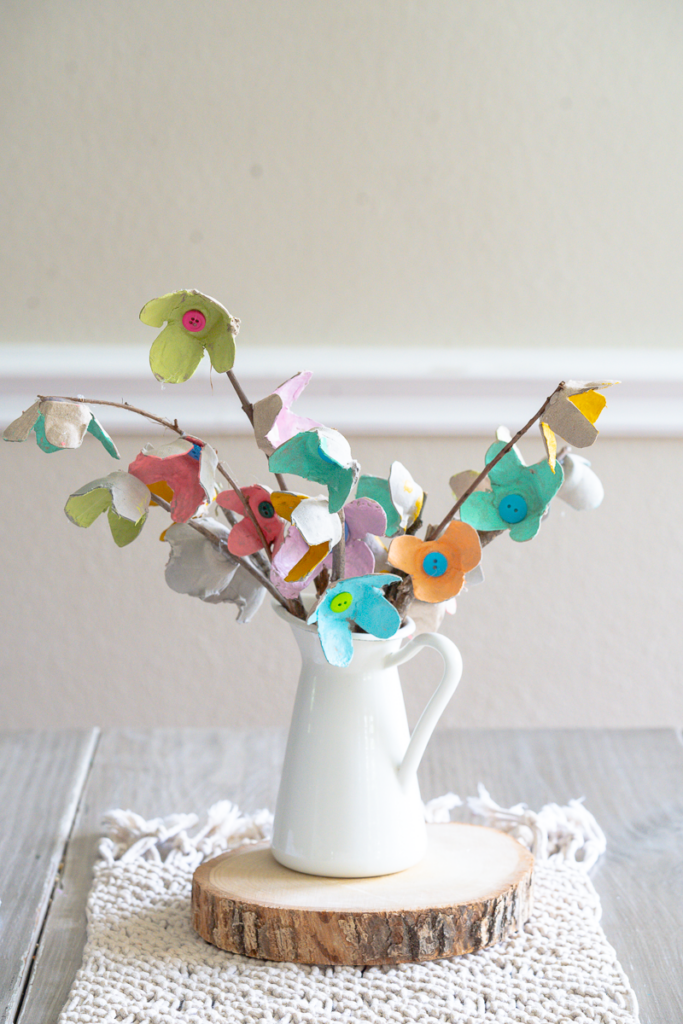
They turned out so cute and lasted much longer than fresh flowers, too!
If you’re looking for a simple, fun spring craft project for kids, I hope you’ll give these egg carton flowers a try!


Leave a Reply