Is there anything better than a handmade, personalized gift? I think not!
My kids worked on this sweet gift for a friend a few weeks ago, and it turned out so great. Stamp carving is a wonderful handcraft with so many opportunities to be creative in the final product.
My kids are 12, 9, and 7, and they all helped with this project. I’d recommend stamp carving for ages 5 and up. The blades are not quite like knife blades, which makes it a pretty safe handicraft.
How to get started with stamp carving
Stamp carving is pretty simple once you have the right supplies. If you’re just starting out, I highly recommend a kit that comes with the linoleum block and the carving tool.
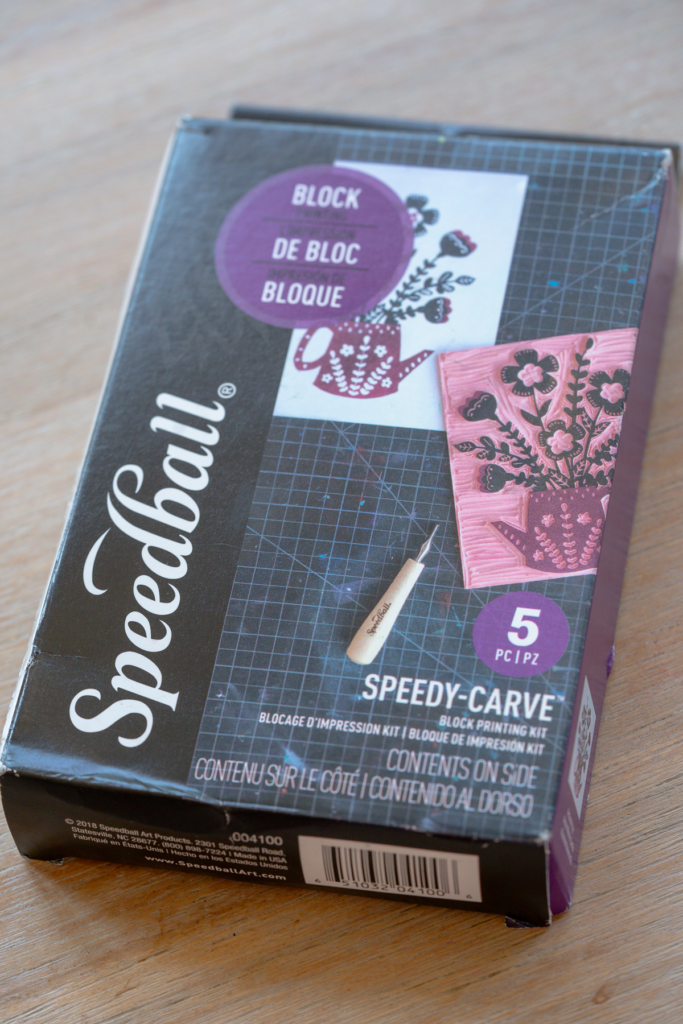
You’ll notice that the kit is called a “block printing kit” and that’s because this handicraft is technically called block printing.
Black printing originated in ancient China and involved carving wood blocks to make prints. Today, we use a linoleum block instead of wood, but the process is essentially the same.
Linoleum blocks come in a variety of firmness options and these are usually color coded.
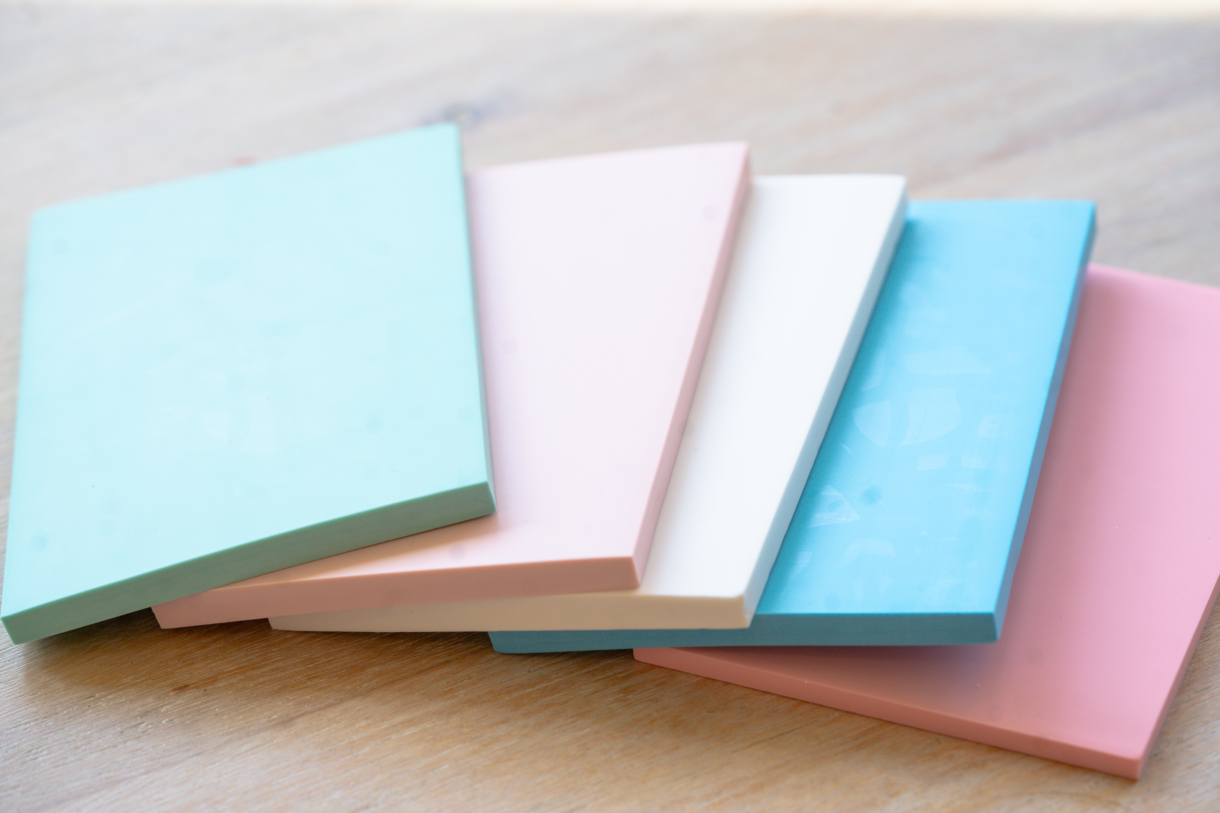
For a beginner, I recommend the pink Speedy-Carve linoleum which is what you’ll find at most craft stores. It’s soft enough to cut through easily, but sturdy enough that it won’t crumble when carving small, intricate designs.
You can roll on ink to your carved linoleum for printing, but with kids, I tend to prefer just using a regular ink pad for less mess.
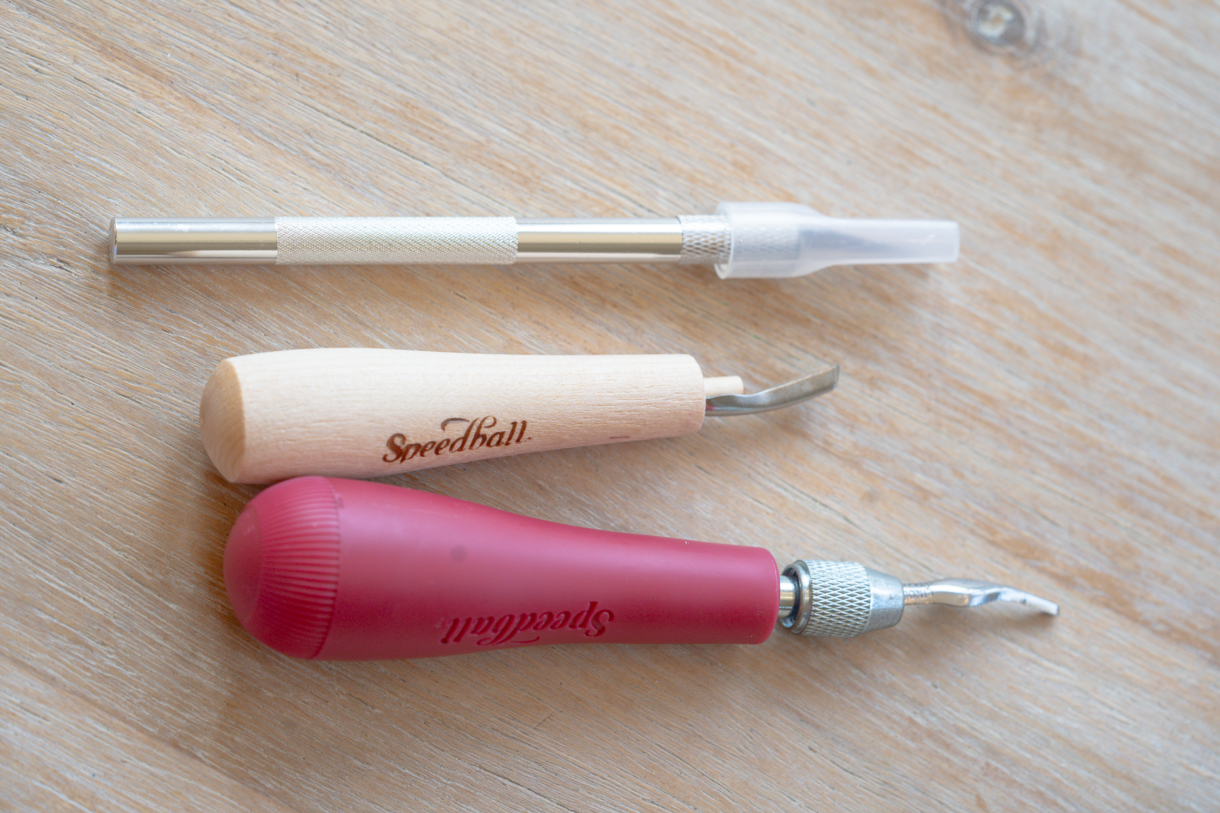
The most important tool you’ll need for stamp carving is the carving tool. The Speedball kit comes with one tool and two interchangeable blades, which is perfect for starting out.
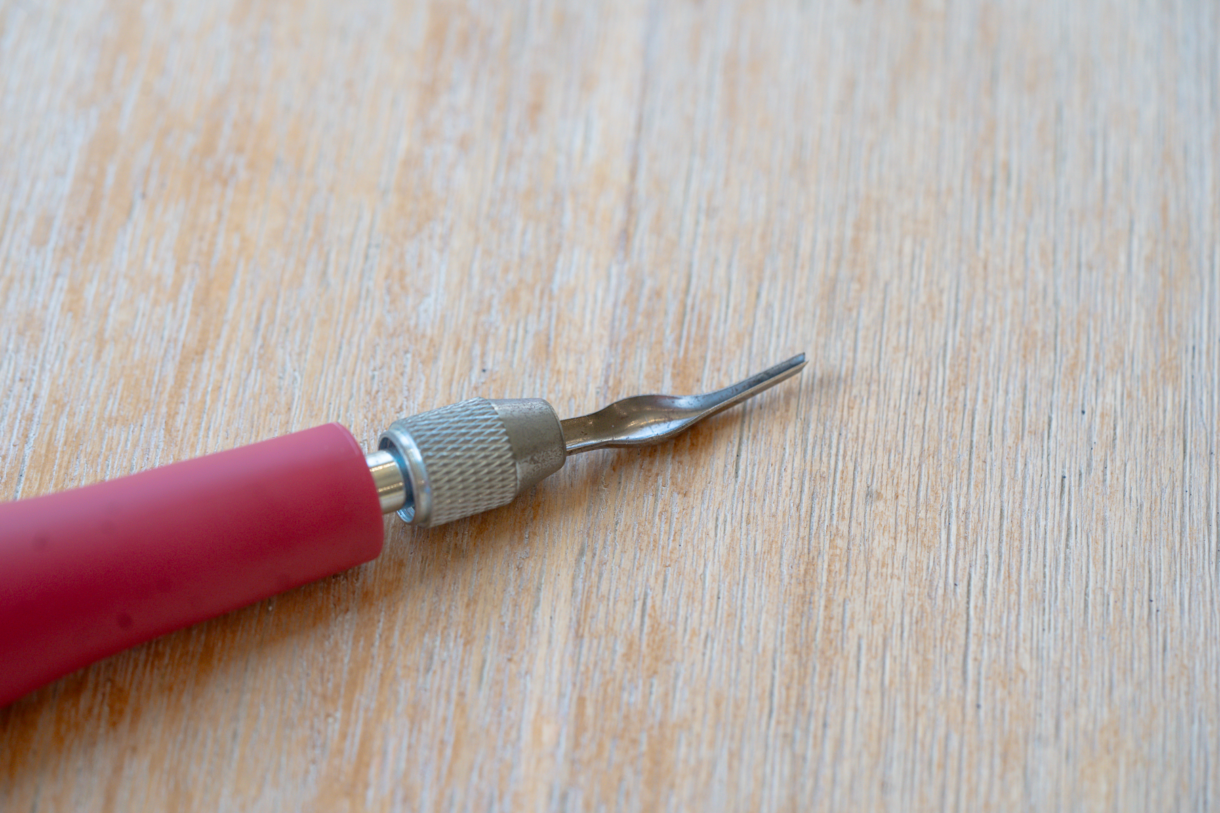
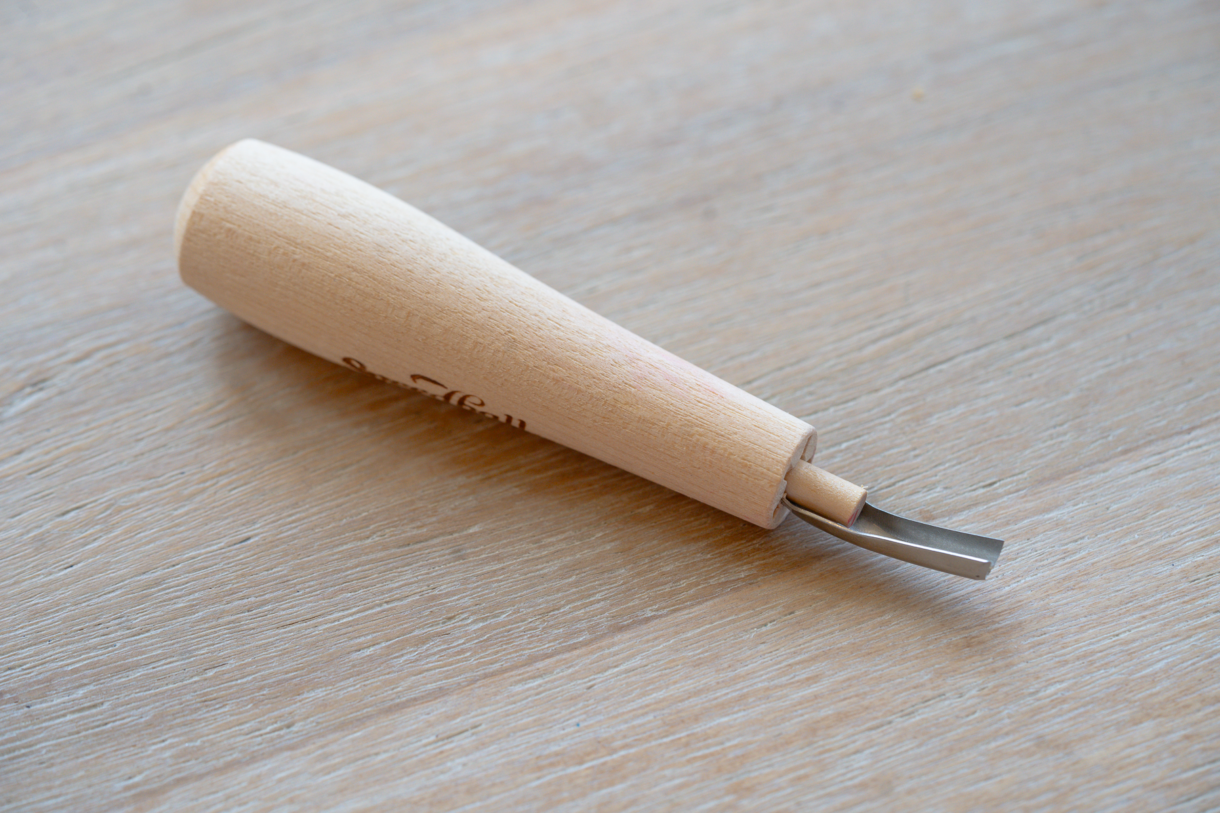
If you get obsessed with stamp carving, you can always get a kit with more blades. The blades have different depths and shapes to make cutting very tiny or larger areas easier to cut.
You can see the blade on this cutting tool below is much wider than blade on the one pictured above, which makes it easier to cut a larger area faster. But the smaller, narrow blade would be better for more intricate cutting.
The only other tool that comes in pretty handy for stamp carving is a craft knife. I use this for cutting the final shape of the stamp or cutting a small stamp away from the larger linoleum block. The linoleum dulls out the blades pretty quickly, so I like to switch out the blade often.
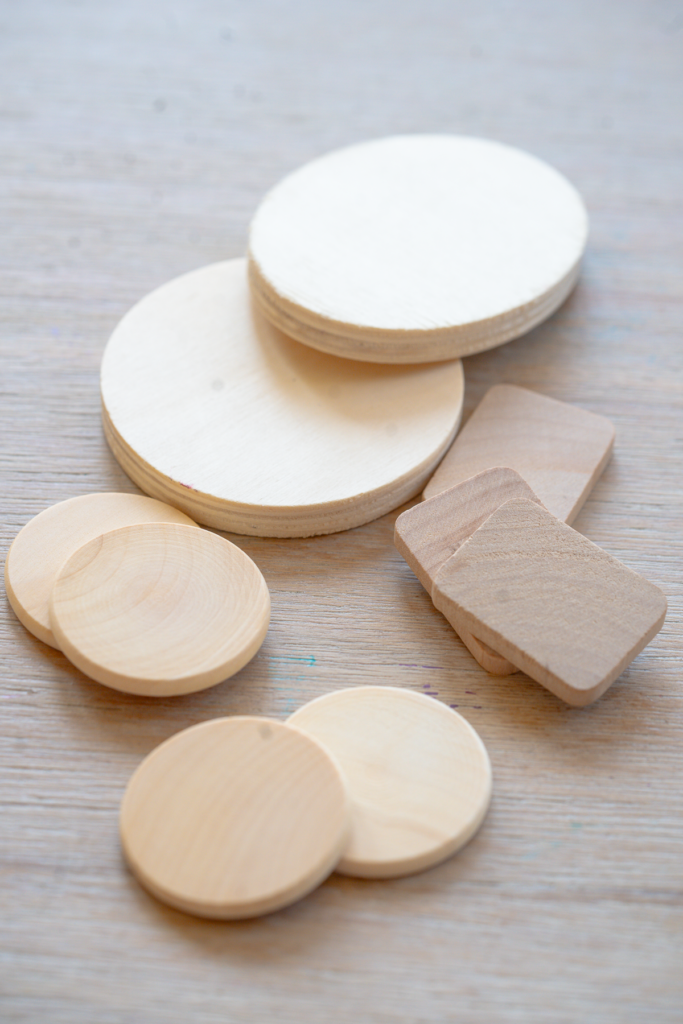
I also like to keep a variety of unfinished wood block shapes on hand to serve as the handle for the finished stamps. I find these at a local craft store.
Learning the Basic Technique
Once you have all the supplies, it’s time to get started with stamp carving. I’d recommend starting out with a solid geometric shape to get the feel for how to use the carving tool.
You’ll hold the blade almost horizontally and scoop out the linoleum. It’s not exactly “carving” like you might think so it’s good to try it before you start on your project.
How To Transfer a Design to a Linoleum Block
After you’ve practiced making some cuts, you can start prepping to make your personalized name stamp.
I usually print off the name in several sizes so I can decide which one works best.
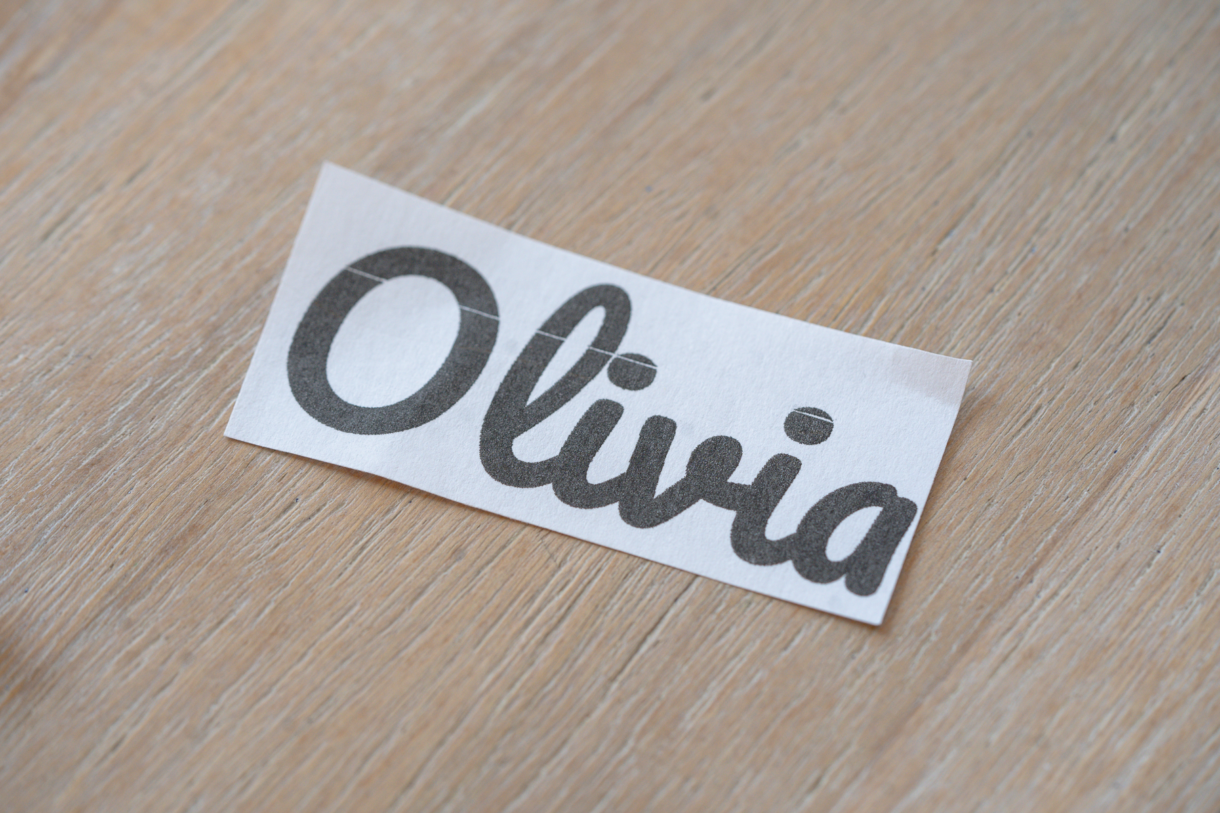
Several factors go into choosing the size including the age and attention span of my kids who are carving and the wood blocks I have on hand for finishing.
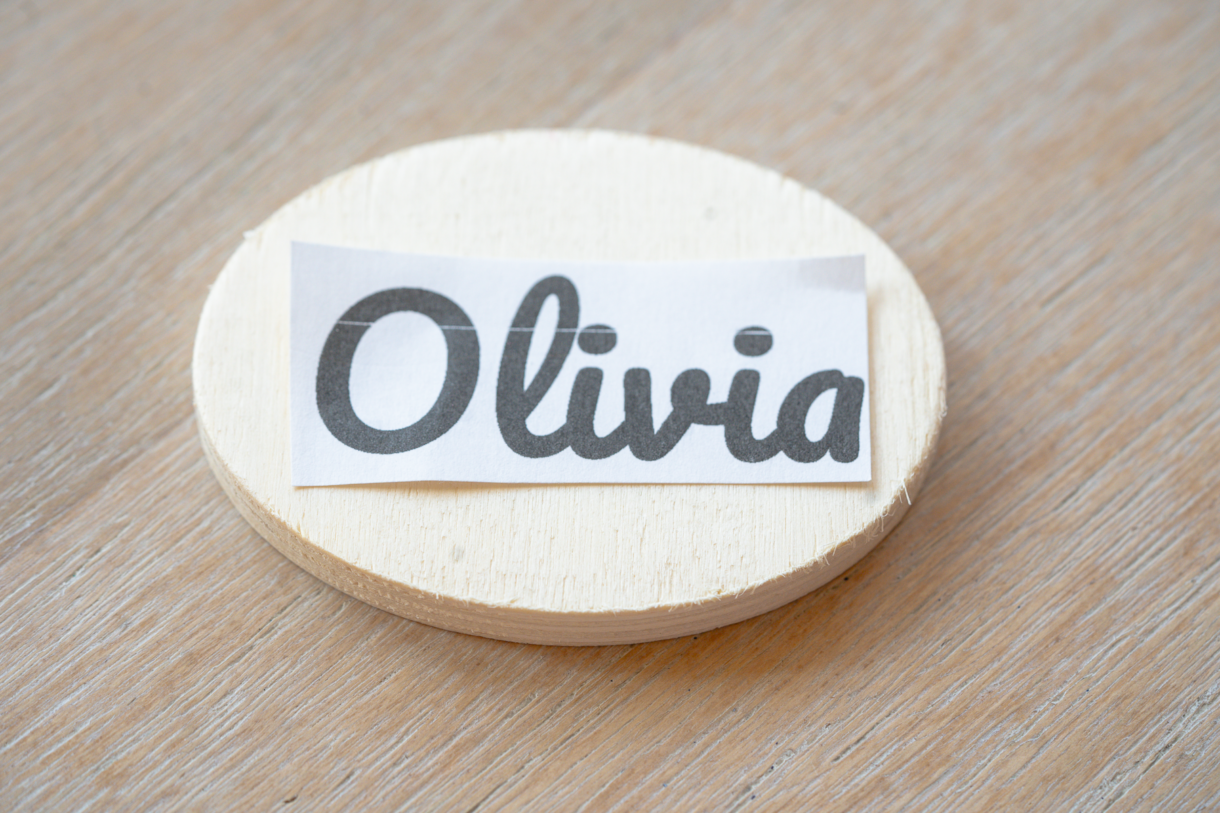
Smaller stamps are often better because they can be finished in one crafting session, but if the design is too small, it can be more challenging to carve. For kids, I usually aim for something around 2-2.5 inches on the longest side.
For this stamp, I used the font “Pacifico” because it is girly and cursive, but still easy to read. It’s also nice and thick which is important too.
You can see my file on Canva that I use to design the name here.
After choosing the size that works best, I have the kids use a good No. 2 pencil to color in the entire name and cover it with graphite. They usually love doing this!
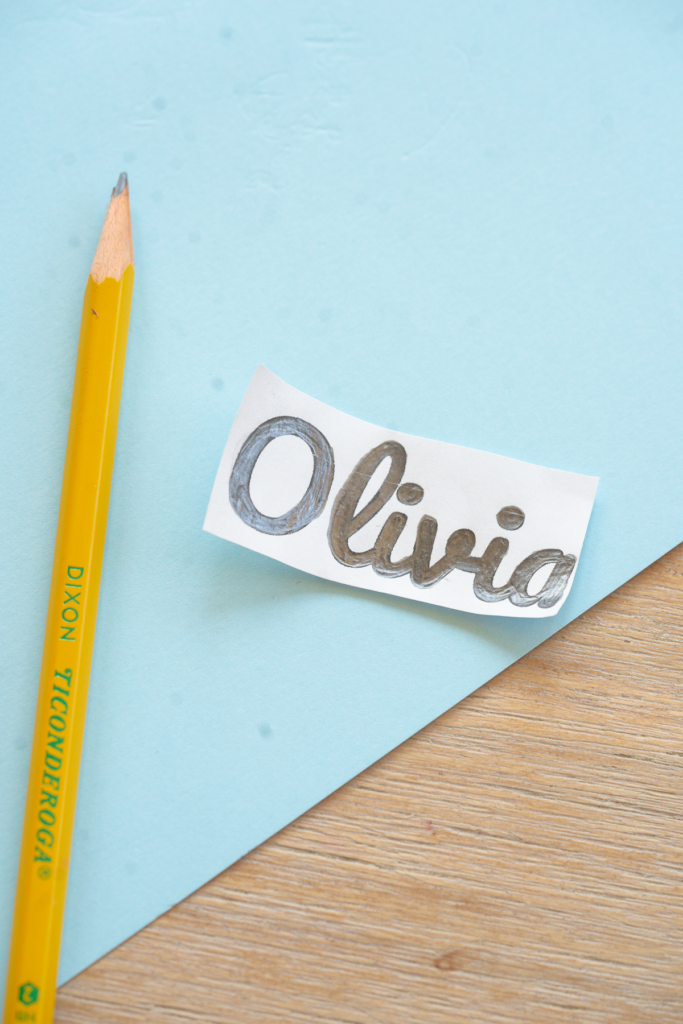
When the entire name is colored in, carefully put the name print-side-down onto a linoleum block being careful not to move it around and smudge it. I like to tape it down around the edges just to make sure it doesn’t move.
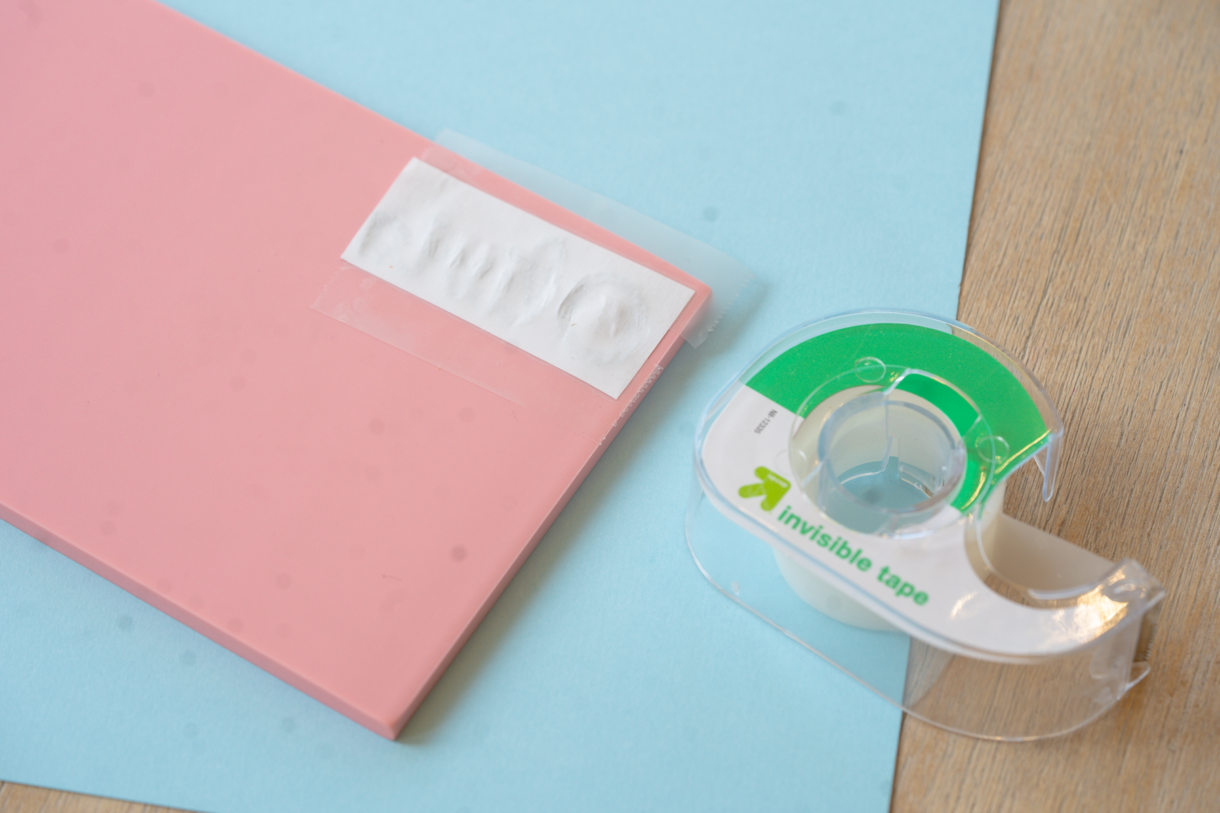
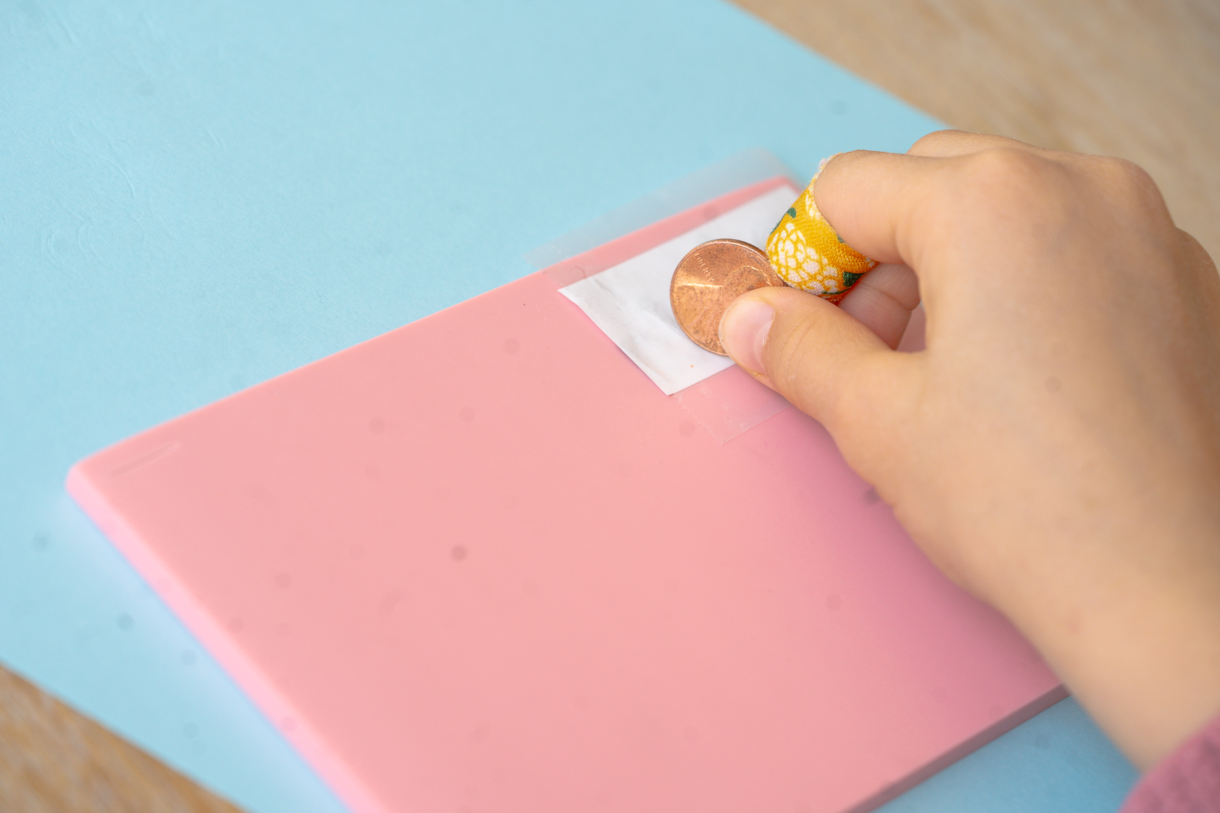
Use your fingers or a coin to rub the backside of the paper to transfer the graphite from the paper to the linoleum.
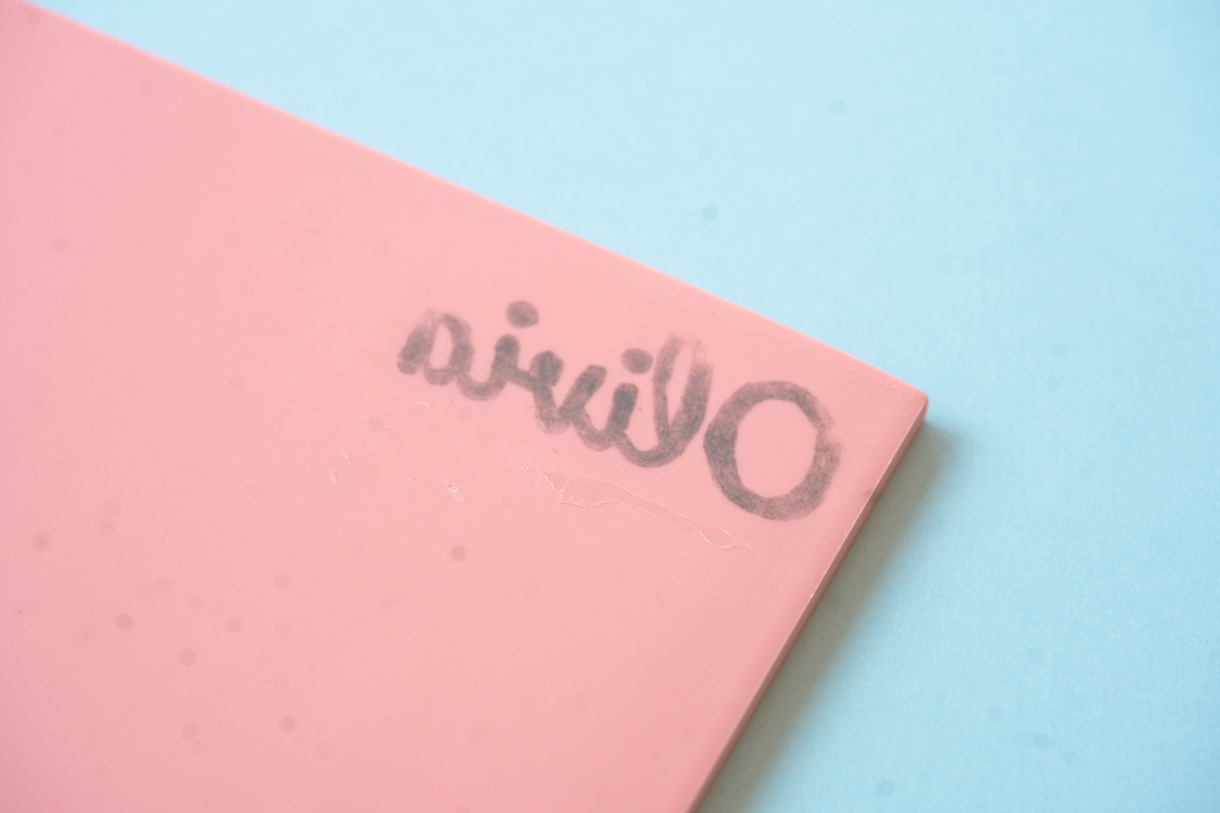
Carefully peel off the tape and pull the paper straight up to reveal your design on the linoleum. Notice that the name is now backward- that is what you want!
One of the most mind-boggling parts of stamp carving is wrapping your head around whether something you carve will turn out forwards or backwards. In this case, we need to carve it backwards and then it will stamp on forwards.
Carving Your Design
You can cut the design off of the main linoleum block with a craft knife at this point, but for kids I like to keep it attached to give them something to hold onto to steady the block while carving.
In general, you’ll want to use the smaller blade for cutting small areas like inside and around your letters.
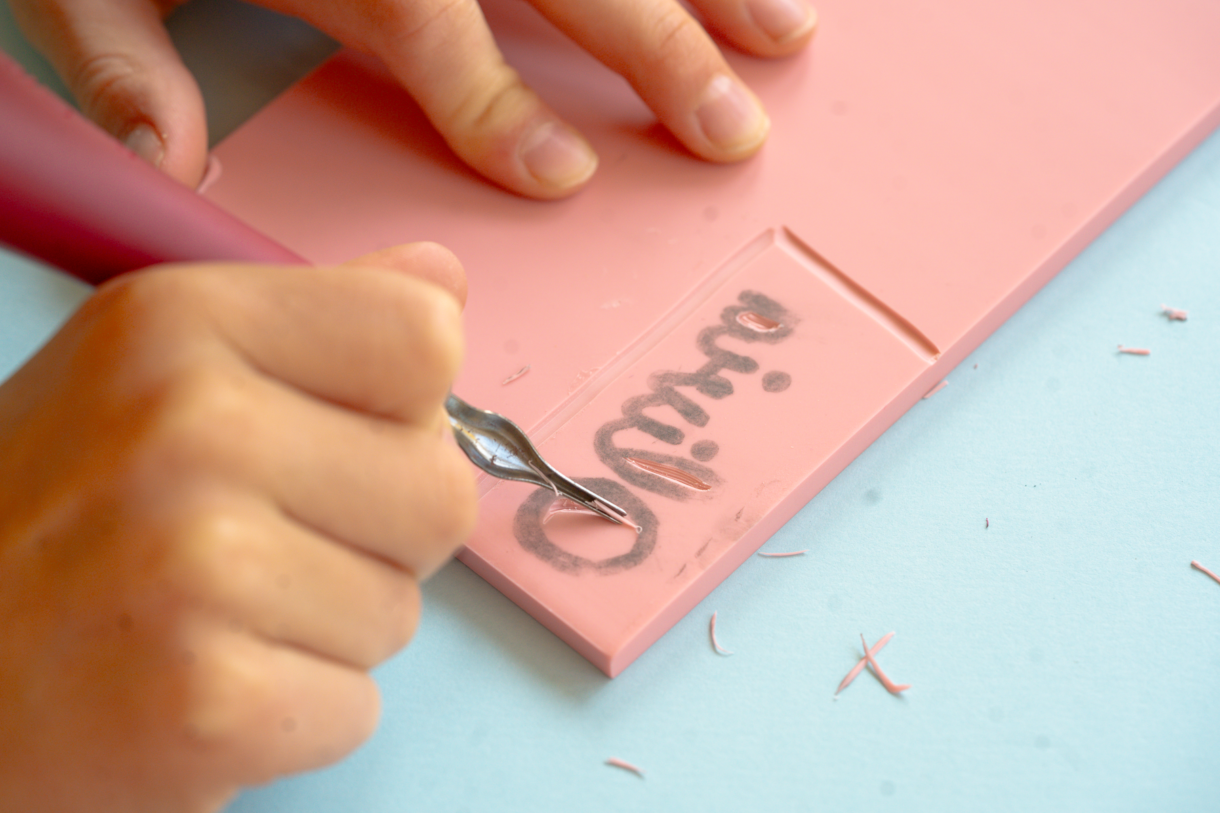
Use the larger blade for cutting larger areas like the open space around your name to create the stamps final shape.
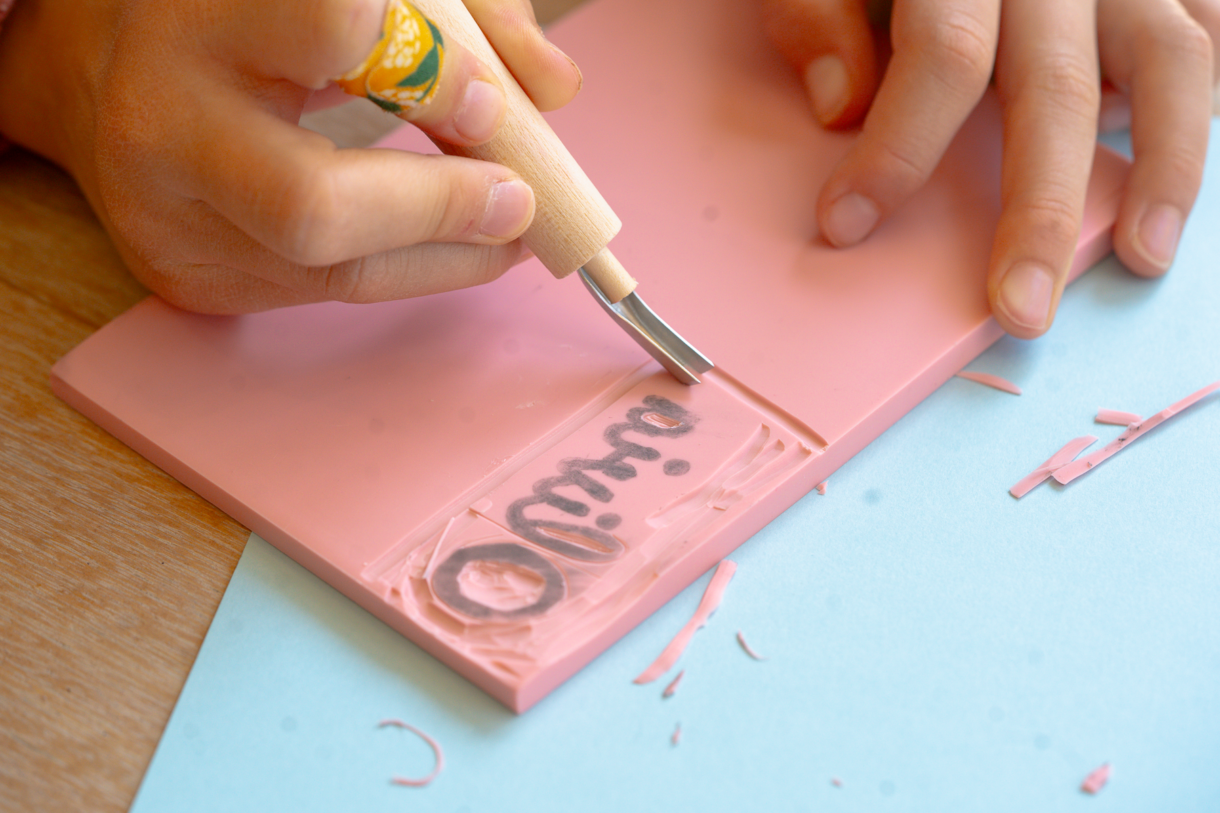
Carve, carve, and keep carving to carve away as much of the linoleum from your design as you can.
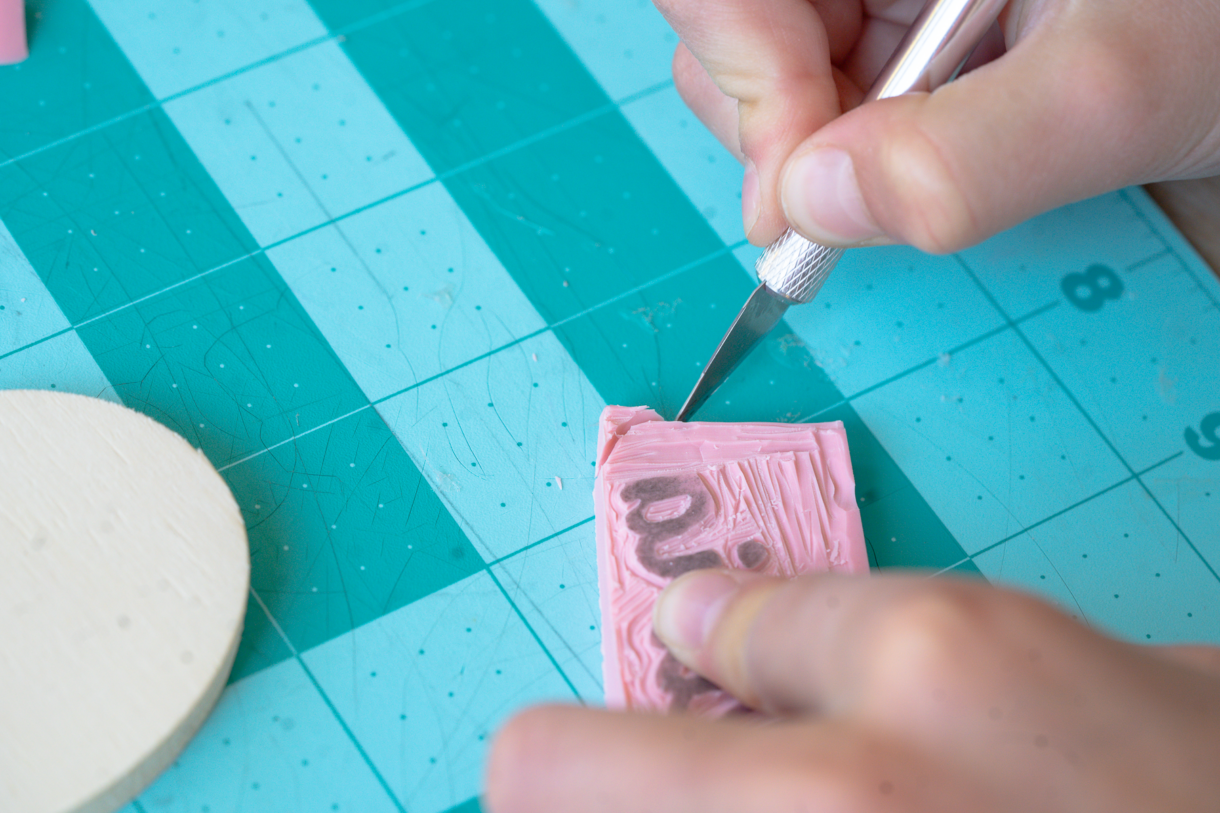
Once you think you have carved enough, cut out the outer shape using a craft knife.
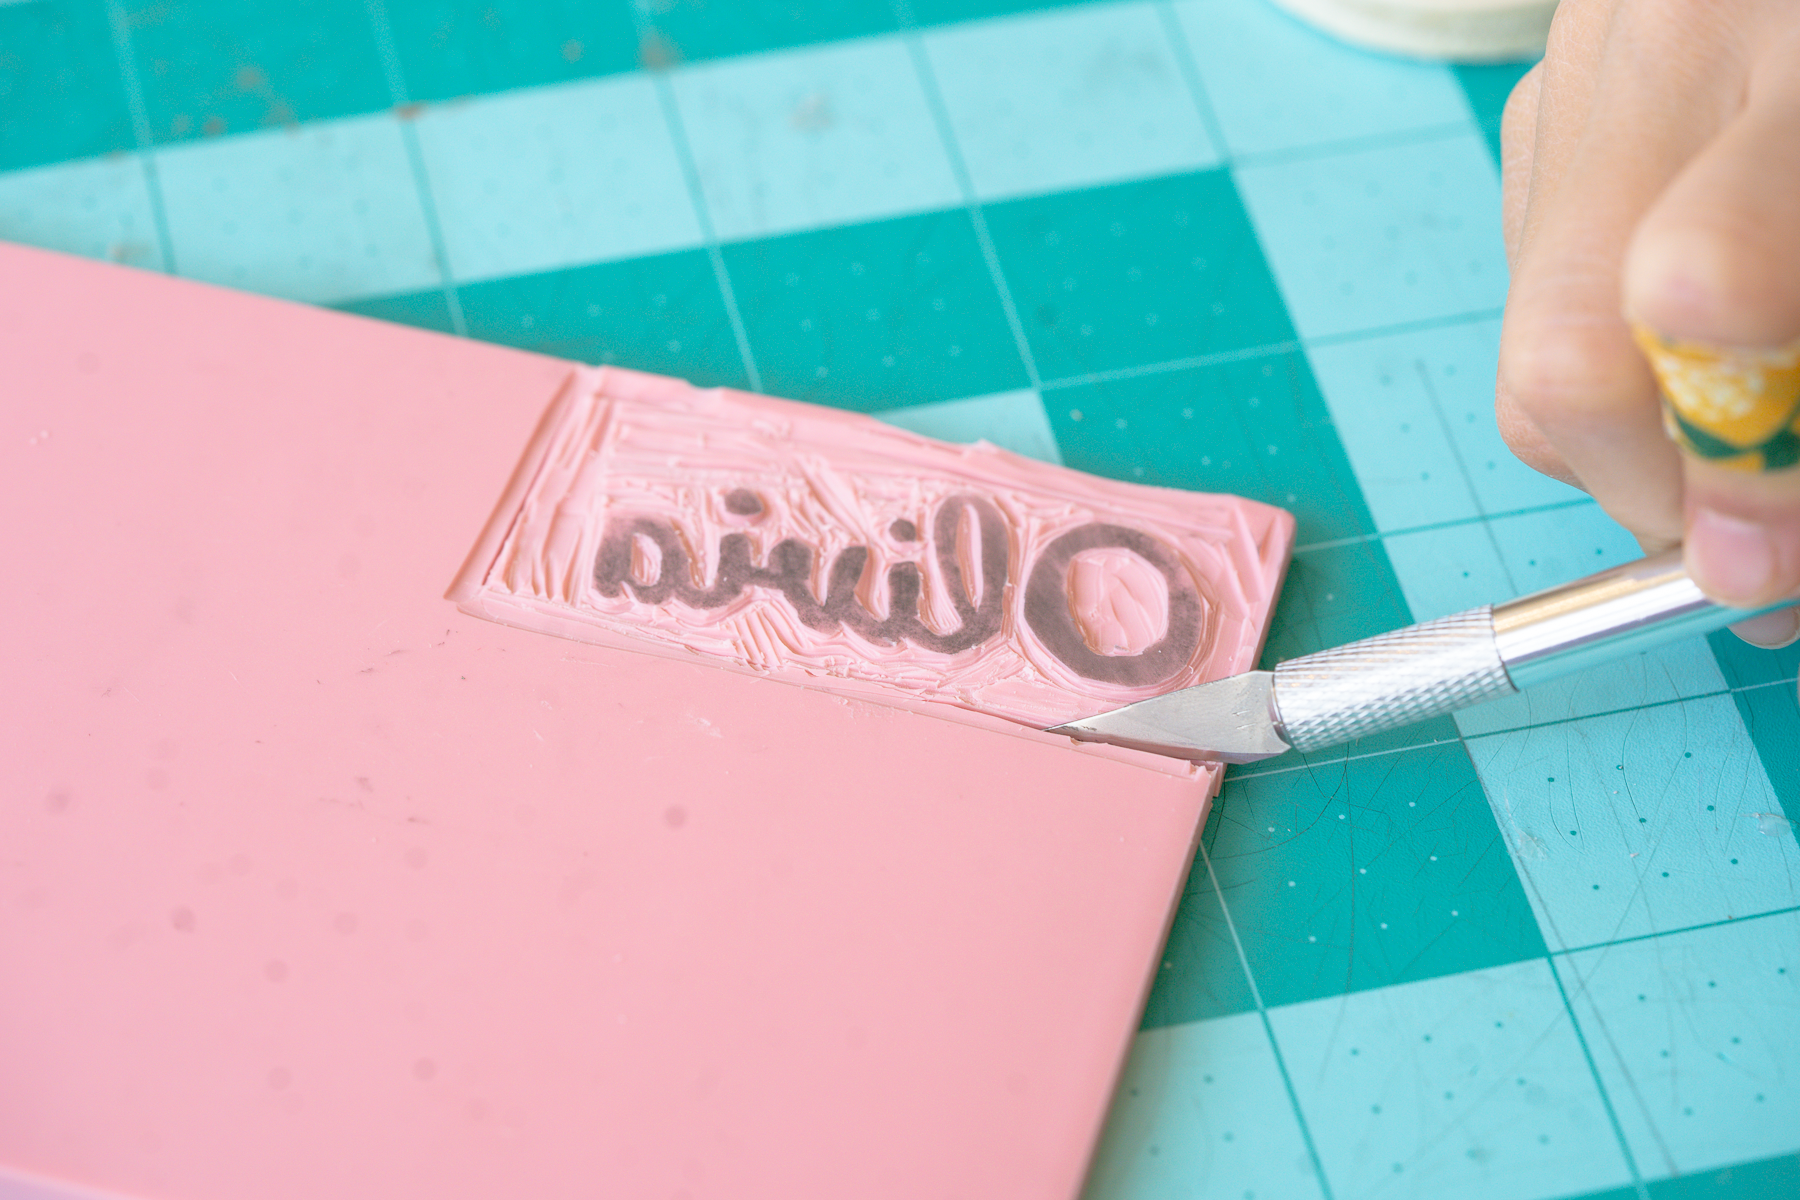
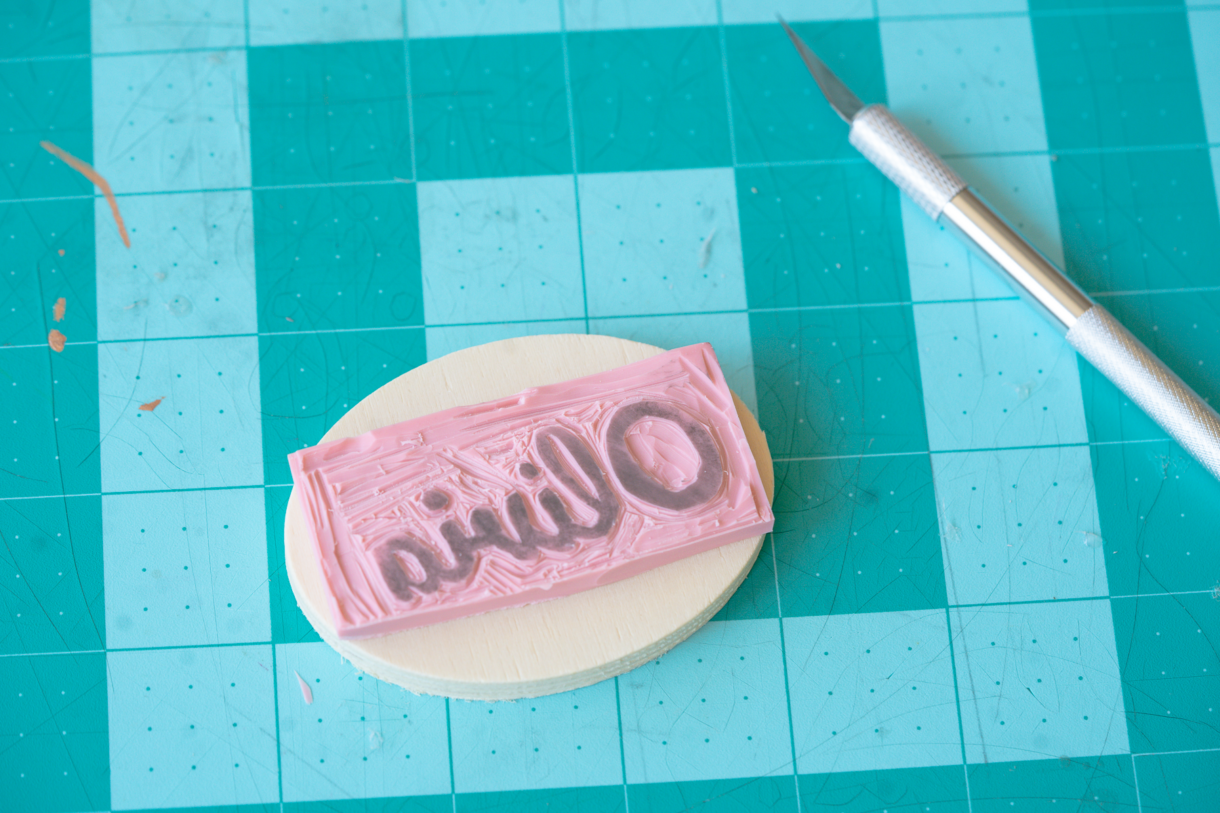
When the name has been cut away from the main block, I like to check it on the wood block I plan to use for finishing. You can see here that the corners are all extending a bit beyond my block so we need to trim those off.
Testing Your Stamp
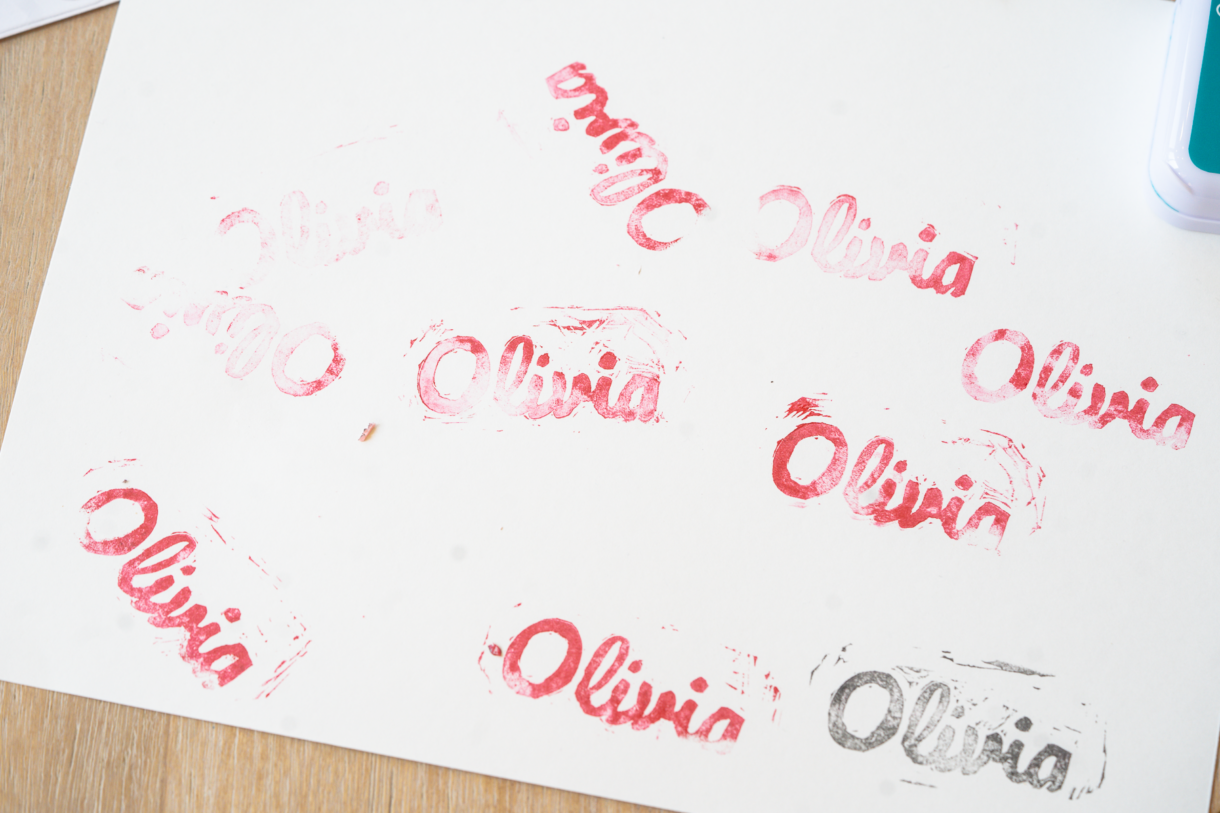
Testing your stamp is a big part of achieving a clear design. You’ll notice raised areas that need to be carved away more and go through a process of testing and carving and doing it again and again.
Push the stamp into an ink pad and press onto a clean sheet of paper.
Here’s what the first test looked like for this stamp. We could tell we needed to do some more carving around the edges and clean up between the tops of the letters, too.
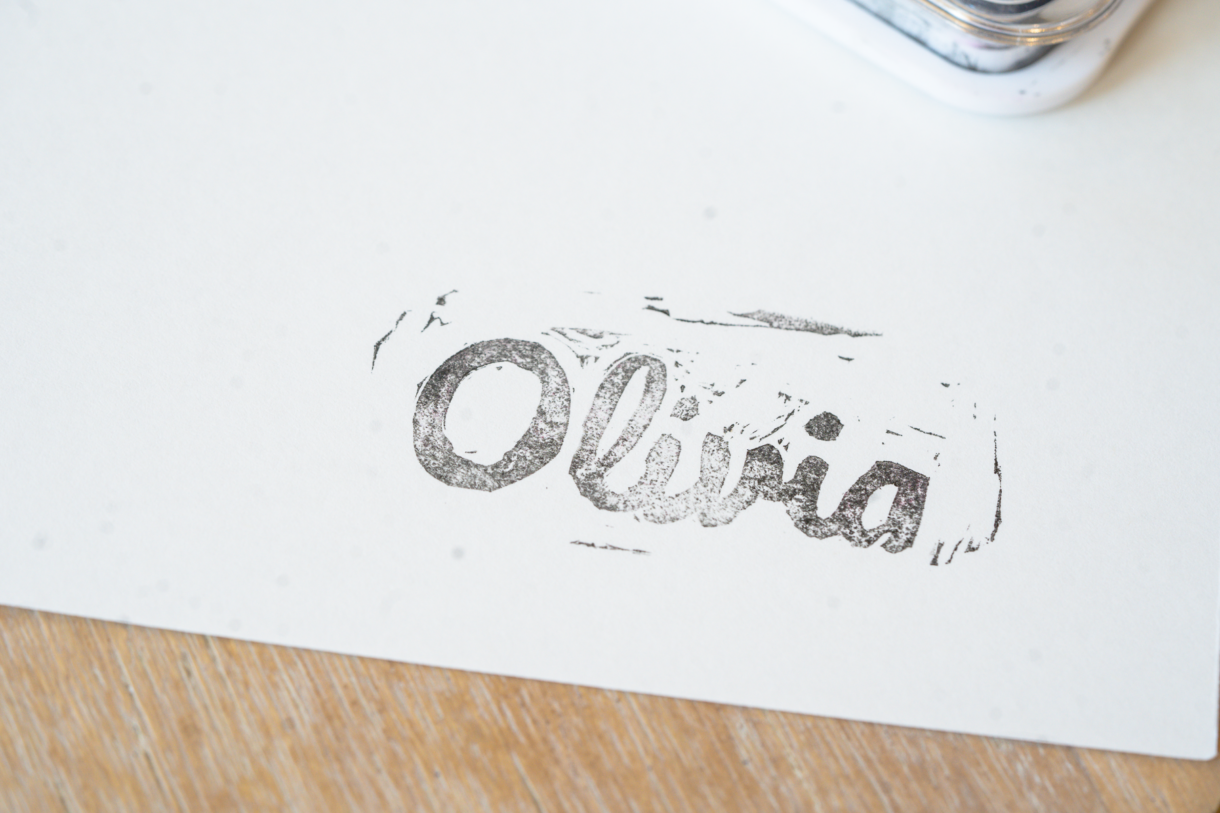
After testing, I like to stamp the linoleum onto a paper towel to soak up an extra ink before carving again.
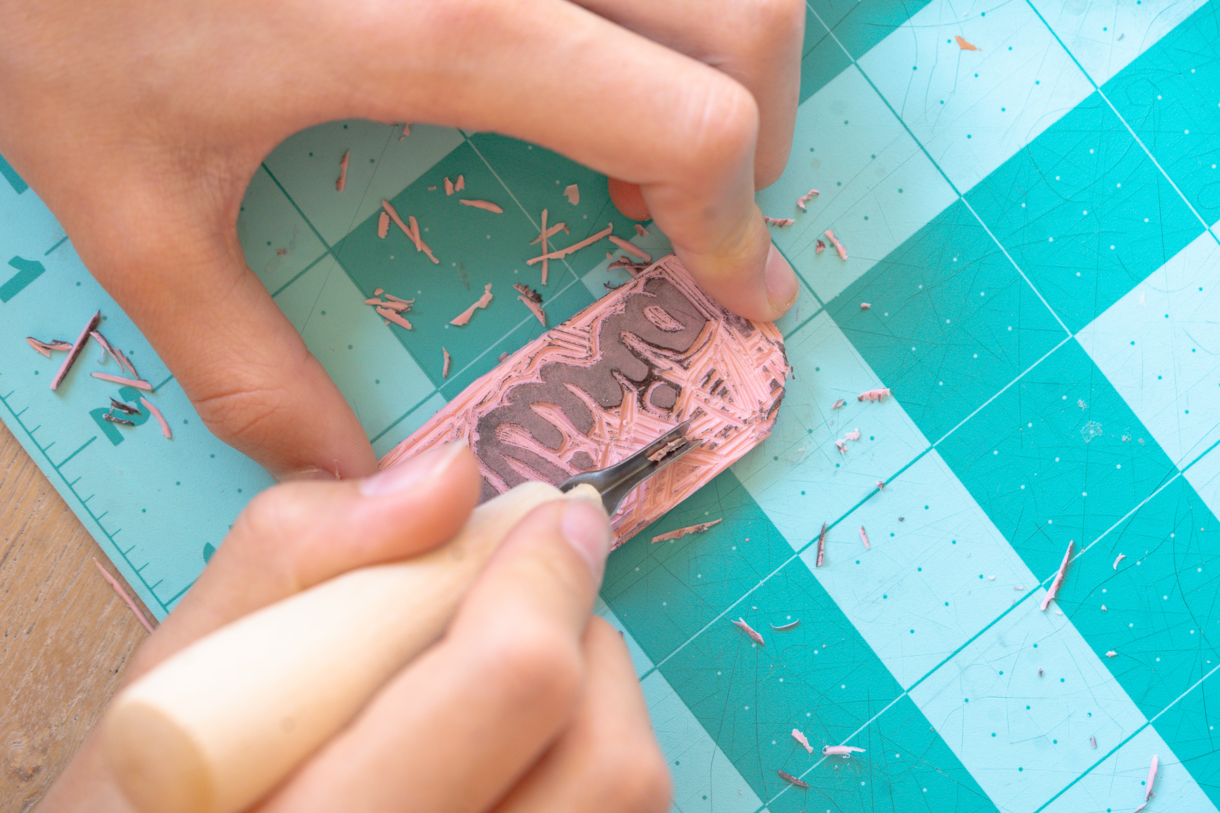
Refining the stamp takes a good amount of time, and is where my kids struggle a bit to keep focus. The end result is much better if you can take the time to really test and refine though.
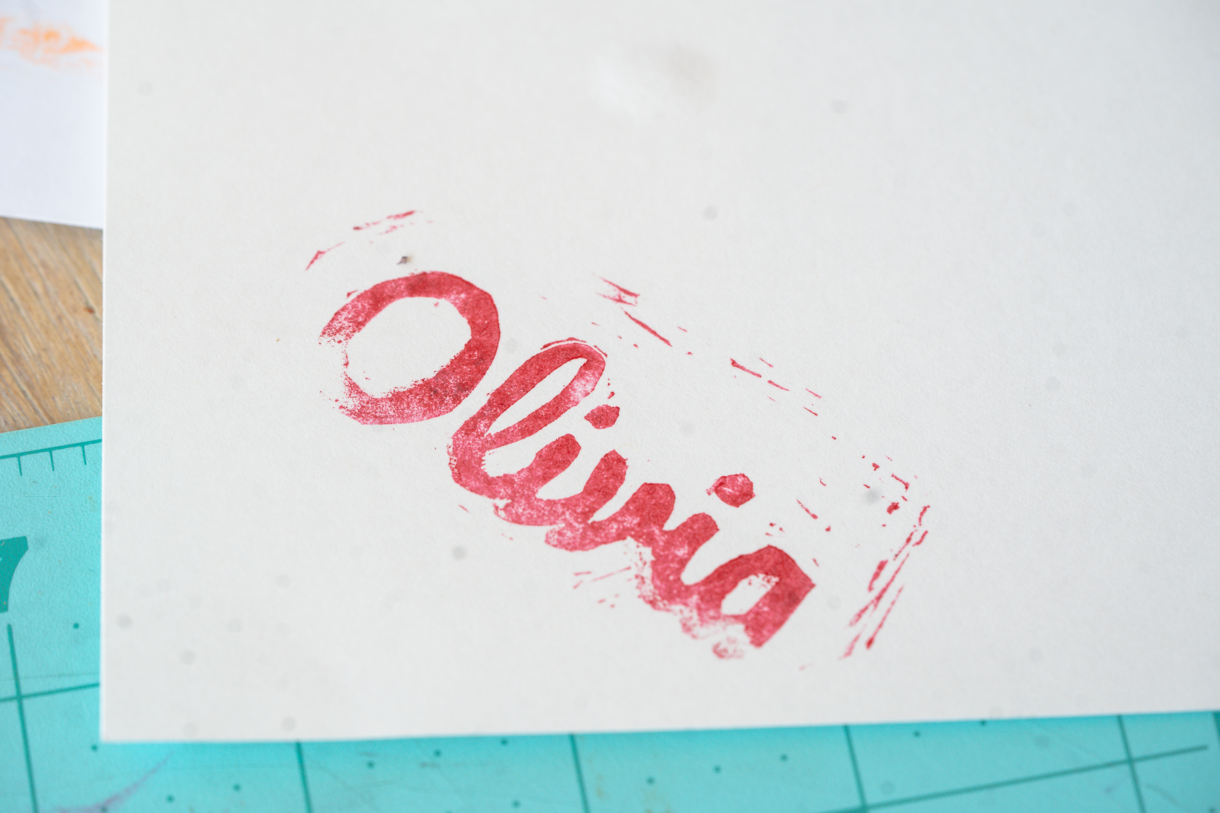
Just keep testing and carving out any areas you don’t want until your personalized name stamp is clear and easy to read.
Finishing the stamp
When you are happy with your stamp, it’s time to finish it off. I like to glue stamps to a wooden block to make them easier for kids to handle.
If I’m not adding a handle to the wood, I like to stamp the design onto the top side of the wood before I glue the linoleum onto the block.
In this case, I wanted to add a little handle so I went ahead and glued the back side of the stamp to the wood. You can use hot glue, but I actually ended up using super glue for a super firm and quick hold.
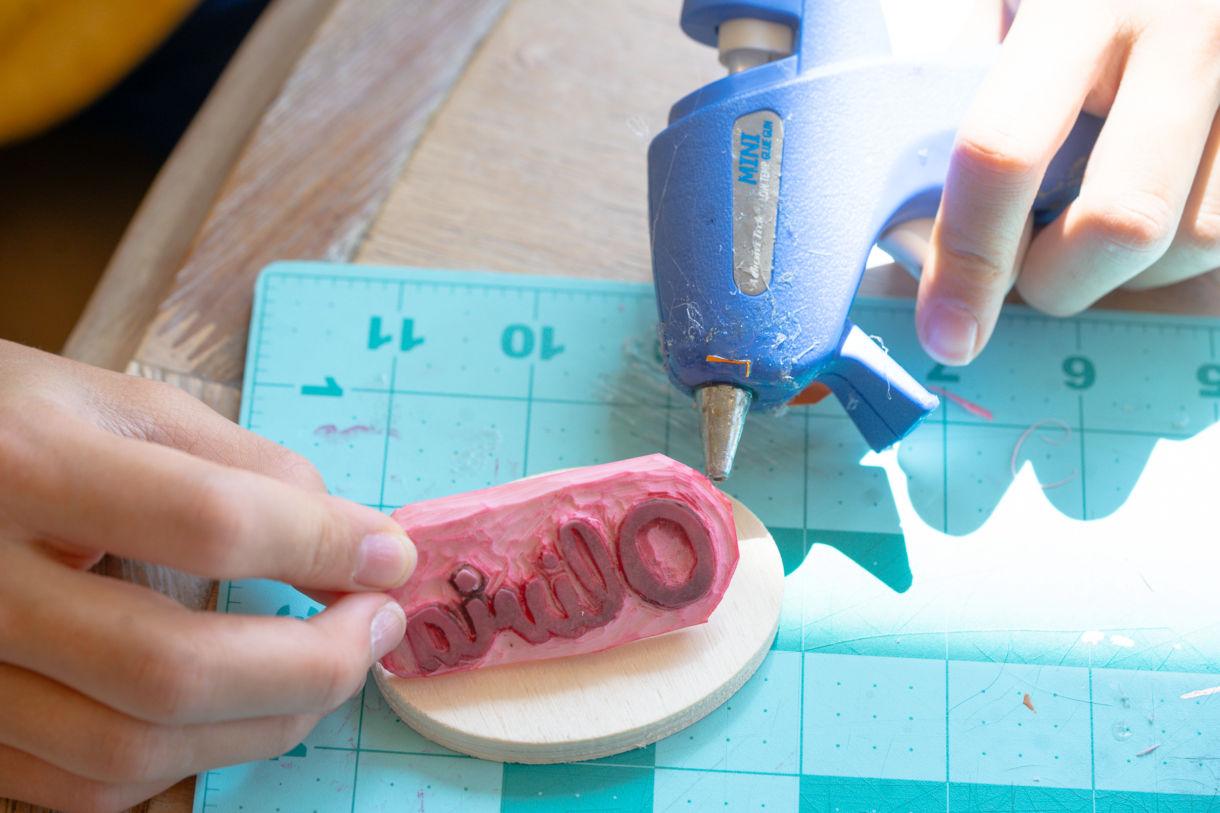
I somehow didn’t get a photo of the handle but I use little wooden knobs in various sizes and super glue those to the back side of the wood.
The Finished Product
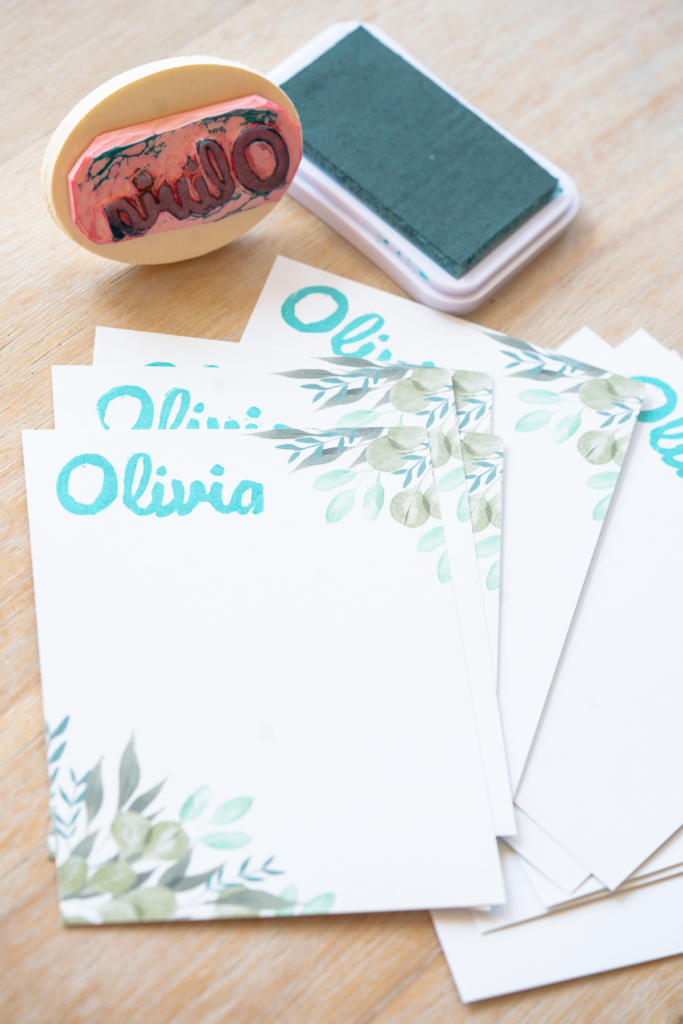
Our personalized name stamp was going to be a birthday gift for a friend so we used our finished stamp to stamp some stationary with her name in her favorite color. I love how it turned out!
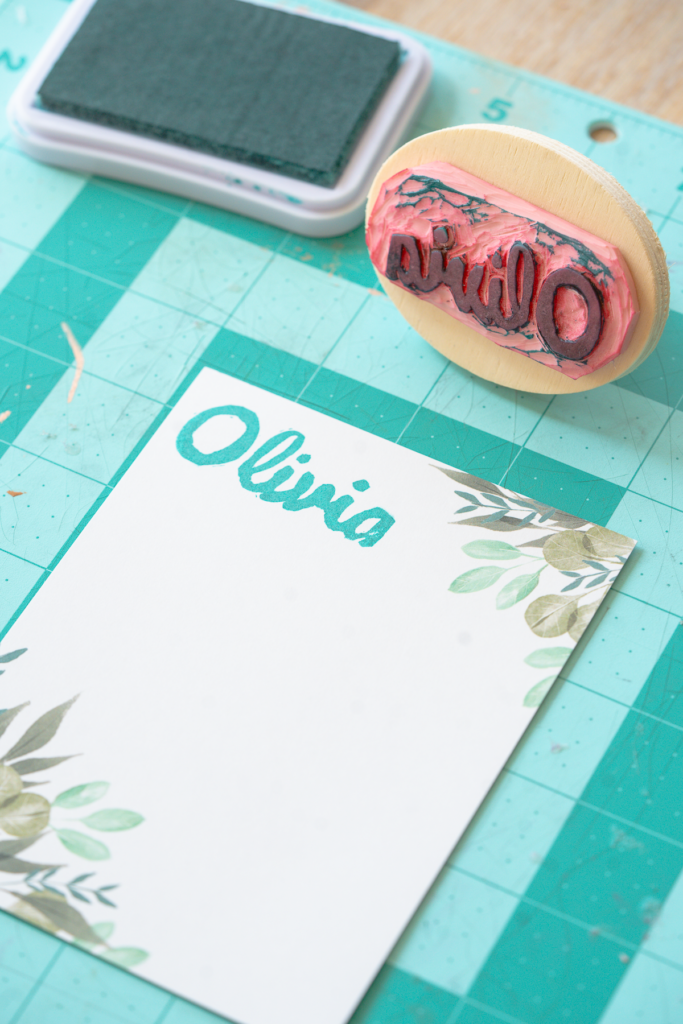
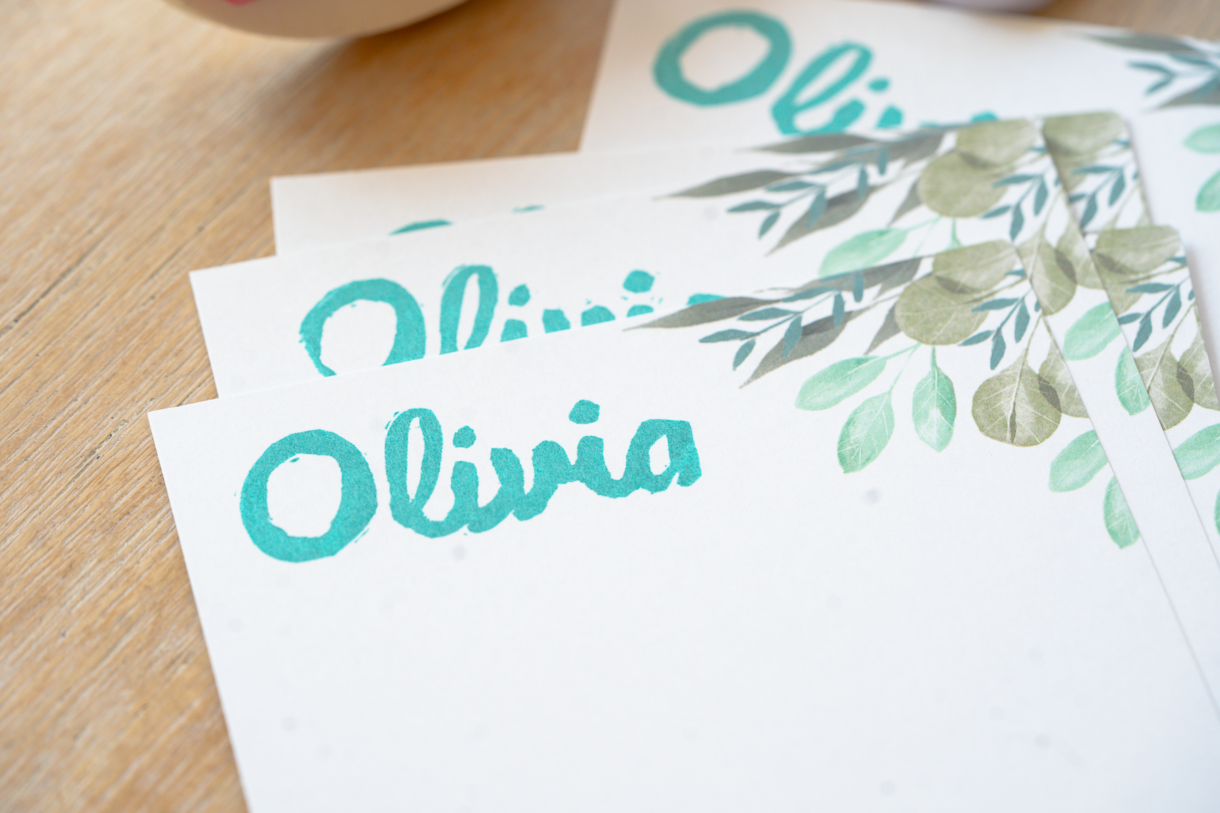
We packaged up the stamped stationary to give her along with the stamp and an ink pad.
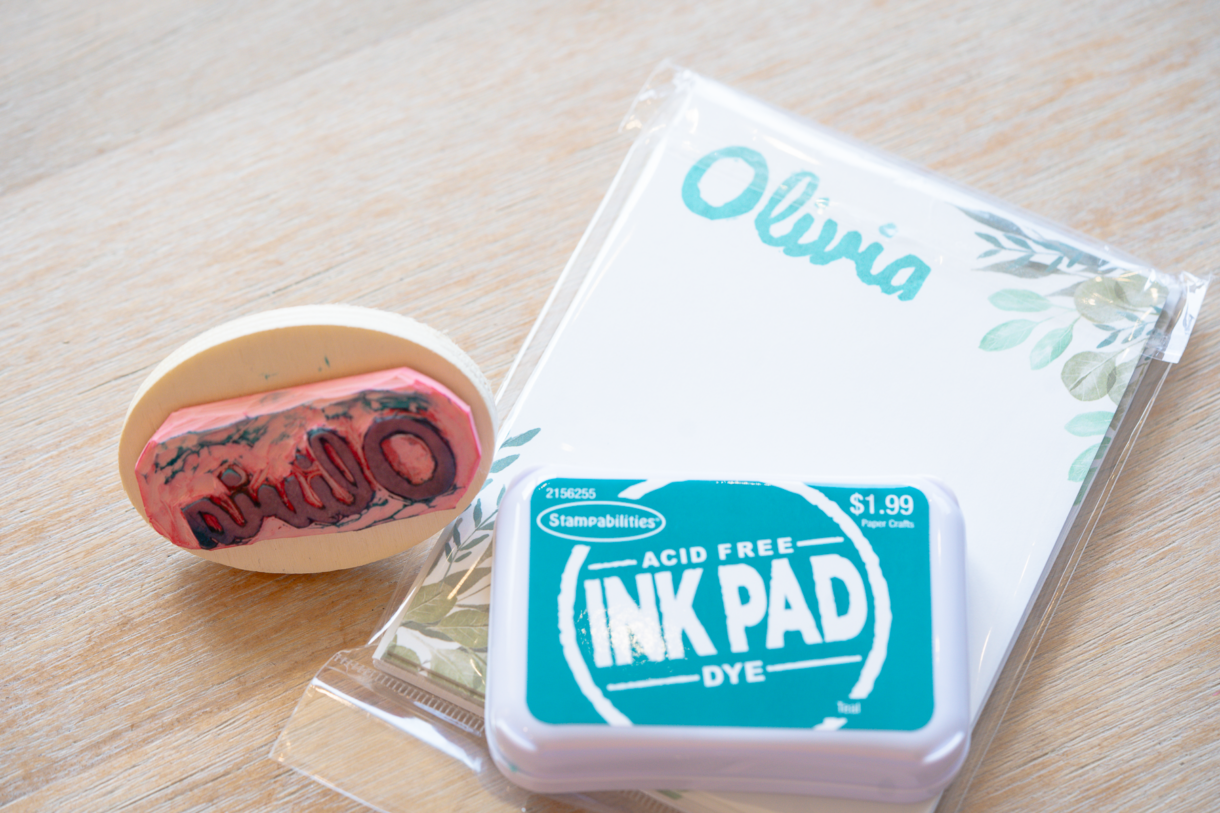
We also gave her a carving kit so she could get creative with making her own stamps. This was such a fun gift to make and give!

Leave a Reply