We have a new handicraft obsession in our home- whittling!
Whittling for beginners is intimidating.
Whittling for Complete Beginners
A couple years ago, I bought a whittling knife for my 9 year old for Christmas…
And it has sat in a draw for two years because I was overwhelmed and terrified at the idea of actually letting her use it.
Several months ago my kids started using rocks to chip away at sticks to carve points at the ends. This was endless fun for them!
My son expressed interest in carving something more detailed which would require a knife so we got to work learning about knife safety and how to properly use knives.
Safety First
Knife safety is the most important skill to teach before you or your children pick up a knife. In our home, knife safety was not just one big lesson, but something we review every time a child picks up a knife and continually discuss.
The Safety Circle
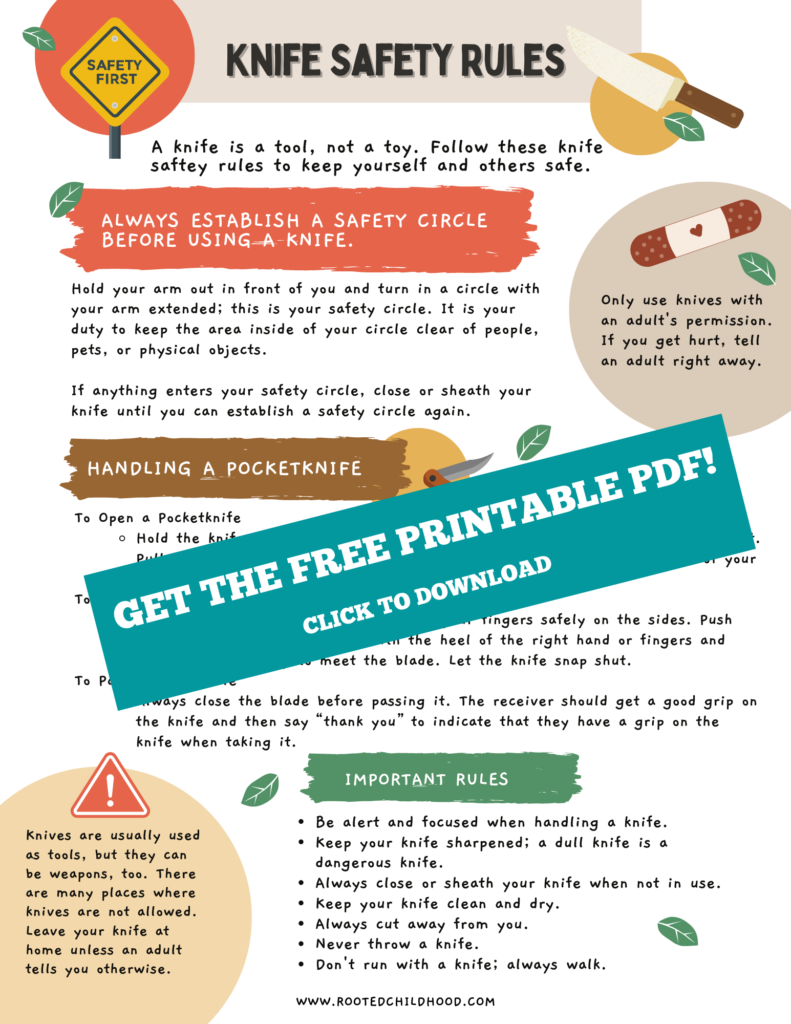
The first knife safety rule kids need to know is how to establish and maintain a safety circle (aka blood circle). Hold your arm out straight in front of you and rotate around in a full circle. This is the area that needs to be clear before using a knife. If there are people, pets, or objects in that circle, you’ll want to move and re-establish a safety circle.
Establishing and maintaining a safety circle is so important and takes lots of reminders and practice.
My kids love whittling on the back patio, and our elderly, deaf dog Bonnie loves to be out there with them. She has zero sense of personal space and often wanders right into their safety circle. When she does, it is their responsibility to close or sheath their knife until they can either move themselves or put her inside while they work.
Especially if you have younger siblings around, you’ll want to make sure kids know that it is THEIR responsibility to maintain the circle and stop immediately and not a toddler or a dog’s responsibility to stay out of the circle.
Knife Safety Rules
Other rules you’ll want to make sure they know:
- Only use knives with an adult’s permission.
- Be alert and focused when handling a knife.
- Keep your knife sharpened; a dull knife is a dangerous knife.
- Always close or sheath your knife when not in use.
- Keep your knife clean and dry.
- Always cut away from you.
- Never throw a knife.
- Don’t run with a knife; always walk.
- Leave knives at home unless an adult says you can take it somewhere else.
My kids have had a lot of practice with knives, and I do trust them, but I still do not let them whittle alone or without letting me know. Accidents are just that- accidents! It is really easy to have a knife slip and go where you weren’t expecting which can unfortunately cause harm to the child or others. With my kids being 5, 8, and 11, I always want to be within an arm’s reach when they are using knives.
Want a printable version of these knife safety rules? I’ve got you covered! Get yours here.
When Is a Child Ready for a Knife?
Children are ready for the responsibility of handling a knife at a wide range of ages. I could trust one of my children with a sharp knife in the kitchen at age 3 while I would have never given my other two a knife at that age.
I think that most kids ages 5+ could start with a pocket knife as long as you’ve made sure they understand the knife safety rules, sit an arm’s length away, and require 100% focus while using a knife.
Using a knife requires focus and discipline. One of my children is easily distracted and often might be using a knife and staring off into the distance. “Eyes on the knife” is another one of our safety rules because of this child.
To prevent accidents from distraction, I limit the amount of time my children are using knives. We might whittle for about 15 minutes at a time and then take a break to do something else. This prevents fatigue in the hands and the mind, which are both important in preventing accidents.
The younger the child, the shorter the time period they will probably be able to give 100% focus to the task. Adjust your time limits based on the child.
Start with a Pocket Knife
We have a My First Opinel No. 7 pocket knife which is a perfect starter knife. This is a locking pocket knife, which is essential so that the blade doesn’t accidentally fold in while carving. It’s also just sharp enough to make cuts on sticks, but not so sharp that it would send anyone to the hospital. Ours came in a nice rugged case, but it doesn’t look like that one is available anymore.
I’d say this is great for ages 5+ depending on the child and their ability to focus.
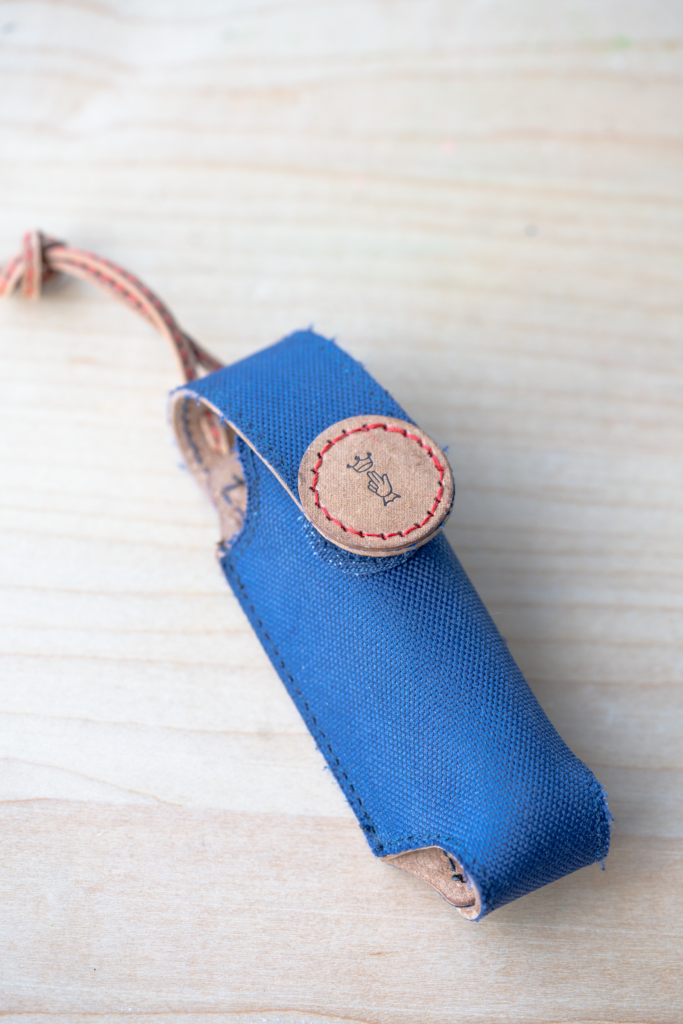
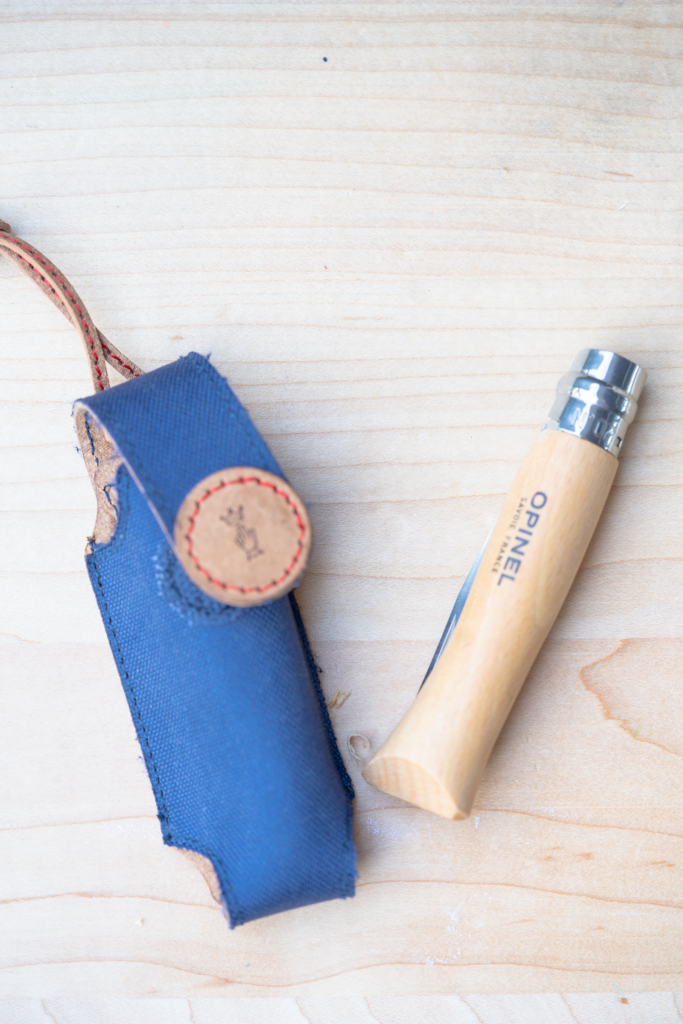
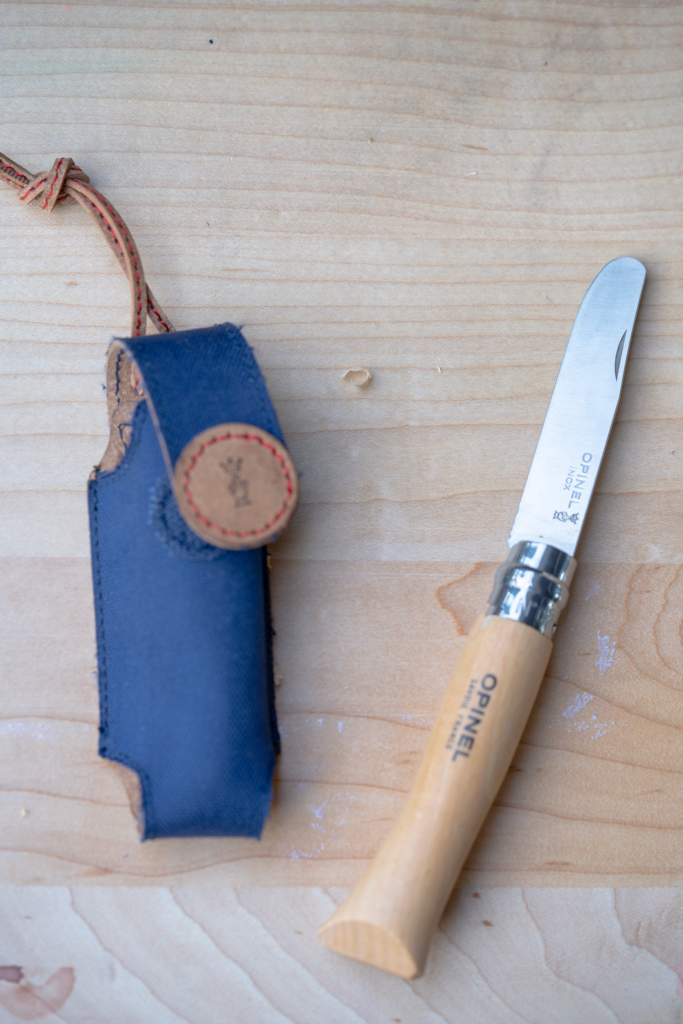
When I posted on Instagram about whittling, one mom had a great tip for littles who want to join in on the whittling fun- let them use a vegetable peeler! You better believe I ran to Goodwill for a $1 peeler that same day to get my youngest started. She gathered a couple of sticks from the yard and got to work just like her big siblings.
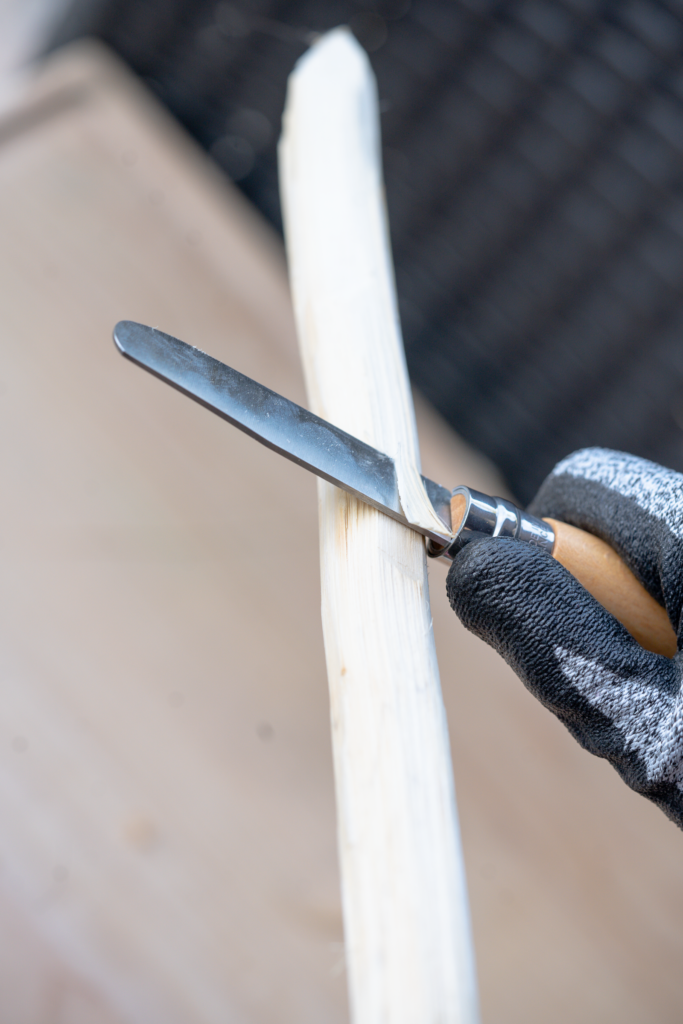
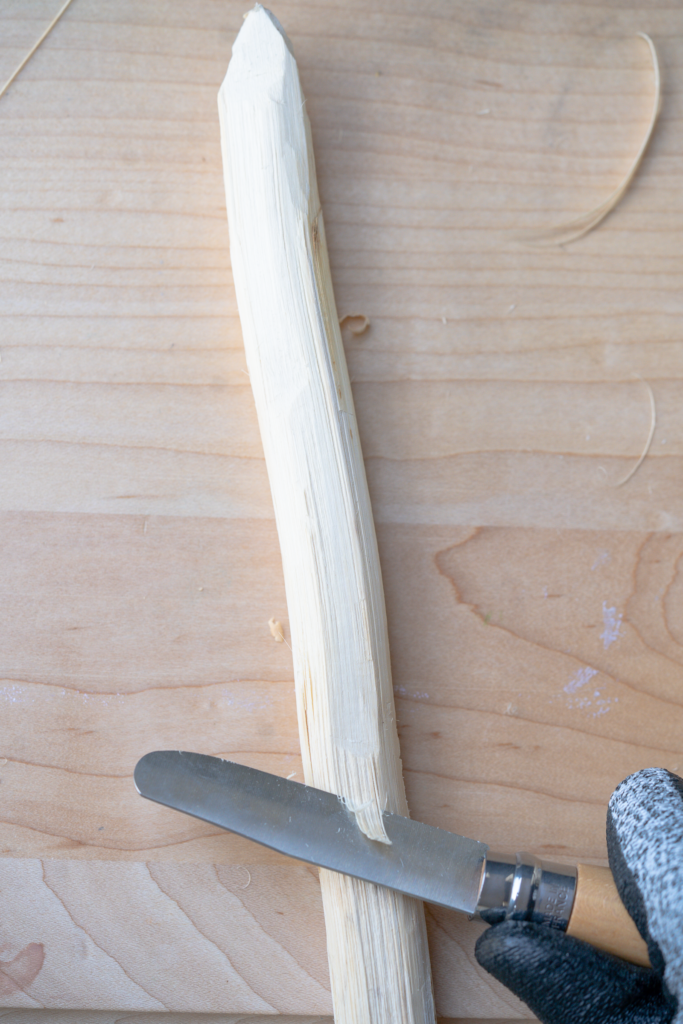
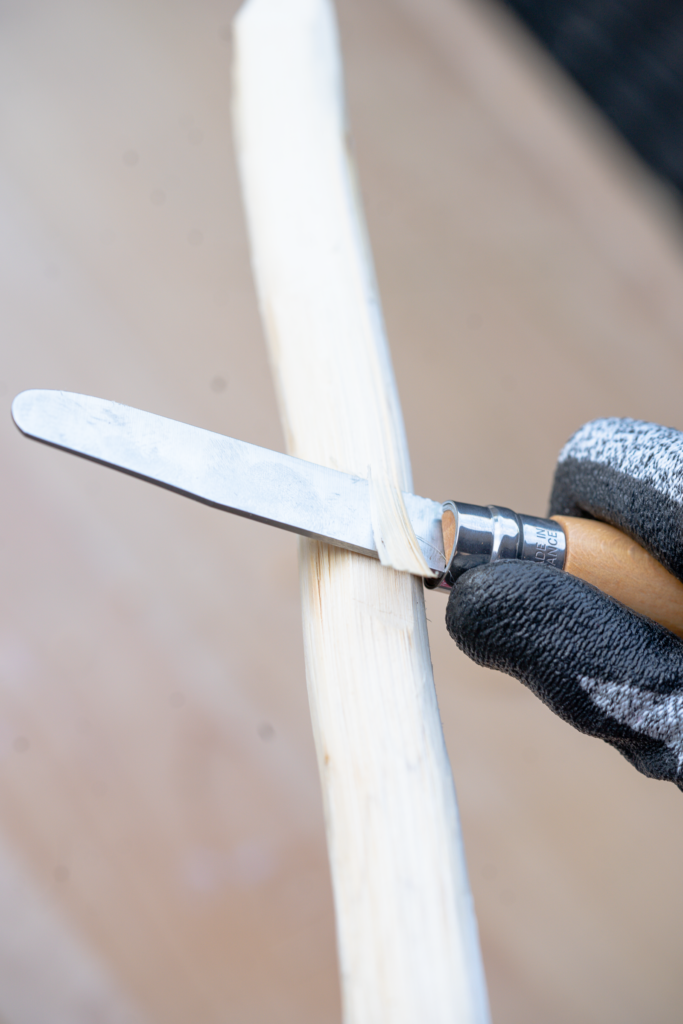
On our property, we have an abundance of sotol plants. These yucca-like plants grow a super tall central stalk each year that when dried, is a wonderful soft wood to carve. My kids started harvesting these to carve into walking sticks, spears, and all sorts of creative things. The pocket knife is excellent for this task!
Real-Deal Whittling
Though my kids will happily whittle sticks for years to come, they were also ready for more of a challenge.
We dug out the real whittling knife my daughter got for Christmas several years ago, and started to research what else we needed to get started.
I quickly realized that whittling is not quite as simple as taking a knife and cutting wood. Whittling knives need to be properly shaped and sharpened to achieve fine detail cuts.
I found this awesome video with step-by-step instructions on how to prepare your knives and details about all of the supplies you might need.
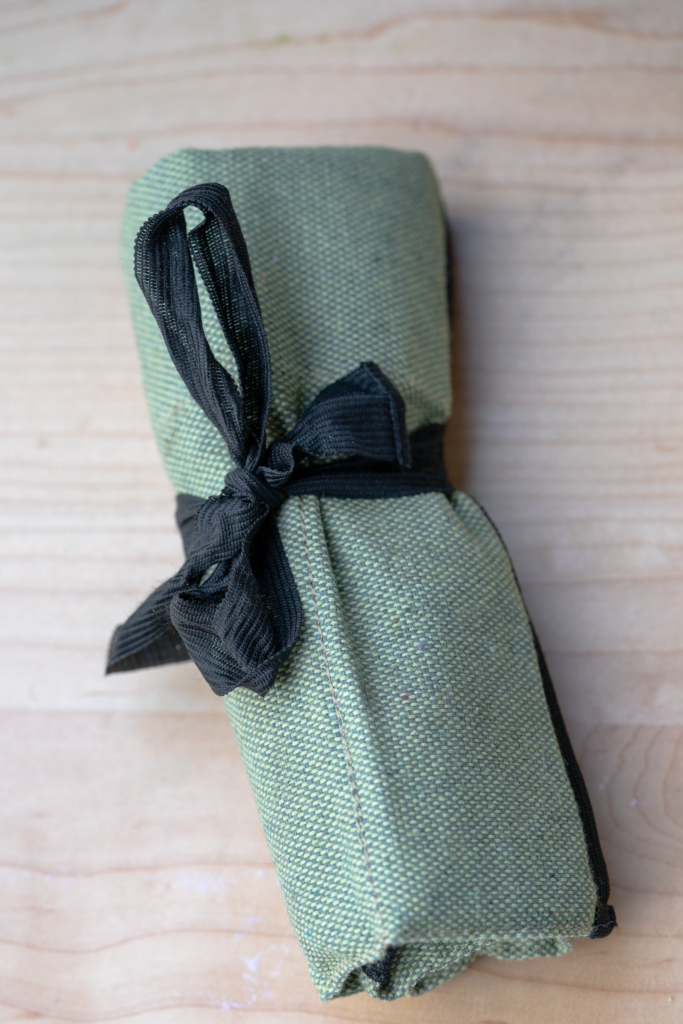
We have the BeaverCraft Whittling & Chip Carving Kit that comes with three knives, leather strop, stropping compound, self-sticking gauze, and bandaids.
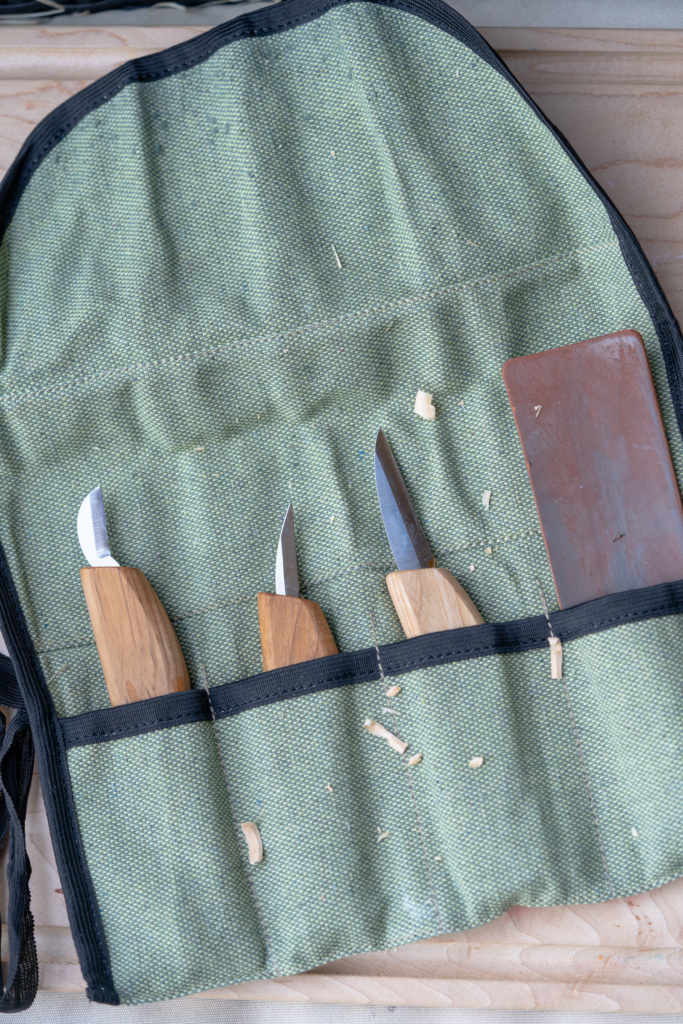
Depending on your knives, you made need to shape and sharpen them. I opted to pay a little bit more for the BeaverCraft knives because they come already shaped and sharpened. The only thing we needed to do is hone the knives with a leather strop.
The video about from “Carving is Fun” shows how to prepare the leather strop for honing your knives.
First, you rub the stropping compound onto the leather strop like you’re shading with a crayon. Then, you’ll need a heat source like a heat gun or a hair dryer to gently melt the compound so you can rub it in.
You’ll use the leather strop to hone your knives ever 30 minutes or so while whittling. You drag the blade of the knife against the leather. If you’re not careful, you’ll cut the leather- as you can see one of my kids did while stropping the first time!
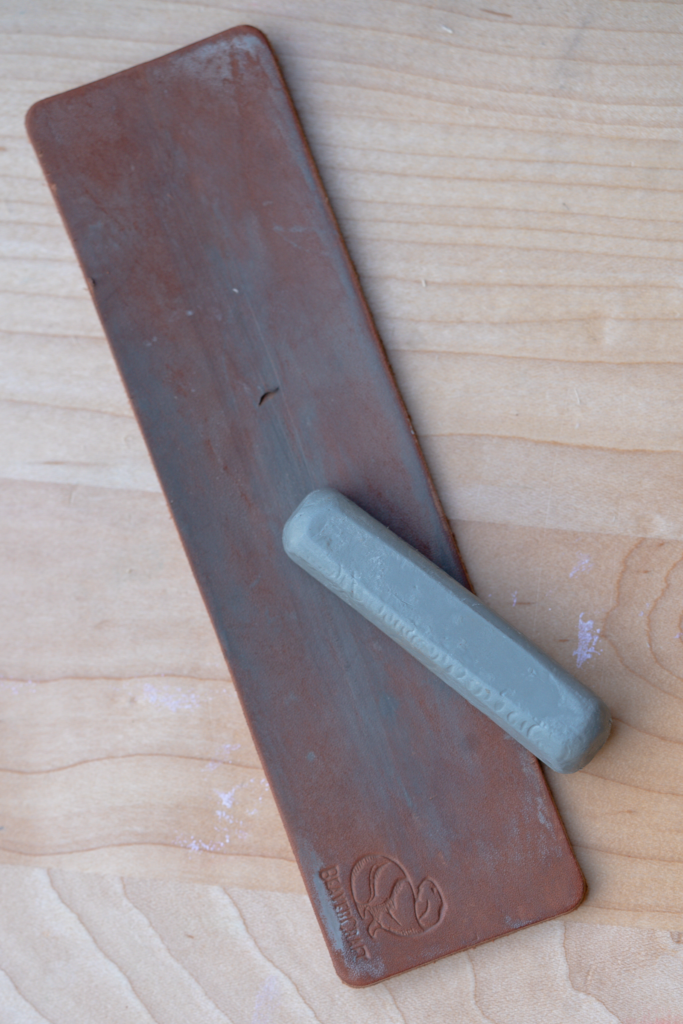
The leather strop that comes with the kit is OK, but I would much prefer a strop like this one that is raised up on a paddle.
I think it would be a lot easier for kids to use because there’s a little more room between the table surface and the knife. When using the flat leather strop from the kit, we have to align the leather with the edge of a table so we can drag the knife with the blade sticking off the table. It works, but it’s a little more effort than I’d like!
The kit also comes with self-sticking gauze to make thumb/finger guards. We made two guards out of one roll of gauze following this video.
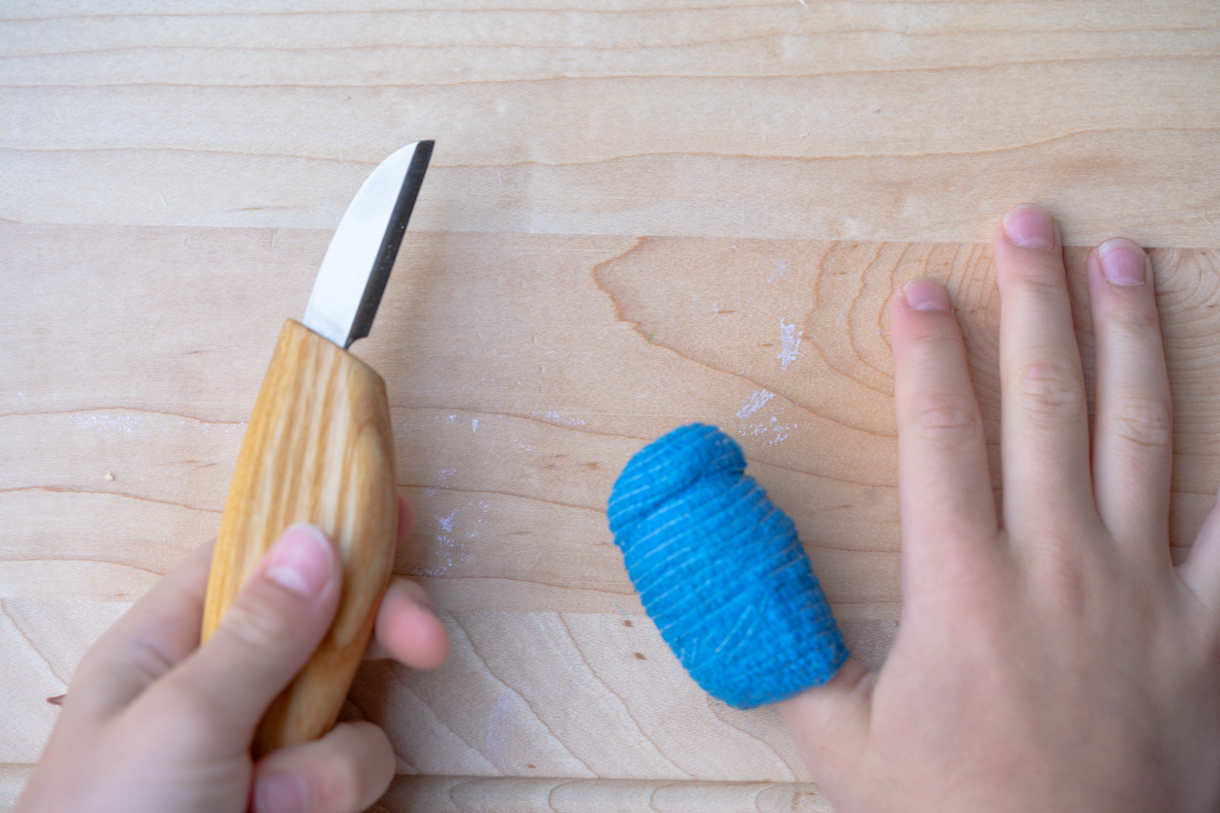
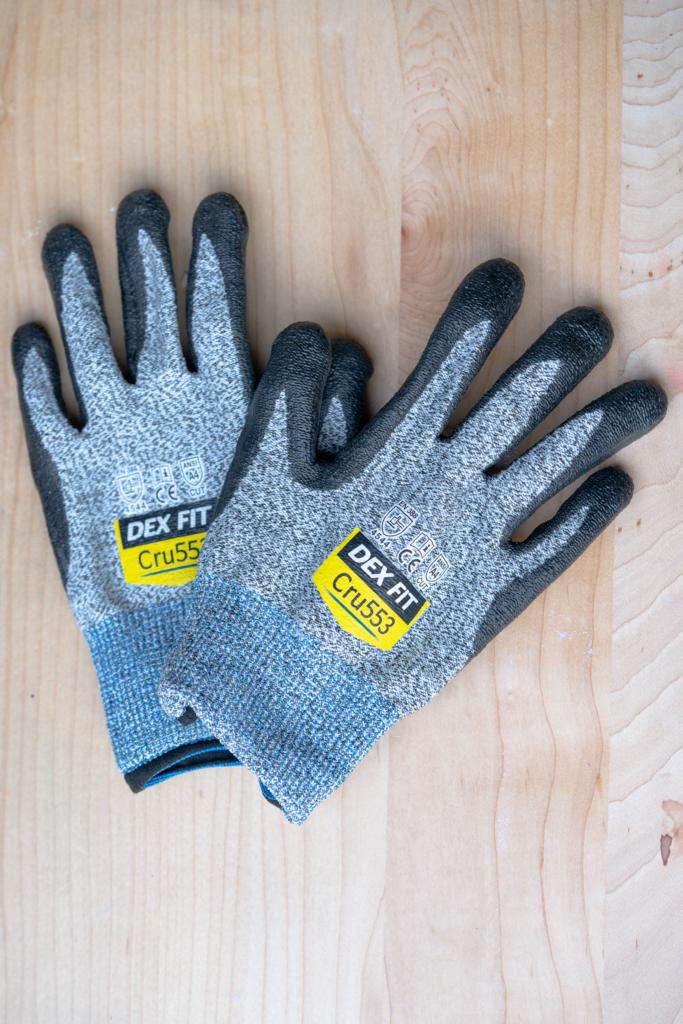
I have found that it’s a lot easier and better for the kids to work with gloves on both hands. The thumb guard protected the thumb but the rest of the hand and fingers were left way too vulnerable.
We got these cut-resistant gloves that comes in sizes from X-Small to X-Large. The X-Small gloves work great for my 8 and 10 year old.
They are too big for my 5 year old to safely wear, which is why we’re sticking to a vegetable peeler for now.
I ordered a size medium for myself and they fit great on my average-sized women’s hands.
These gloves are cut-resistant. A knife could totally still go through these, but they’re an added layer of protection that I feel good about.
Choosing Wood to Whittle
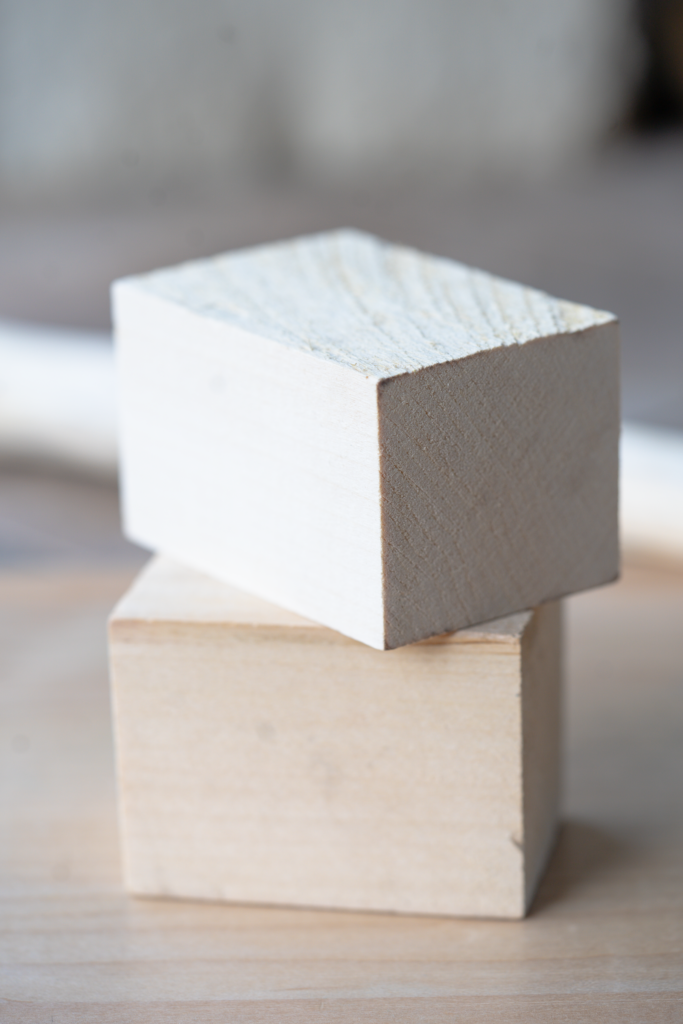
I think the best wood to start with is whatever you have in your own yard. If you’re lucky enough to live somewhere with soft wood, you may never have to purchase wood from a craft store for whittling.
For the rest of us, softer woods are readily available online or at local craft or hobby stores. I purchased a bag of basswood in various sizes to get started, but there are many other woods that would be good choices including birch, willow, sycamore, alder and lime wood.
Get started with your first project
Choose a whittling project, and jump right in!
We saw some mushroom ornaments at the craft store and decided to try our hand at making our own.
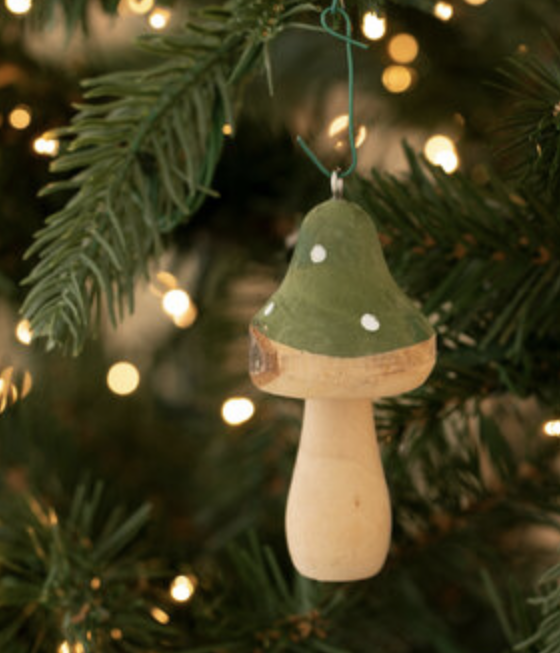
Finding beginning whittling videos was a bit challenging. I feel like everyone’s definition of a beginner was a bit different! We ended up finding a video tutorial on whittling mushrooms that’s working great.
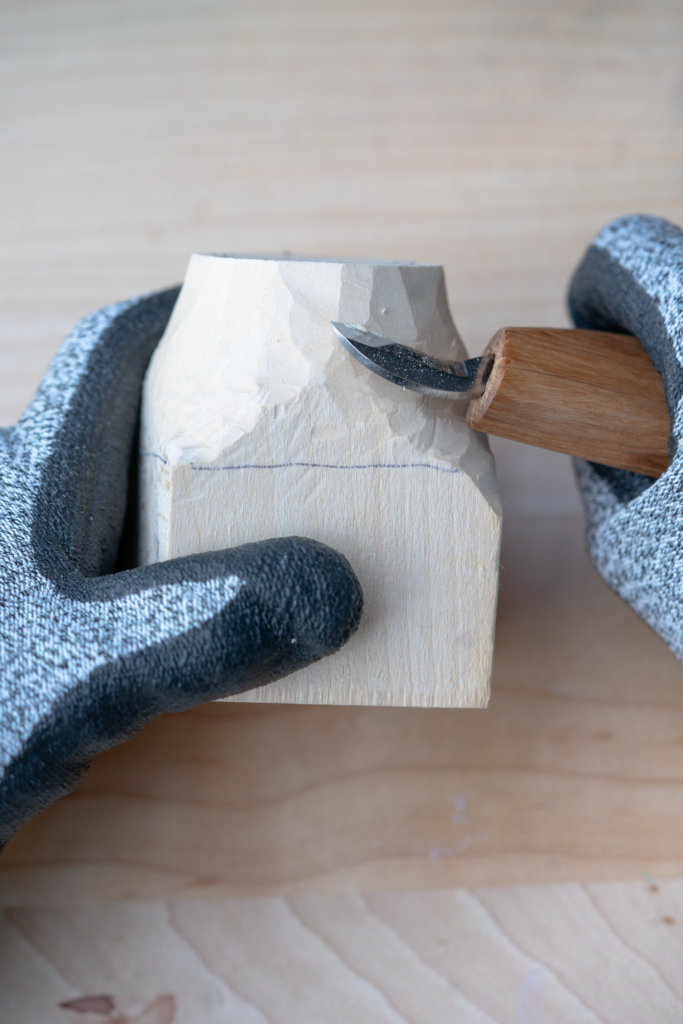
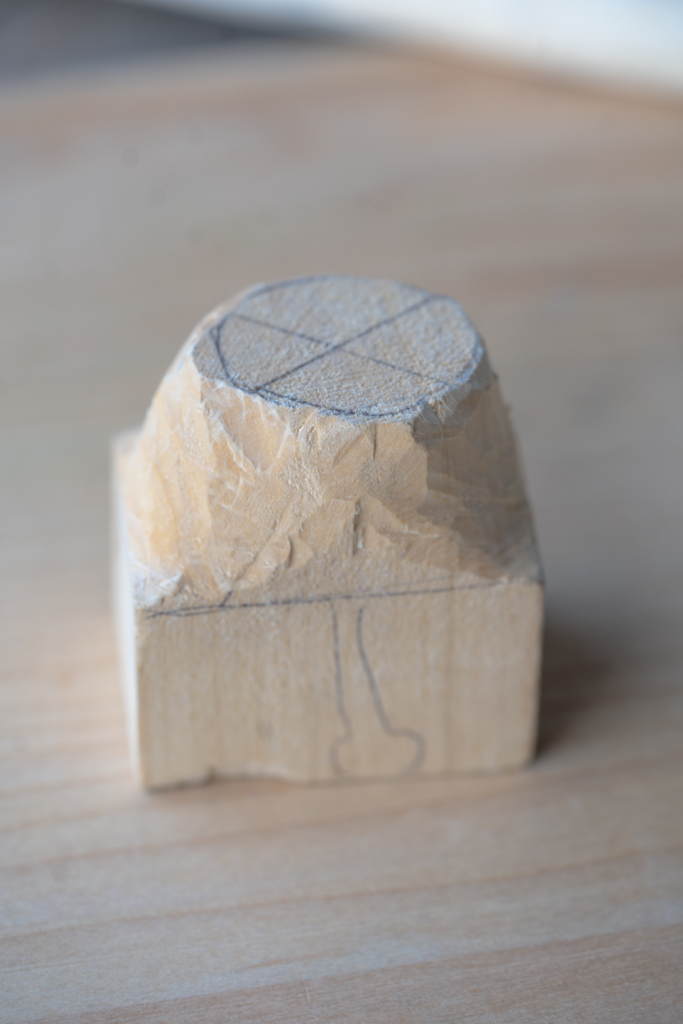
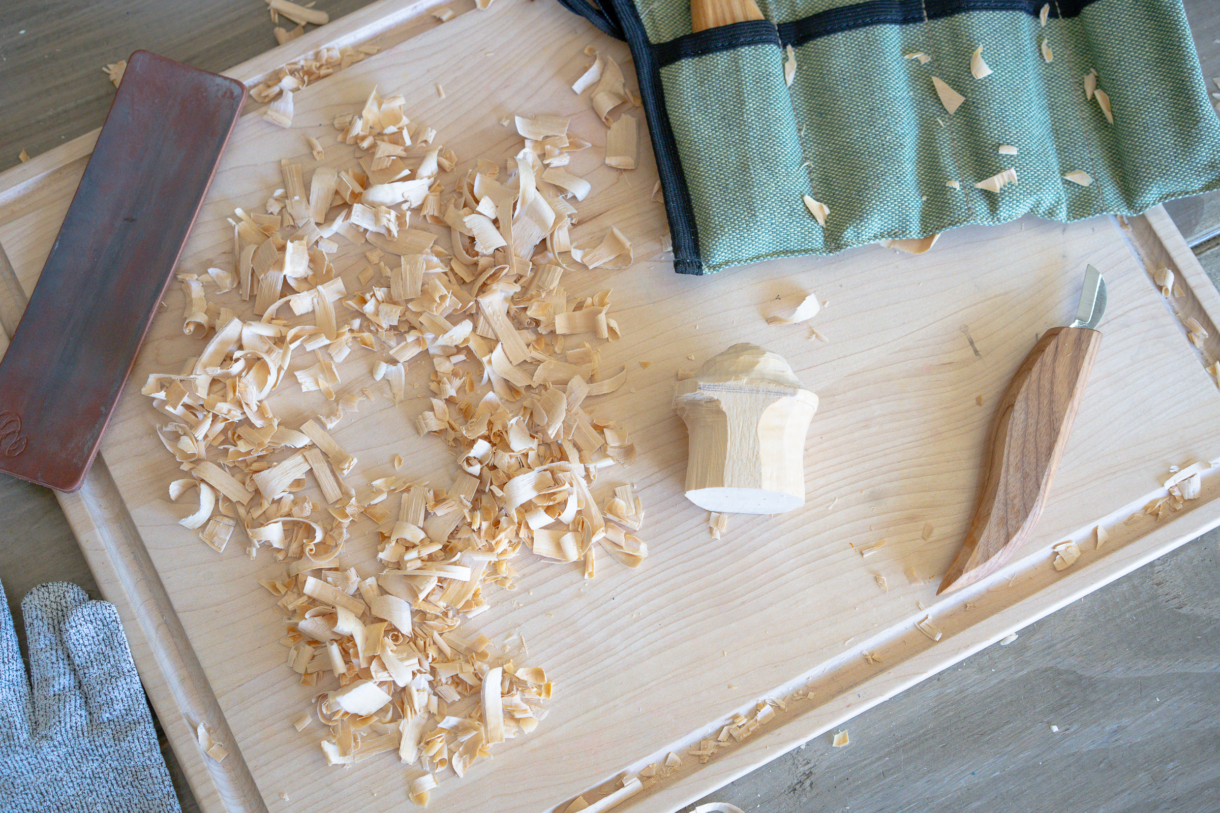
We haven’t finished our projects yet, but I’ll be sure to update with pictures when we do! Are you ready to take on whittling as a handicraft with your kids? Let me know if you have any questions or tips for us in the comments!


Leave a Reply